Assistive Touch is a software feature built into iOS that provides an alternative way to interact with your iPhone. It creates a virtual button menu that floats on top of your screen and offers quick access to various functions and controls.
With Assistive Touch, users can perform actions such as accessing the Home screen, adjusting volume, taking screenshots, enabling Siri, and much more, all with just a tap.
In this article, we show you how to customise the Assistive Touch button menu on your iPhone, to include your most frequently used functions.
Also Read: How To Remove Blur from iPhone Photos
How To Customise The Assistive Touch Button Menu On iPhone
First, open the “Settings“app on your home screen. Scroll down the main settings menu and tap on “Accessibility“. Under Accessibility, scroll down and select “Touch.”
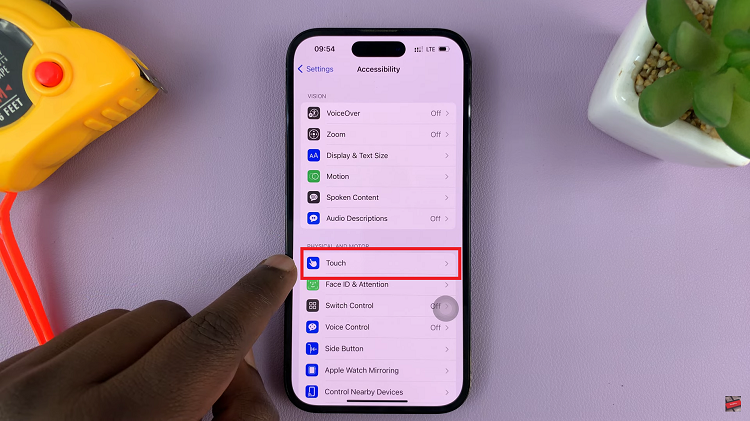
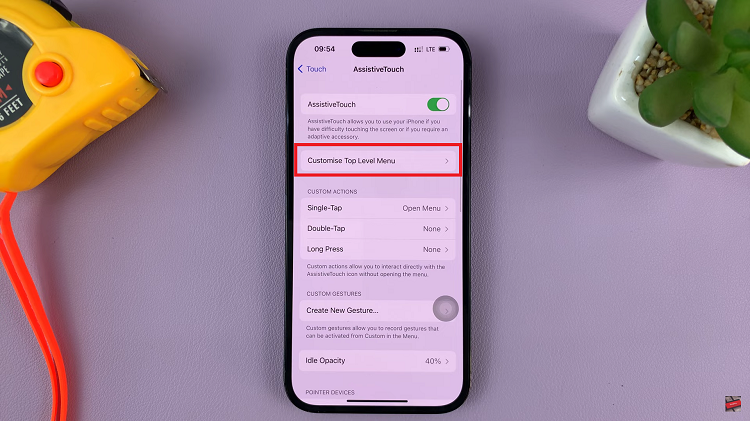
Choose the “Assistive Touch” option and tap on the toggle the switch to enable Assistive Touch. A floating grey button will appear on your screen.
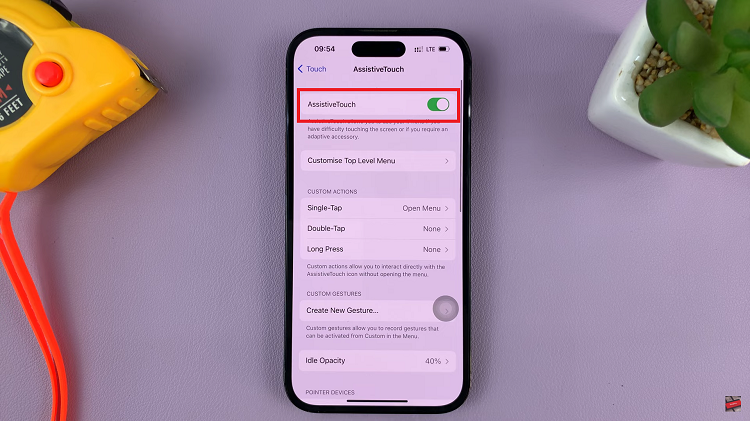
To access the customisation options, tap on the “Customise Top Level Menu” option to open the menu. From here, you can add more icons to the Assistive Touch menu, re-arrange the icons, and even replace the icons you don’t need. Once done, tap on the “Back” icon to sabe the changes.
And thats how to go about it. Its an easy and straightforward process. Let us know in the comment section below if you have any questions or suggestions. If you found the article helpful, please share it with your friends.
Watch: How To Close All Tabs at Once In Safari Browser For iPhone
