Call forwarding is a feature available on iPhones that allows you to redirect your incoming calls to another phone number. It provides a convenient way to ensure that you don’t miss important calls when you’re unable to answer them on your iPhone.
However, there may be times when you want to disable call forwarding and have your calls come directly to your iPhone. Whether you no longer need to call forwarding or have encountered issues with it, disabling it is a straightforward process.
In this article, we will guide you through the steps to disable call forwarding on your iPhone.
Watch: How To Create WhatsApp Group On iPhone
How To Disable Call Forwarding On iPhone
To disable call forwarding on your iPhone, follow these detailed steps:
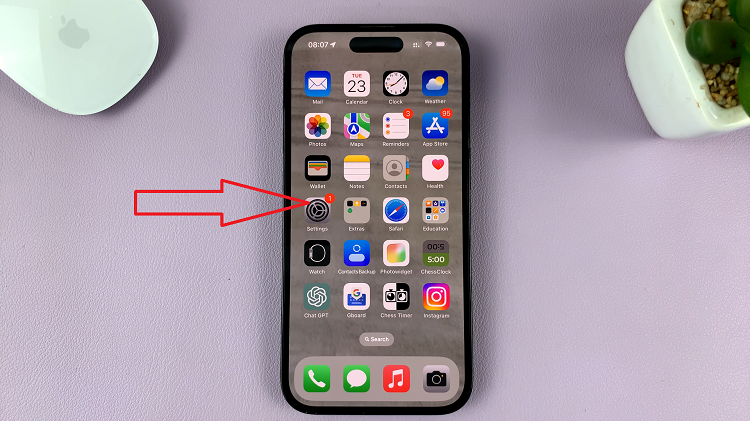
First, unlock your iPhone and navigate to the home screen. Next, locate the “Settings” app, which is represented by a gear icon. Tap on it to open the settings menu.

Once you’re in the settings menu, scroll down until you find the “Phone” option. Tap on it to access the phone settings. Within the phone settings, you will see various options related to call settings. Look for and tap on the “Call Forwarding” option.

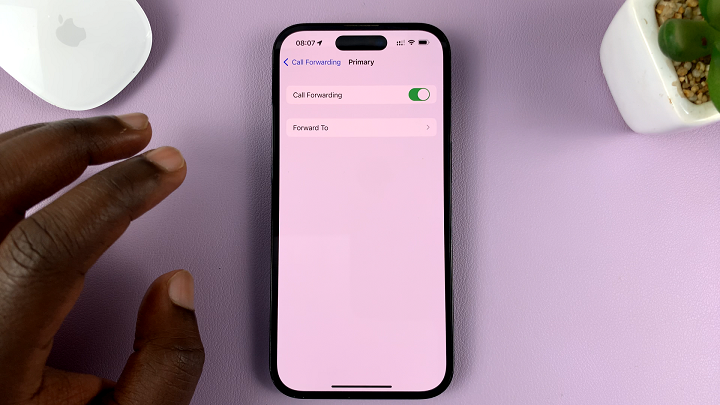
If call forwarding is currently enabled on your iPhone, you will see a toggle switch next to it. Tap on the toggle switch to disable call forwarding. The switch should turn off, indicating that call forwarding has been disabled.
Finally, you can exit the settings menu by pressing the home button or using gesture-based navigation, depending on your iPhone model.
It’s worth noting that the steps mentioned above may vary slightly depending on the version of iOS running on your iPhone.
However, the general process remains the same across different iOS versions. Remember, if you ever need to re-enable call forwarding in the future, you can follow the same steps and toggle the switch to enable it again.

