Embarking on your journey into the world of video editing? Look no further than CapCut, a dynamic and intuitive video editing tool that has garnered a substantial following among content creators.
Whether you’re a seasoned video editing pro or just dipping your toes into the realm of visual storytelling, CapCut offers a seamless platform to elevate your creations.
In this article, we’ll take you through the step-by-step process on how to download and install CapCut on your iMac / MacBook running macOS Ventura.
Also Read: How To Open ‘Home’ Folder On iMac / MacBook
How To Download and Install CapCut On iMac / MacBook
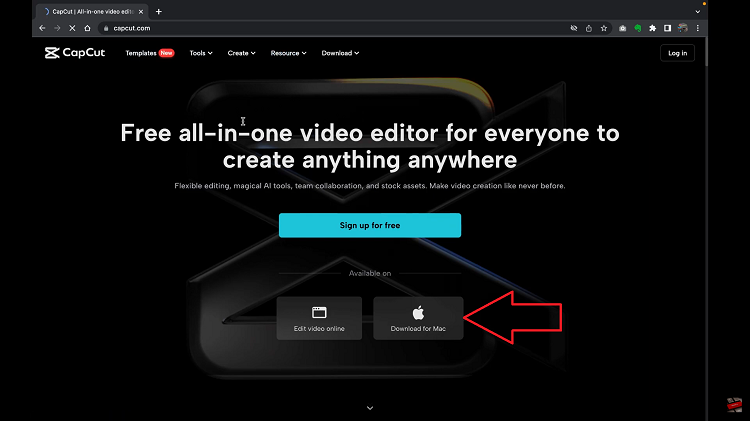
To start, launch your preferred web browser and search for capcut.com. On the CapCut home page, tap the “Download for Mac” button. Clicking this button initiates the download process. The download time will vary based on your internet connection speed and the file size.
A pop menu will appear asking you to select here you want the installer application to be placed. Once the download is complete, it’s time to open your Mac’s “Downloads” folder.
Locate the downloaded CapCut installation file and give it a double-click to kickstart the installation process. You’ll receive a prompt to drag the app into the “Applications” folder.
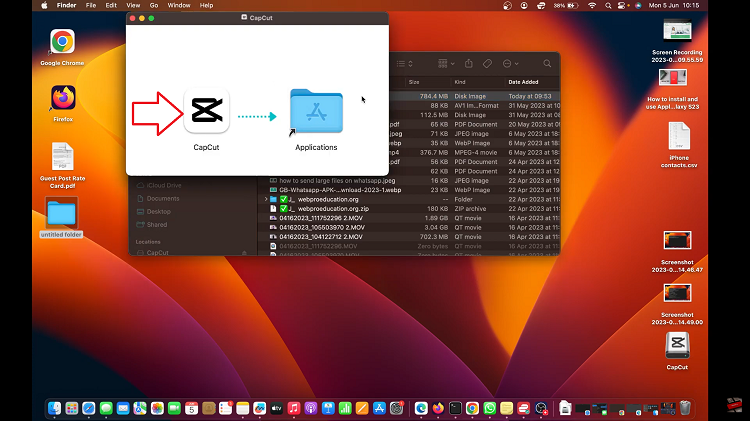
The app is ready to be launched once successfully copied in the applications folder. The CapCut icon should be sitting comfortably in your Applications folder or Launchpad.
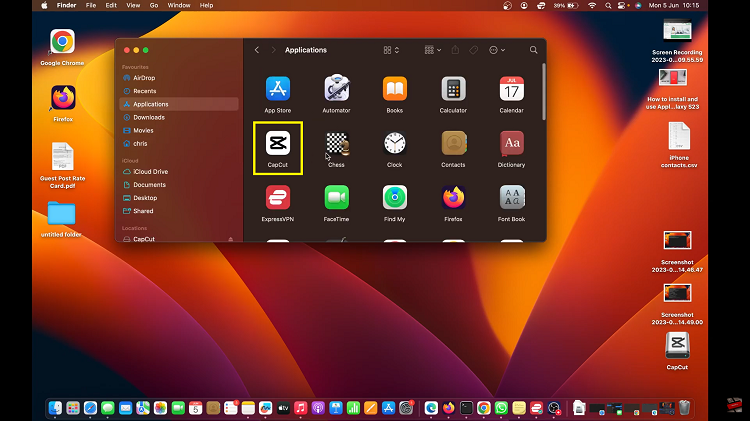
Now look for the CapCut icon either in the Applications folder or on your Launchpad, and give it a double click to open. Upon launch, MacOS might perform a verification check, triggering a pop-up window. Simply click “Open” to proceed.
Watch: How To Add ‘Movies’ Folder To Finder On iMac / MacBook
