With the advent of 5G technology, iPhone users can now experience lightning-fast download and upload speeds, lower latency, and a more reliable network connection. If you’ve recently upgraded to an iPhone model that supports 5G, you may be wondering how to enable this exciting feature.
However, keep in mind that the availability of 5G networks may vary depending on your location and your cellular carrier. It’s essential to ensure that you have a compatible iPhone model and that 5G coverage is available in your area.
In this article, we’ll guide you through the steps to enable the 5G network on your iPhone.
Also watch: How To Turn ON Read Receipts On iPhone
How To Enable 5G Network On iPhone
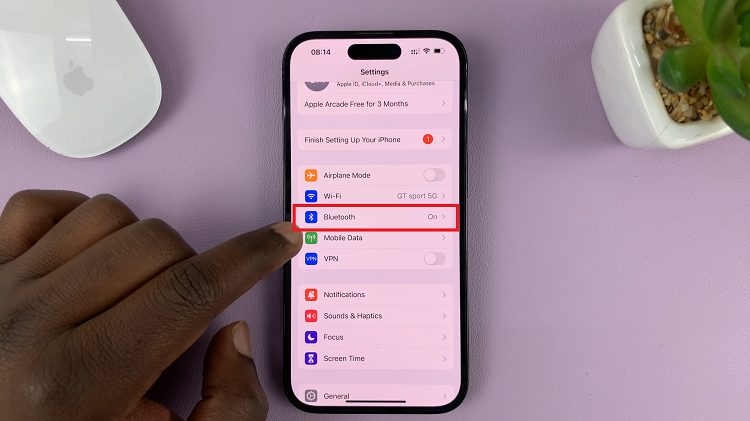
First, open the “Settings” app on your iPhone. It’s usually represented by a gear icon. After that, scroll down within the Settings menu and tap on the “Cellular” or “Mobile Data” option, depending on your iOS version.

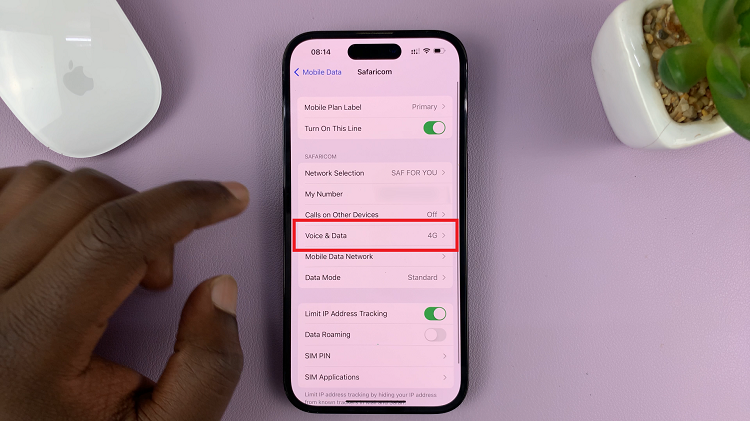
Next, within the Cellular settings, tap on “Cellular Data Options” or “Mobile Data Options” to proceed. At this point, scroll down and tap on “Voice & Data.”

Within the Voice & Data settings, various options will appear, such as “5G Auto,” “5G On,” and “LTE.” Select the “5G On” option to enable the 5G network on your iPhone. Once done, exit the settings menu.
It’s worth mentioning that if you’re in an area with limited 5G coverage, your iPhone may automatically switch to LTE or 4G networks to maintain a stable connection. This is a normal behavior designed to ensure you have a consistent network experience.

