Oraimo FreePods 4 are renowned for their advanced features and exceptional sound quality. Among their many functionalities is Transparency Mode.
This allows users to stay aware of their surroundings while enjoying their music or taking calls. Whether you’re in a busy city or out for a run, knowing how to adjust this mode can enhance your experience.
In this guide, we’ll walk you through the comprehensive step-by-step process on how to enable & disable transparency mode on Oraimo FreePods 4.
Also Read: How To Update Firmware Of Oraimo FreePods 4
How To Enable & Disable Transparency Mode On Oraimo FreePods 4
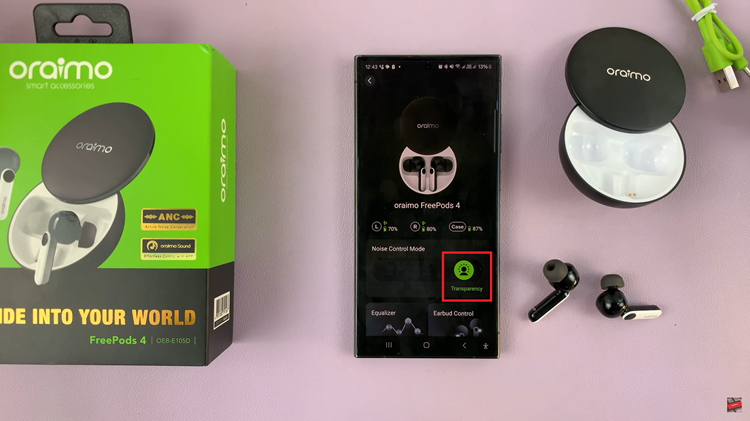
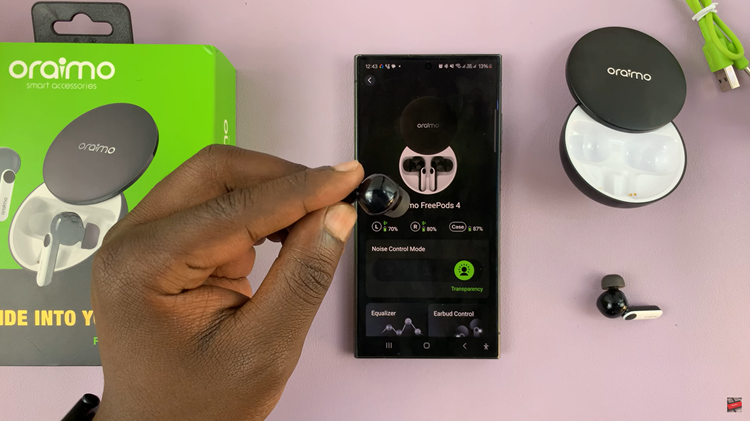
Before you begin, ensure that your Oraimo FreePods 4 are paired with your device. Access the Oraimo companion app and tap on your FreePods 4 to access their specific settings. Within the FreePods 4 settings, you’ll find the option for Noise Control Mode. To enable Transparency Mode, simply tap on the corresponding option within the Noise Control Mode settings.
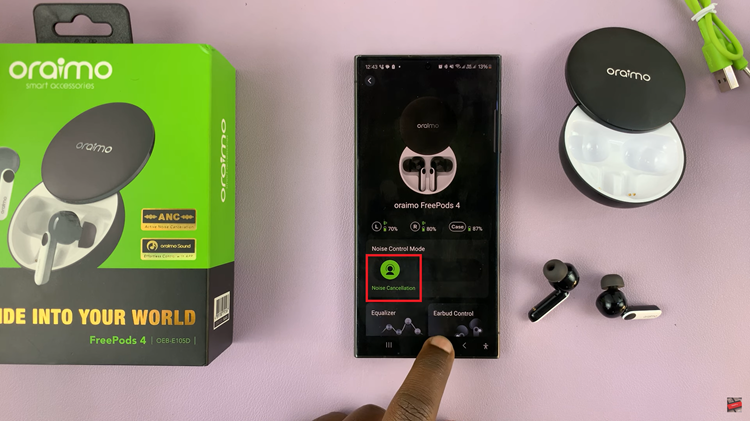
Should you wish to disable Transparency Mode, you have a couple of options. You can either select ‘Noise Cancellation Off‘ or ‘Noise Cancellation‘ within the Noise Control Mode settings. This will effectively turn off Transparency Mode.
Alternatively, you can utilize the physical button on your left FreePods 4 to toggle through the different noise control options. Simply long-press the button until you hear two beeps. This action will cycle through the available modes, including Transparency Mode.
Mastering your Transparency Mode on your Oraimo FreePods 4 can significantly enhance your overall listening experience. By following the simple steps outlined above, you can seamlessly switch between Transparency Mode and other noise control options, ensuring your FreePods 4 adapt to your needs wherever you go.
