Roku TV has become an integral part of many households, providing a gateway to a vast array of streaming content.
However, like any technological device, it can encounter occasional hiccups, and one of the most common and frustrating issues is when the sound stops working.
In this guide, we’ll walk you through the comprehensive step-by-step process on how to fix sound not working on Roku TV.
Also Read: How To Set Up Roku TV With Roku Express 4K+
How To FIX Sound Not Working On Roku TV
Perform a Reset:
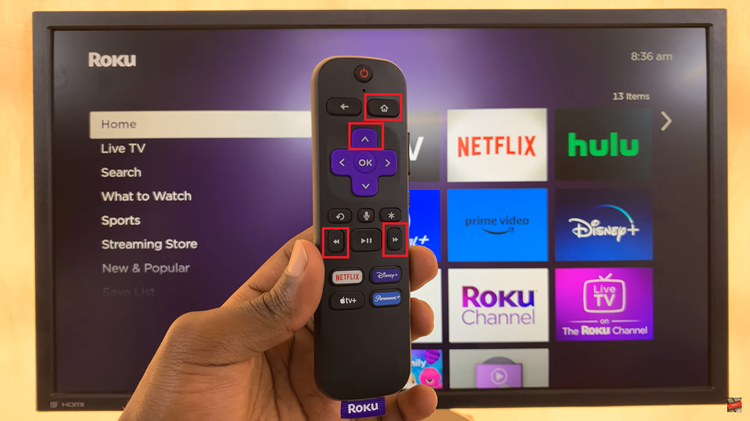
One effective way to tackle sound problems on your Roku TV is by performing a reset. On your Roku remote, press the home button five times. Press the up button once. Next, press the rewind button twice. Press the forward button twice.

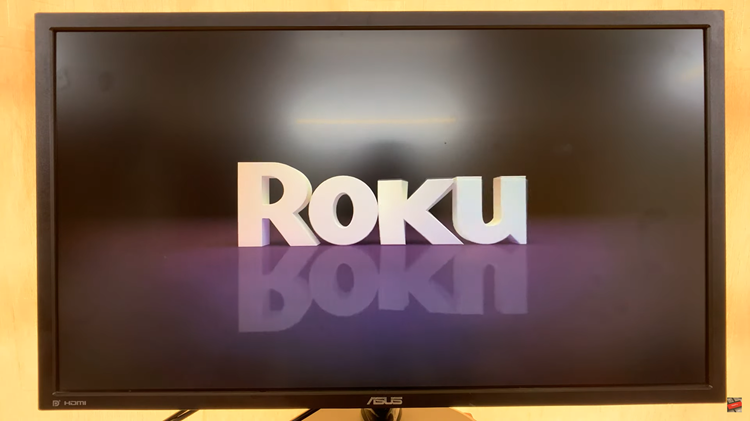
As you go through these steps, you’ll notice the screen moving and then freezing. Allow it some time to unfreeze. During this process, avoid pressing any buttons on the remote. Once the screen turns dark and the Roku logo appears, you’ve successfully performed a hard reset, and this might resolve the sound issue.

Reset Sound Settings:
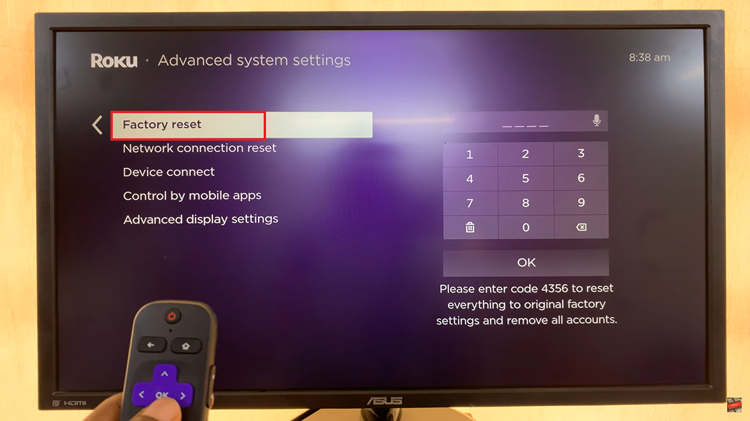
Alternatively, you can try resetting the sound settings on your Roku TV. Open the Settings menu. Navigate to the “System” option. Under “System,” select “Advanced System Settings” and then choose “Factory Reset.”

Be prepared for a complete reset, as this action will wipe all data on your Roku TV. Enter the code to initiate the reset. This can help in situations where the sound settings may have been misconfigured.

