The iPad has grown incredibly powerful — so much that it’s effectively being used in situations where one might have turned to a laptop or desktop. Once the storage of your internal iPad is no longer suitable, you can add a heap of extra storage to your iPad by plugging in an external hard drive,
Even though it is a really simple thing, if you have never connected an external drive to an iPad before then the process might seem sophisticated. It all depends on what iPad you’re using and the external drive (as well as any adapters or cables required).
In this guide, we’ll walk you through how to that should help you connect an external hard drive/SSD on your iPad successfully.
Watch: How To Set Up Face ID On iPad
Connect External Hard Drive/SSD To iPad
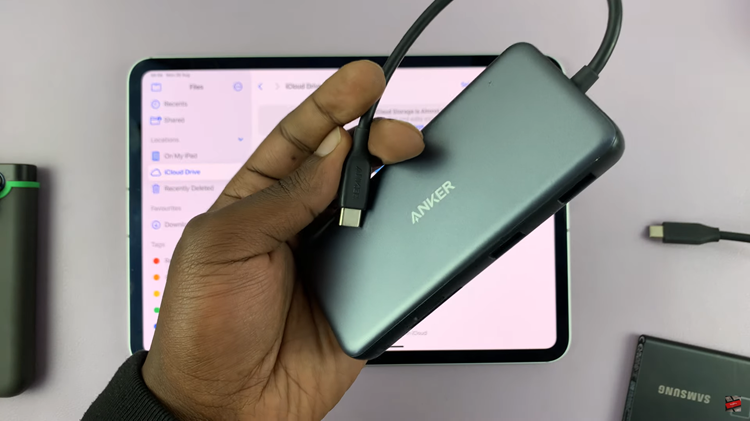
To connect your external hard disk or SSD (old SSDs) to your iPad, you’ll need an adapter. Connect the adapter to your iPad, then plug your external Hard Drive or SSD into the female connector of the OTG adapter. Again, make sure the connection is secure.

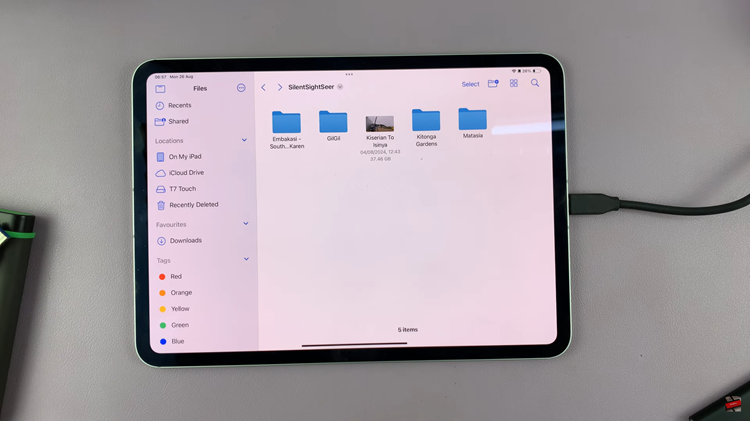
At this point, your iPad should recognize the device. To confirm this, open the “Files” app on your device and find your hard disk /SDD under the “Storage Devices” section. However, if you have the new SSD, you’ll not require the adapter because they come with a Type-C adapter. Simply, connect the SSD directly to your iPad.

In conclusion, connecting an external hard drive/SSD to your iPad is a straightforward process that significantly enhances your device’s storage capabilities.
Read: How To Turn ON/OFF Google Feed On Samsung Galaxy Z Fold 6

