The Nokia, a timeless and beloved feature phone, has captured the admiration of users around the globe. With its simple yet functional design, impressive battery life, it remains a favored choice.
However, before you can fully unleash the potential of your Nokia, there’s a vital task to tackle – properly inserting a Nano SIM card. Whether you’re a seasoned feature phone user or a newcomer to Nokia, our step-by-step instructions will ensure that you’re ready to make calls and stay connected in no time.
In this article, we show you how to insert a Nano SIM card in Nokia phones. These instructions are useful for the Nokia 105, Nokia 105 4G, Nokia 225, Nokia 106, Nokia 3310, Nokia 110 and Nokia 8110 models.
Also Read: How To Set Date and Time In Nokia Phone
How To Insert Nano SIM Card In Nokia Phones
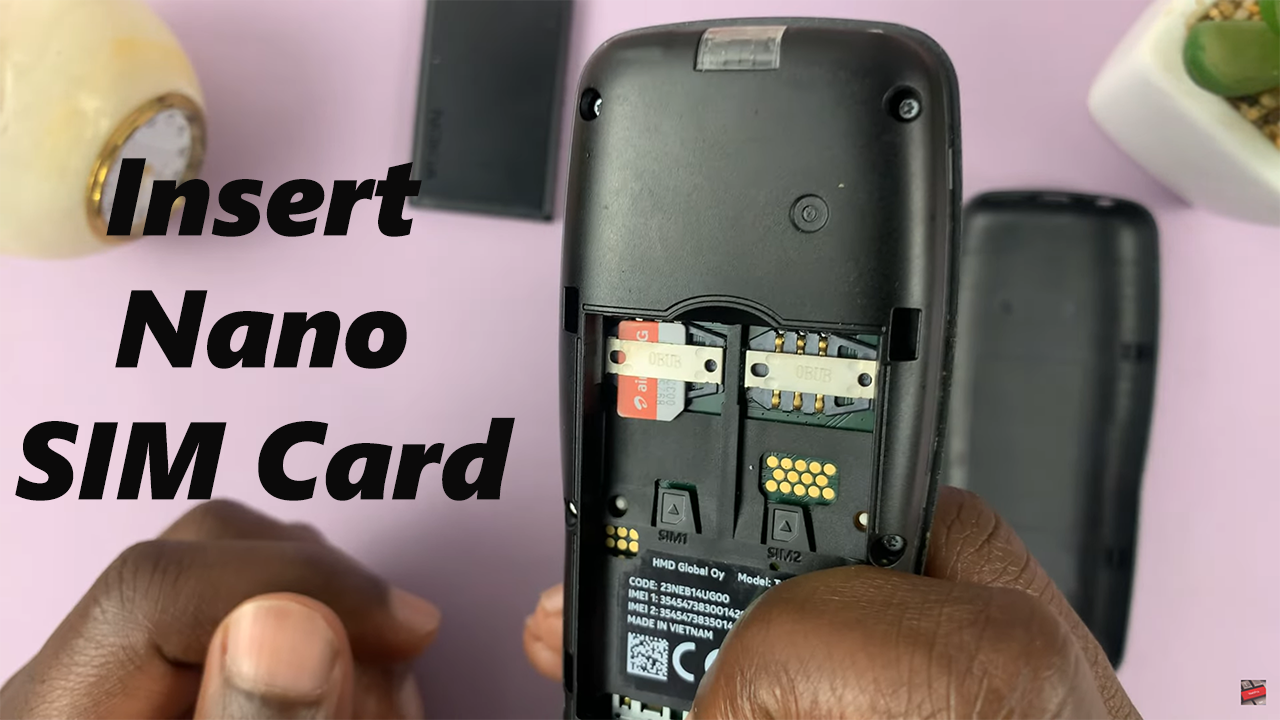
Before you begin the process of inserting the Nano SIM card, it’s essential to ensure that your Nokia is powered off. Once your phone is powered off, gently remove the back cover of your phone. After removing the back cover, you’ll find the battery nestled inside. Carefully take out the battery to reveal the SIM card slot.
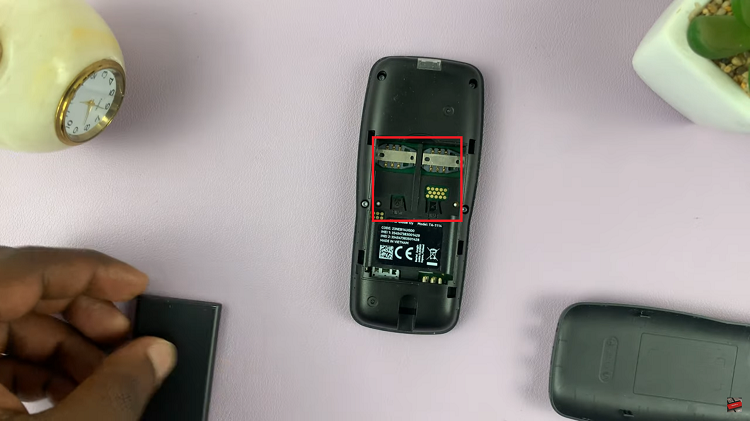
Hold the Nano SIM card with the gold contacts facing down and the notched corner aligned with the designated area in the slot. Carefully slide the Nano SIM card into the slot, ensuring it fits securely but without forcing it.
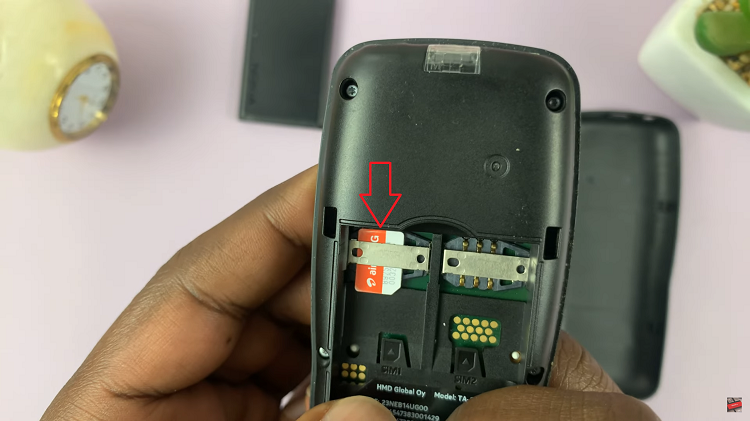
When inserting the Nano SIM card, apply gentle pressure until you feel some resistance. At this point, you have likely reached the end of the slot. Do not force the card further as this may damage both the card and the phone.
Place the battery back into its compartment, ensuring it is correctly aligned with the metal contacts. Then, carefully snap the back cover into place, making sure it fits securely.
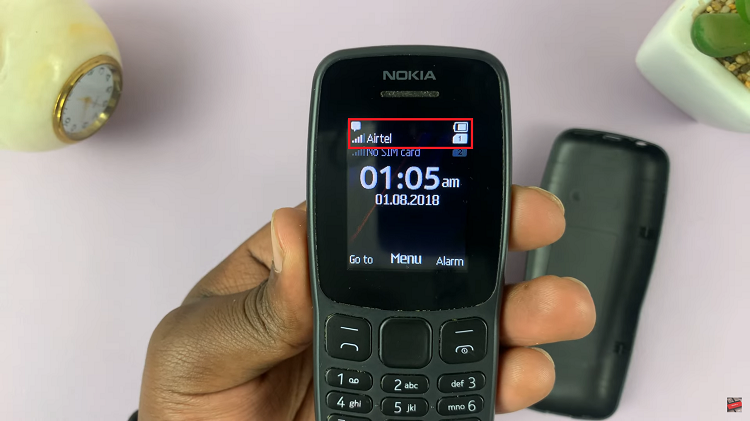
Power on your Nokia. Wait for the device to boot up fully. You should see your mobile network signal indicator displayed on the screen. This indicates that the Nano SIM card has been recognized by the phone, and you are now ready to make calls, send messages, and use data services.
