The Nintendo Switch OLED model offers gamers an enhanced visual experience and improved features. One significant advantage of the Switch is its ability to expand storage using a microSD card.
This is especially useful for those who download a lot of games, as the internal storage can quickly fill up. Here’s a comprehensive guide on how to insert an SD card into your Nintendo Switch OLED.
The Nintendo Switch OLED comes with 64GB of internal storage, which can be limiting if you download many games, DLCs, or take a lot of screenshots and videos. A microSD card can significantly expand your storage capacity, allowing you to keep more games and data directly on your console.
Choosing the Right SD Card
Before you insert a microSD card, it’s essential to ensure that it is compatible with the Nintendo Switch. The console supports microSD, microSDHC, and microSDXC cards. Here are some tips for choosing the right card:
Capacity: While microSD cards are available in various capacities, the Nintendo Switch supports cards up to 2TB.
Speed: Look for a card with a high read and write speed to ensure smooth performance. Cards labeled as UHS-I (Ultra High Speed) are recommended.
Brand: Stick to reputable brands like SanDisk, Samsung, or Kingston to ensure reliability and durability.
Watch: How To Change Lock Screen Clock Font Size On iPad
Insert SD Card In Nintendo Switch (OLED)
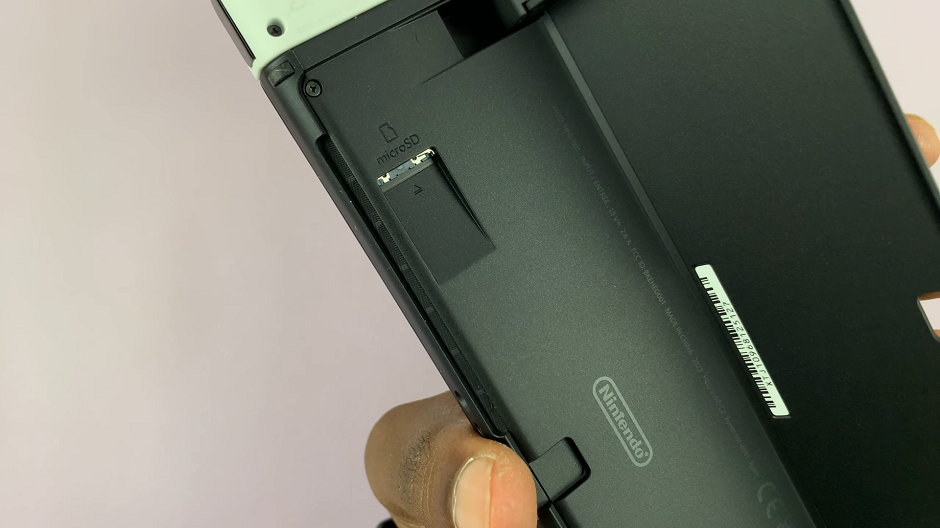
First, locate the SD Card slot at the back of the console. To access it, flip open the kickstand on the rear of the device. You will see a small slot labeled microSD.
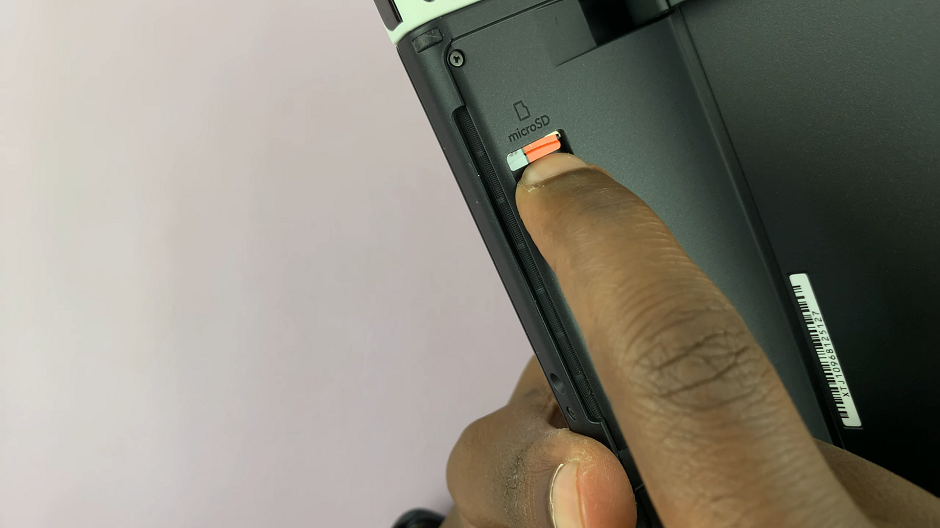
Next, hold the microSD card with the label facing away from you and the gold connectors facing down. Gently insert the card into the slot until you hear or feel a slight click, indicating that it is securely in place. Close the kickstand.
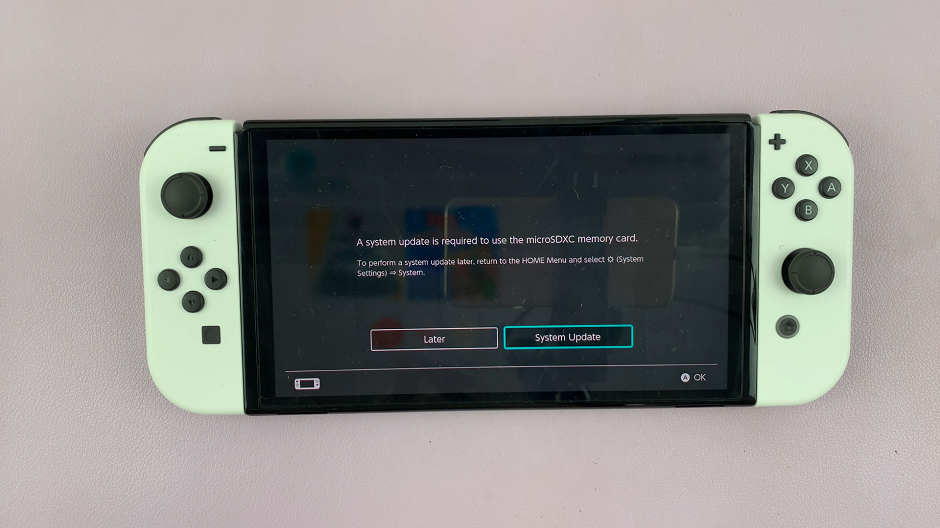
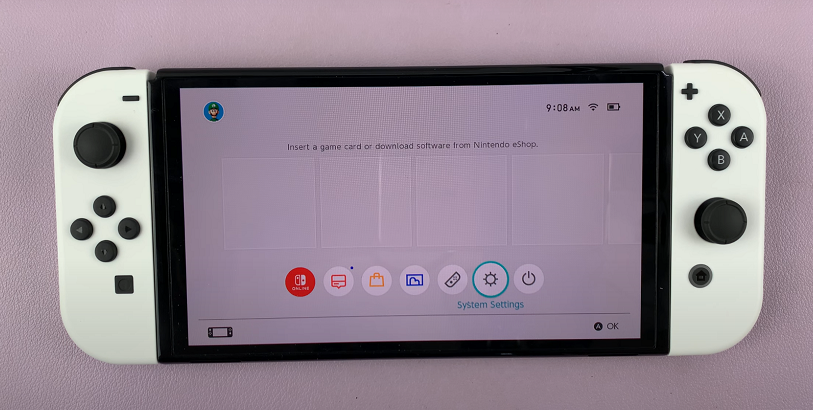
The console should automatically recognize the new storage. On the Nintendo screen, tap on System Update. This update will enable you to use the memory card.
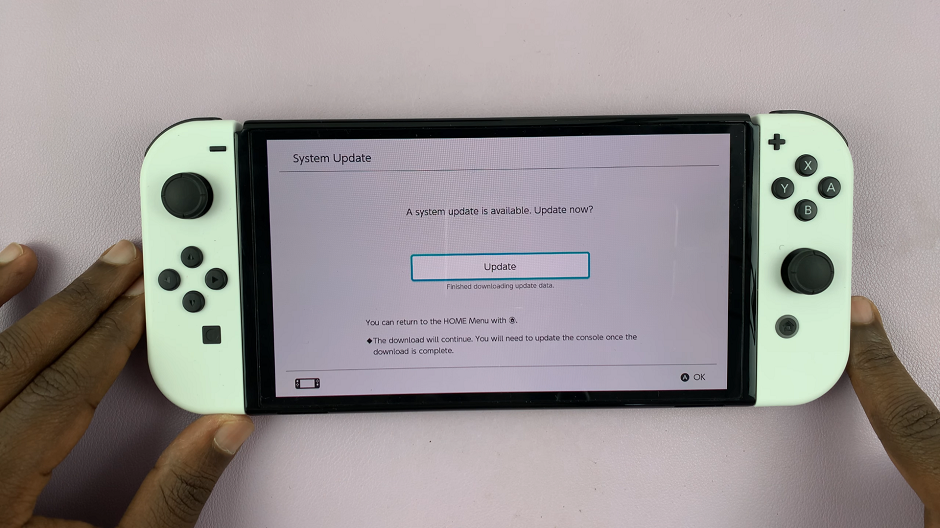
Tap or select Update to proceed with the installation. You will receive a prompt that this action will restart the console, once the update is complete. Select OK.
Once the console restarts, you can verify that the SD card has been recognized. Do this by going to the System Settings and selecting Data Management.
You should see microSD Card option, near the System Memory option.
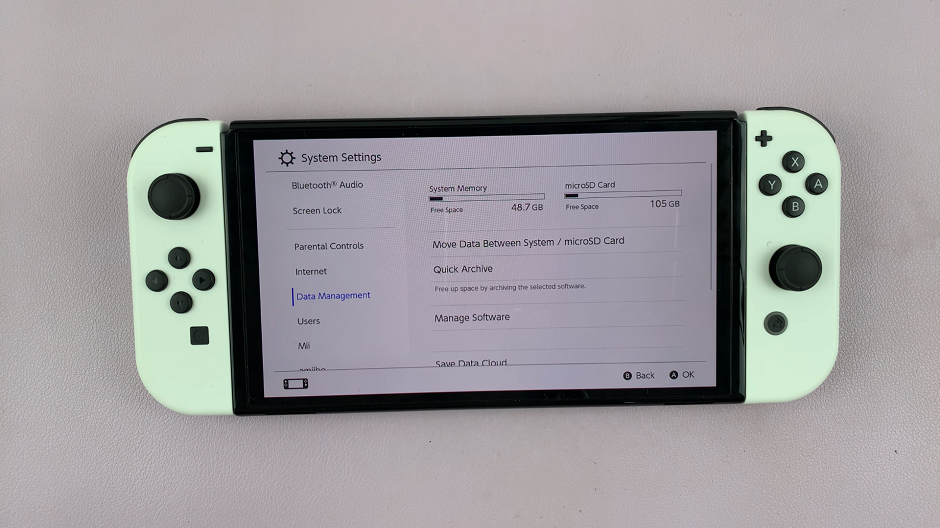
Once the SD card is recognized, you can start transferring data to it. This includes downloading new games directly to the card or moving existing data from the console’s internal storage. To transfer data, go to System Settings, select Data Management, and then choose Move Data Between System / microSD Card.
Tips for Maintaining Your SD Card
Regular Backups: Periodically back up your SD card data to a computer or cloud storage to prevent data loss.
Safe Removal: Always power off your console before removing the SD card to avoid data corruption.
Avoid Overfilling: Leave some free space on the card to ensure optimal performance and longevity.
Inserting a microSD card into your Nintendo Switch OLED is a simple process that can greatly enhance your gaming experience by providing additional storage space. By following this guide, you can ensure a smooth and hassle-free installation. Enjoy more games, screenshots, and videos without worrying about running out of space!

