The Samsung Galaxy S24 series stands as a testament to innovation and technological excellence, offering a plethora of features that redefine the smartphone experience. Among these features is the dual SIM card capability, providing users with the convenience of managing two phone numbers on a single device.
Whether you’re a business professional seeking work-life balance or a frequent traveler needing a local number, the dual SIM functionality on the Samsung Galaxy S24, S24+, and S24 Ultra can cater to your diverse needs.
In this guide, we will walk you through the step-by-step process of inserting dual SIM cards into your Samsung Galaxy S24 series device.
Watch: How To Record Screen On Samsung Galaxy S24
To Dual Insert SIM Card On Samsung Galaxy S24
To begin with, ensure you have all the necessary materials at hand. Retrieve your Samsung Galaxy S24, S24+, or S24 Ultra, the SIM card ejector tool included in the device box, and the dual SIM cards provided by your mobile service provider.
Following this, identify the SIM card tray on your device. This tray is typically positioned at the bottom of your device. At this point, locate the small pinhole adjacent to the SIM card tray and gently insert the tool into it. Apply slight pressure until the SIM card tray pops out.
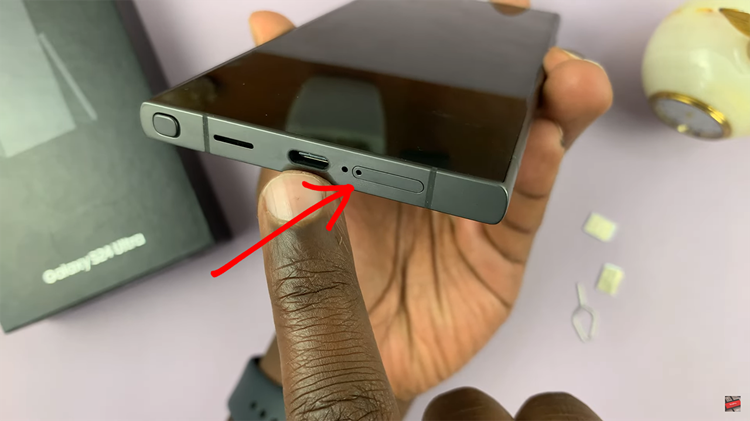
Once the SIM card tray is ejected, carefully pull it out using your fingers. Take note of the designated slots for the primary (SIM 1) and secondary (SIM 2) SIM cards. Place your primary SIM card into the corresponding slot marked as SIM 1. If you have a secondary SIM card, insert it into the slot marked as SIM 2.
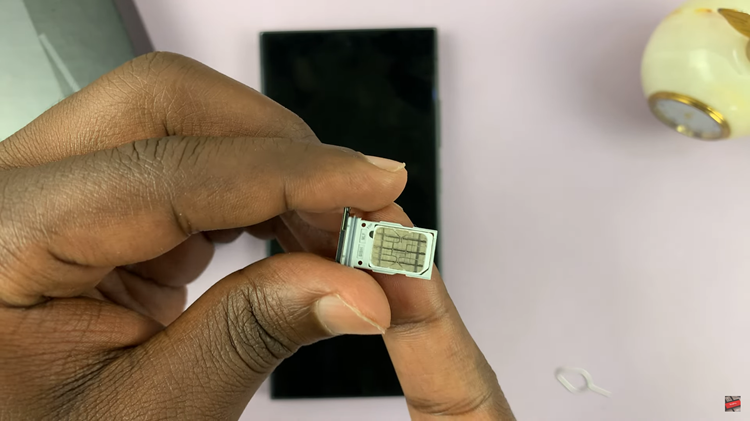
Once done, carefully slide the SIM card tray back into the device until you hear a satisfying click, indicating that it is securely inserted. At this point, the device will recognize the SIMs and you can set them up accordingly.
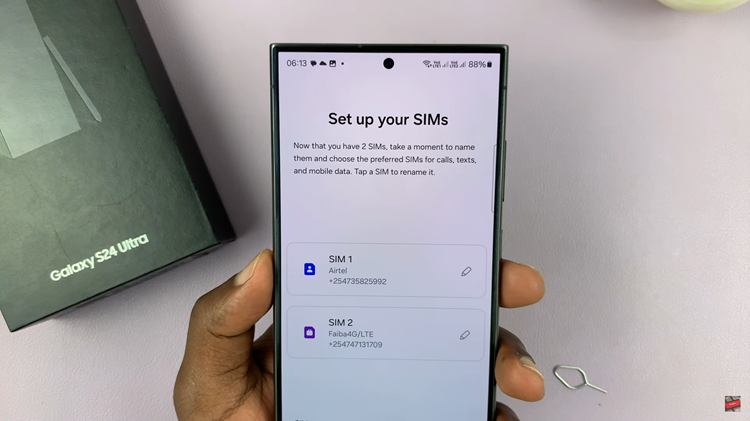
By following these steps, you’ve successfully inserted dual SIM cards into your Samsung Galaxy S24, S24+, or S24 Ultra. Enjoy the benefits of dual SIMs on your device.
