Unlock the full potential of your Samsung Galaxy A55 5G by mastering the art of inserting SIM cards and an SD card. With its dual SIM capability and expandable storage, the Galaxy A55 5G offers versatility and convenience for users.
Whether you’re upgrading from an older device or exploring the functionalities of your new smartphone, understanding how to insert SIM cards and an SD card is crucial. This detailed guide will walk you through the process step by step, ensuring a seamless setup experience.
Get ready to empower your Galaxy A55 5G with enhanced connectivity and storage options, unleashing its true capabilities with precision and ease.
Watch: How To Clear Cache Partition On Samsung Galaxy A35 5G
To Insert SIM Cards & SD Card On Samsung Galaxy A55 5G
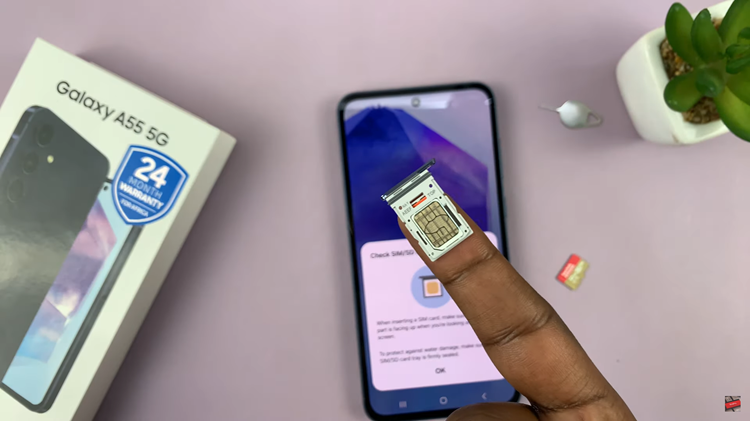
Before you begin, ensure that your Samsung Galaxy A55 5G is powered off (optional). This precautionary step helps avoid any potential issues during the SIM and SD card insertion process. Next, on the side of your smartphone, you’ll find the SIM/SD card tray.
Use the provided SIM ejector tool or paperclip to gently insert it into the small pinhole near the SIM/SD card tray. Applying slight pressure will trigger the release mechanism, causing the tray to pop out. Once ejected, place your SIM cards into these slots, ensuring that the gold contacts are facing down.

If you have an SD card to expand your device’s storage capacity, locate the dedicated slot on the tray. Carefully insert the SD card, ensuring it is facing the correct way and properly aligned with the slot.
Gently slide the tray back into the Samsung Galaxy A55 5G until it clicks into place. Take care to insert it securely, as this ensures proper connectivity and functionality. Power on your device and allow it to recognize the SIM cards and SD card.
Congratulations! You’ve successfully inserted SIM cards and an SD card into your Samsung Galaxy A55 5G. Enjoy the expanded storage and dual SIM capabilities of your device.

