In a world where music transcends boundaries, the availability of diverse platforms allows enthusiasts to experience their favorite tunes across various devices. Apple Music, known for its extensive library and exclusive content, is not confined to Apple devices alone.
Android users, too, can immerse themselves in the rich tapestry of Apple Music. If you’re eager to harness the power of Apple’s music streaming service, you’re in the right place.
In this guide, we’ll walk you through the detailed steps to seamlessly install Apple Music on your Android phone, unlocking a world of musical possibilities.
Watch: How To Enable USB Debugging On Android Phone
To Install Apple Music On Android Phone
Firstly, unlock your Android device and open the Google Play Store to start your journey to musical bliss. In the search bar, actively type “Apple Music” and hit Enter, revealing the official app in the search results.
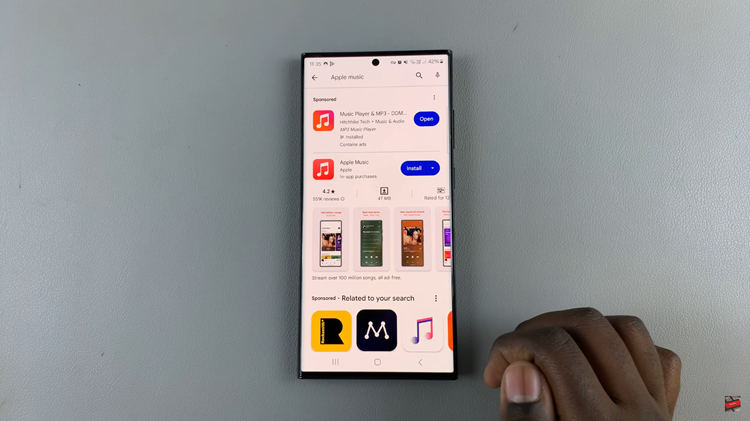
With Apple Music identified, actively tap the “Install” button, initiating the download and installation process on your Android phone.
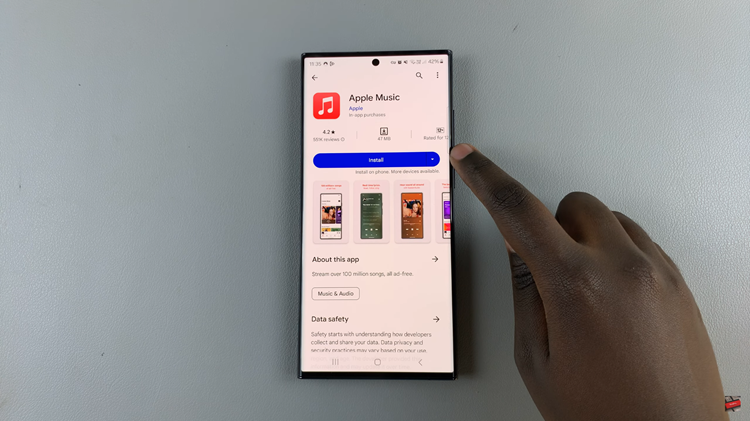
With Apple Music successfully installed on your Android device, the next step is to sign in with your existing Apple ID or create a new one if you’re new to the Apple ecosystem. This step is crucial as it allows you to personalize your music experience, synchronize playlists, and access exclusive content seamlessly.
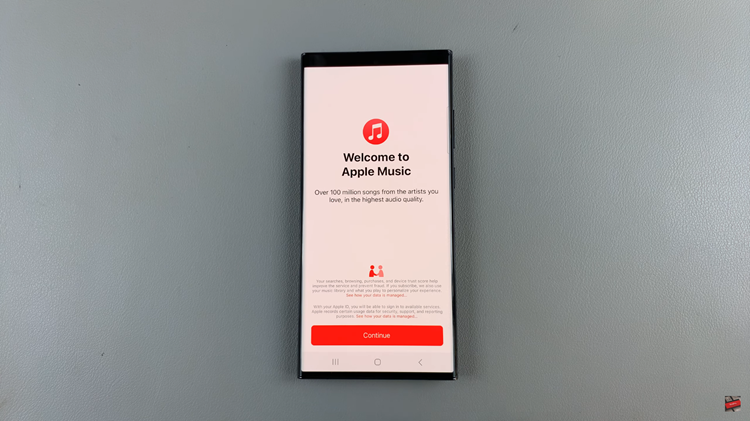
Now that you’ve signed in and chosen your subscription plan, it’s time to explore the rich features of the Apple Music app. The user-friendly interface opens the door to a vast collection of songs, albums, and playlists.
Congratulations! You’ve successfully installed Apple Music on your Android phone, transforming it into a harmonious haven for musical exploration.
