For those seeking to amplify their video creation endeavors on a Windows 11 PC, this step-by-step guide promises a seamless installation process.
Transitioning from idea to reality, we’ll navigate through the essential stages of installing CapCut, ensuring a smooth and efficient experience.
In this article, we’ll take you through the step-by-step process on how to install CapCut on your Windows 11 PC.
Also Read: How To Transfer Photos & Videos From Files To Photos App
How To Install CapCut On Windows 11 PC
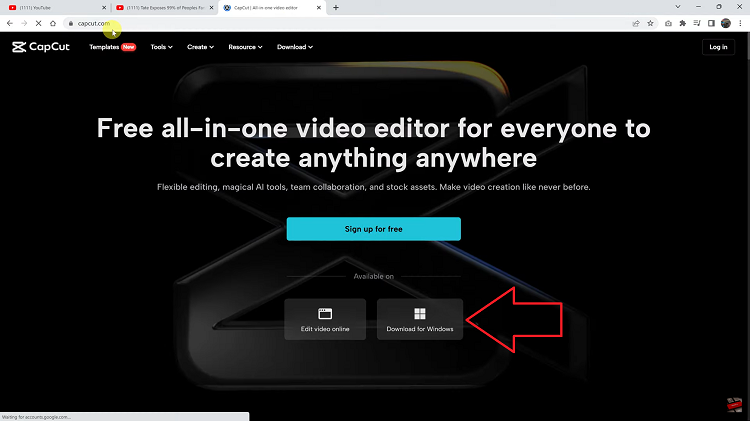
To begin, fire up your preferred web browser and type in “capcut.com” in the search bar. This will take you to the CapCut official website. Once you’re on the CapCut home page, your eyes should be drawn to the enticing “Download for Windows” option. Go ahead and tap it.
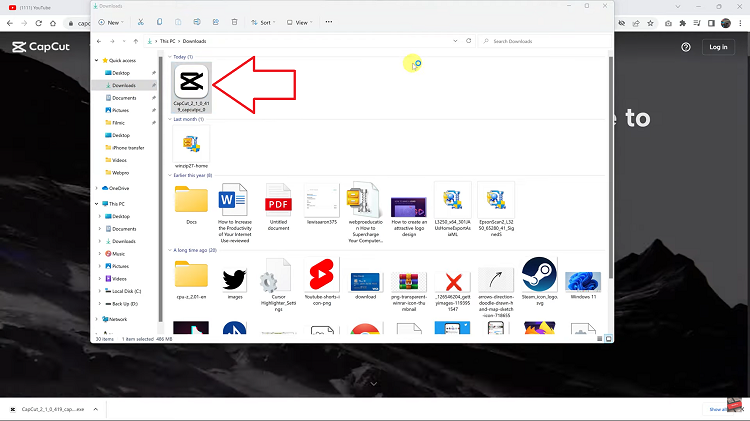
A pop-up window of your file explorer will make its grand appearance. Choose a destination where you’d like the installer application to reside. Once the download is complete, navigate to the location where you stashed the installer application. Double-tap on the application icon to set the installation process in motion.
Here comes a pivotal step: as responsible users, it’s essential to give the CapCut User License Agreement and Privacy Policy a good read. After, tap that checkmark box next to “Agree with CapCut” and show that you’re ready to abide by the rules.
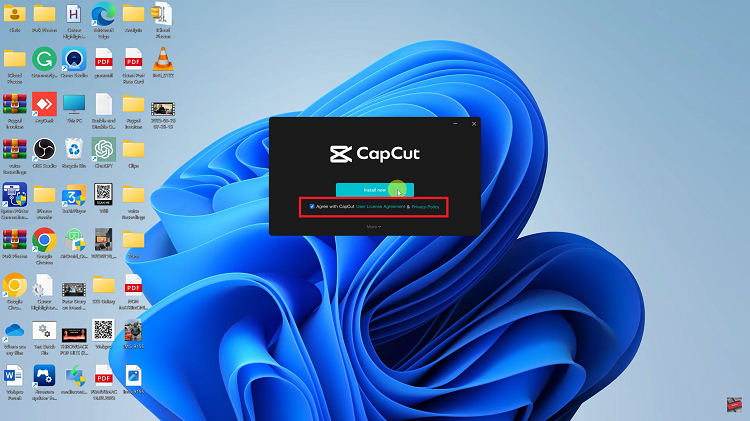
After this, let the installer do its thing, and when it’s ready, hit the “Install Now” button. Once you’re in, feel free to log into your existing account or set up a new one. And for those who use CapCut Pro, fear not. You can restore your subscription and continue enjoying the advanced features that come with it.
