The Final Cut Camera app brings professional video editing capabilities right to your iPad, empowering users to capture, edit, and enhance videos with ease.
Whether you’re a content creator, vlogger, or simply passionate about creating high-quality videos, Final Cut Camera offers a robust set of tools and features designed to elevate your video production.
In this guide, we’ll walk you through the comprehensive step-by-step process on how you can install final cut camera app on the iPad.
Also Read: How To Install Viber On iPad
How To Install Final Cut Camera App On iPad
Start by unlocking your iPad and locating the App Store icon on your home screen. Tap to open it. Once the App Store is open, use the search bar at the top to type in “Final Cut Camera” and tap the search button.
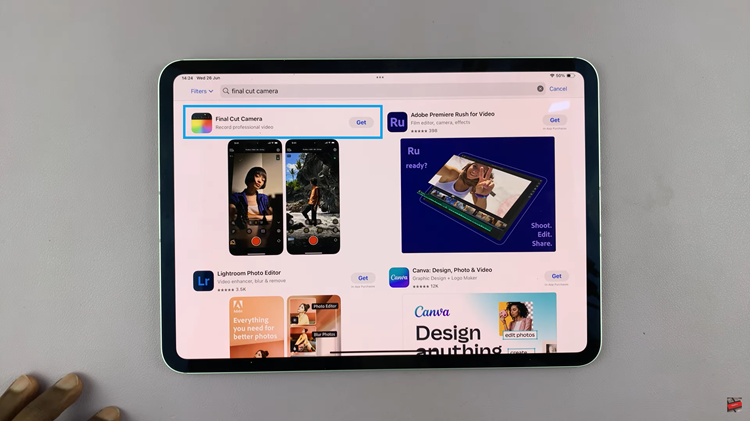
In the search results, find the Final Cut Camera app and tap on it. You’ll be directed to the app’s page. On the app’s page, tap the “Get” button. If prompted, use Face ID, or enter your Apple ID password to confirm the installation. Wait for the app to download and install on your iPad.
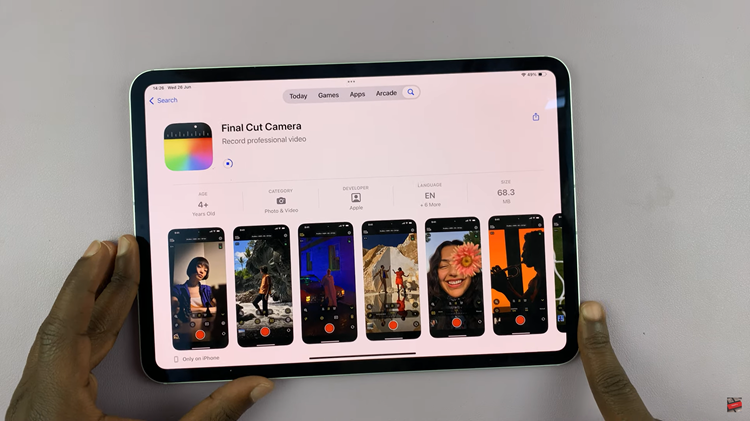
Once Final Cut Camera is installed, tap on “Open” to launch the app. Follow any initial setup prompts that appear when you open the app for the first time. This will include granting permissions for camera and microphone access. After setup is complete, you can start using Final Cut Camera
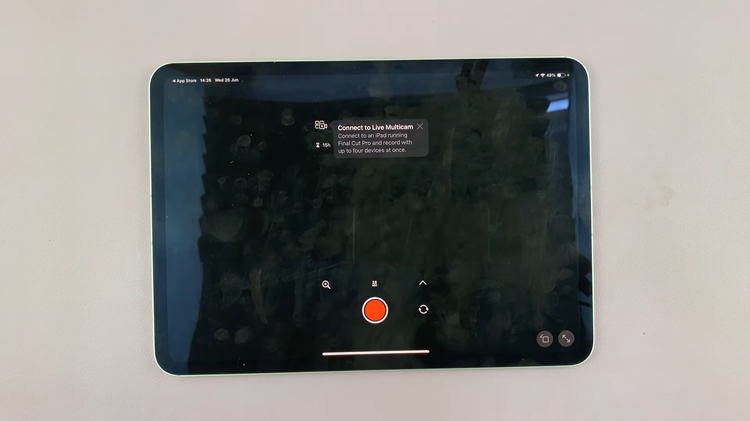
By following these steps, you can successfully install Final Cut Camera on your iPad. Now you’re ready to unleash the full potential of Final Cut Camera on your iPad for creating professional-quality videos wherever you go!
