With the growing capabilities of iPad hardware and software, Apple has made its professional video editing software, Final Cut Pro, available for iPad users.
This powerful app brings desktop-level editing tools to the portable and versatile iPad, enabling creators to edit videos on the go.
In this guide, we’ll walk you through the comprehensive step-by-step process on how you can install Final Cut Pro on the iPad.
Also Read: How To Install Microsoft Teams App On iPad
How To Install Final Cut Pro On iPad
First, unlock your iPad and open the App Store. In the App Store, use the search function, which is typically found at the bottom of the screen. Tap on the search bar and type “Final Cut Pro.” Look for the official Final Cut Pro app from Apple and tap on it to view more details.
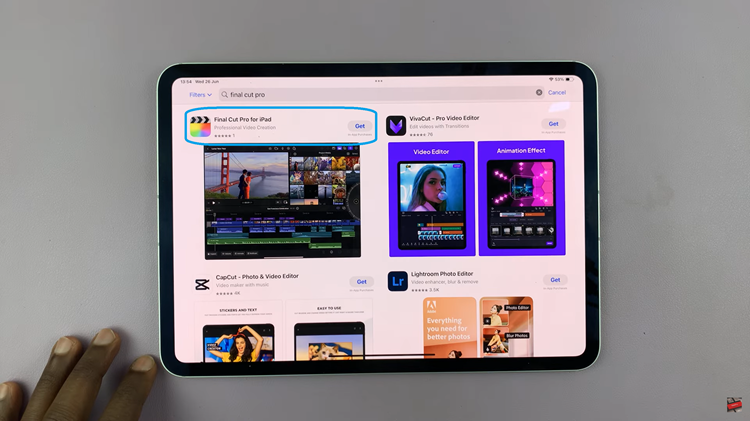
On the Final Cut Pro app page, you will see a button labeled “Get.” Tap on this button to begin the download and installation process. If prompted, use Face ID or enter your Apple ID password to confirm the installation. Once the app is installed, the “Get” button will change to an “Open” button.
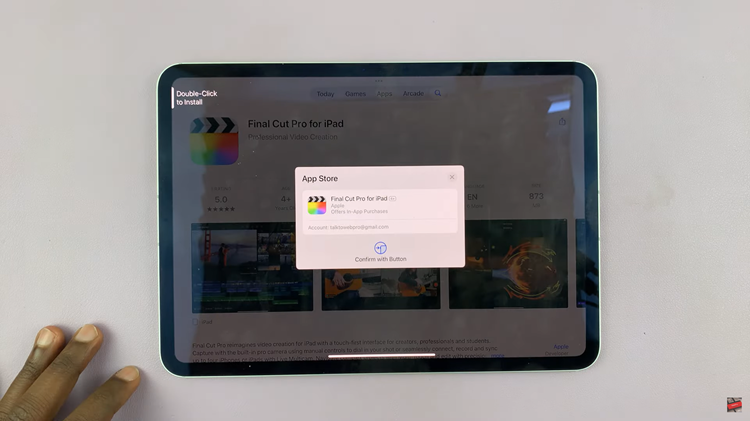
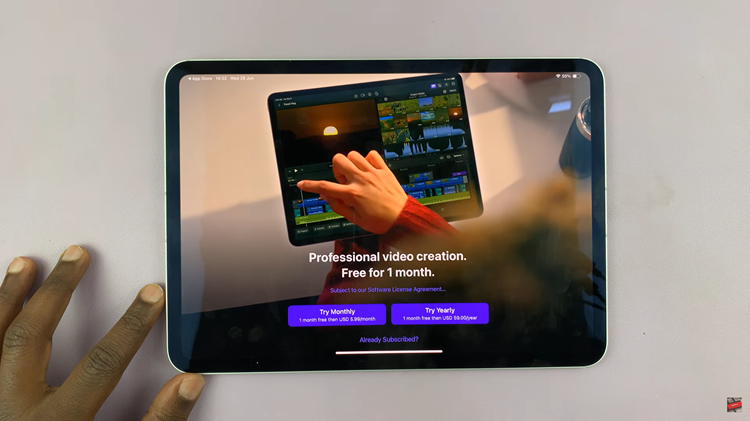
Tap on the “Open” button to launch Final Cut Pro. Upon opening the app for the first time, you will be prompted to set up various preferences and grant permissions as well as choose your subscription package. Follow the on-screen instructions to complete the setup process.
Installing Final Cut Pro on your iPad is a straightforward process. It allows you to bring powerful video editing capabilities to your fingertips. Whether you’re a professional videographer or a hobbyist, Final Cut Pro on iPad offers a comprehensive toolset to help you create stunning videos with ease.
Also Watch: How To Set Alternative Face ID Appearance On iPad
