In the fast-paced world of modern technology, convenience is key. With devices like the Rabbit R1, users seek seamless experiences that allow them to effortlessly navigate through various features. Among these features, the built-in camera stands out as a tool for capturing life’s moments in vivid detail.
However, unlocking the full potential of the Rabbit R1 camera begins with mastering its launch process. Whether you’re a photography enthusiast eager to explore new possibilities or a casual user aiming to snap quick shots on the go, we’ve got you covered.
In this guide, we’ll walk you through the comprehensive step-by-step process on how to launch the camera on the Rabbit R1.
Also Read: How To Turn OFF Rabbit R1
How To Launch The Camera On Rabbit R1
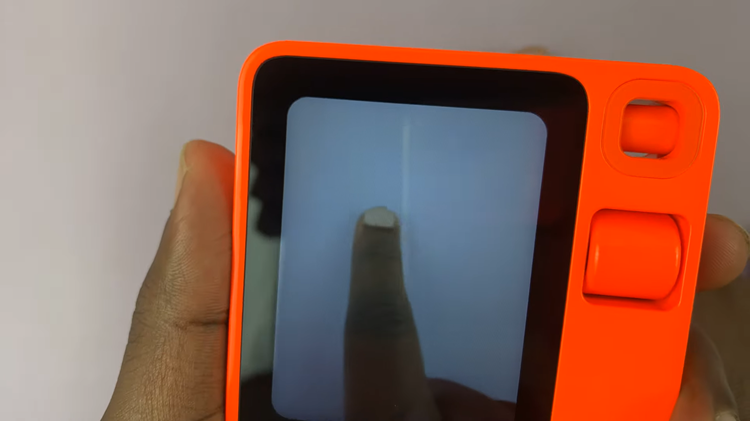
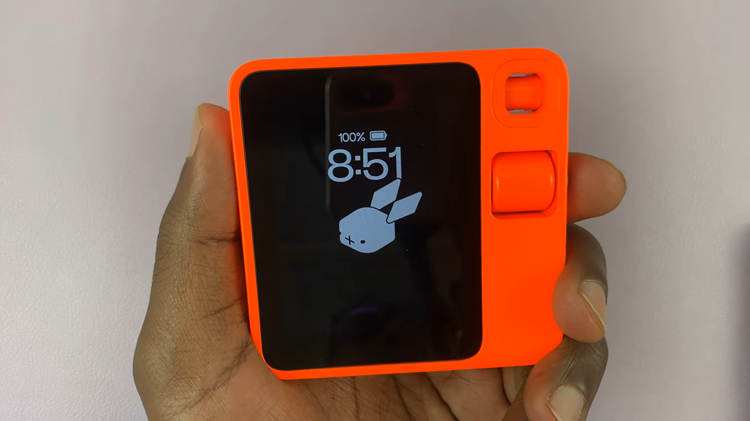
First things first, locate the button on the side of your Rabbit R1 device. Once you’ve located the button, simply double press on it to activate the camera. This action triggers the camera app to open, allowing you to start capturing photos or recording videos instantly.

After you’ve finished capturing your photos or videos, it’s time to return to the home screen of your Rabbit R1 device. Simply double press on the button again to exit the camera app and return to the main interface.

Launching the camera on your Rabbit R1 is as simple as a double press of a button. With just a few quick steps, you can access the camera function and start capturing memories wherever you go. Whether you’re documenting a special occasion or snapping spontaneous shots, the Rabbit R1 camera is ready to help you preserve those precious moments with ease.
Watch: How To Switch Between Front Selfie & Back Camera On Rabbit R1

