In this guide, we’ll show you how to put your iPad in recovery mode / DFU mode. We’ll explain what Recovery Mode and DFU Mode are, when to use each, and how to activate them on your iPad. This will be handy for any iPad model, including iPad Air, iPad Pro, iPad Mini, and more.
If you’re facing issues with your iPad, such as software glitches, an unresponsive screen, or trouble during a system update, you may need to use Recovery Mode or DFU Mode to restore the device. Both modes help troubleshoot issues that standard resets can’t fix, but they work a bit differently and serve different purposes.

Recovery Mode is useful for fixing software problems, updating or restoring the device’s operating system using iTunes or Finder and without losing your data. Common instances where you may require Recovery Mode also include and aren’t limited to your iPad is stuck on the Apple logo, error during a software update and a frozen or unresponsive iPad
Device Firmware Upgrade (DFU) Mode is a more advanced recovery option that bypasses the iPad’s bootloader, allowing for a complete restoration of the operating system. This mode is often used when your iPad won’t turn on at all, Recovery Mode fails to fix your issue, you need to downgrade iOS or jailbreak the device (be careful with this one)
Entering DFU Mode lets you reinstall iOS or iPadOS from scratch if your device is completely unresponsive or stuck in a boot loop. It erases all data in the process, so only use it as a last resort if other troubleshooting steps fail.
Watch: Remove Background On iPad Photos
Put iPad In Recovery Mode / DFU Mode
First, ensure you have a USB cable (Lightning/USB-C) and a Mac or Windows PC. For older Macs running macOS Mojave or earlier or on Windows PCs, make sure to install iTunes. However, for newer Macs running macOS Catalina or later, use Finder, which is pre-installed.
Connect your iPad to the computer using a USB cable. Newer iPad have type-C ports and cables, therefore, this should be easy. If you have an older iPad or Mac, you may need an adapter to aid your cause.
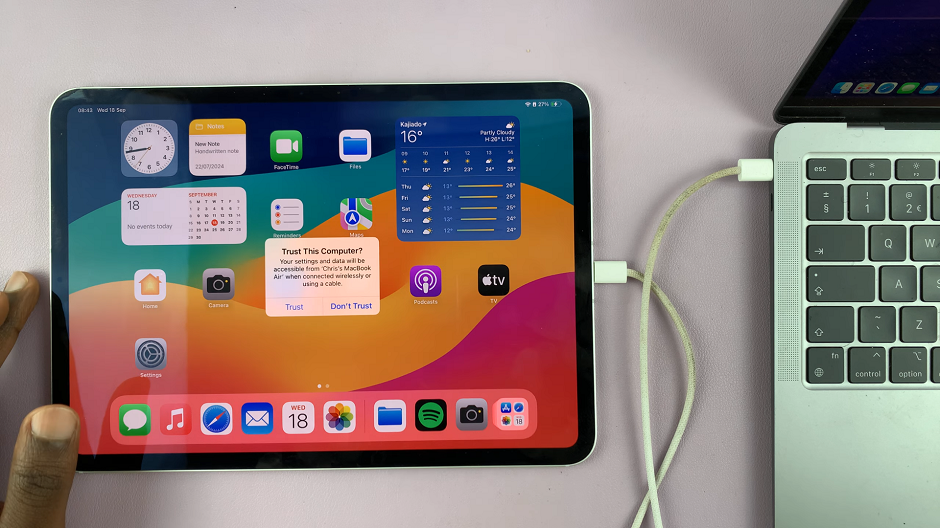
On the computer, you may receive a prompt to Allow Accessory to Connect. Select Allow. On the iPad, you will receive the Trust this Computer prompt. Tap on Trust.
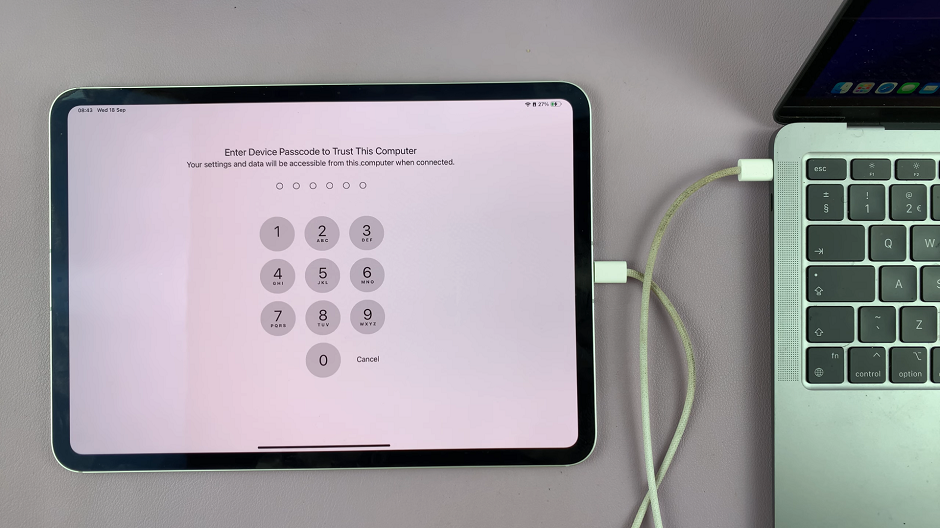
For verification to trust this computer, you will need to enter your passcode before the communication of both devices is fully established.
Next, force restart your iPad to enter Recovery Mode. For newer iPads with Face ID, press and quickly release the Volume Up button, then press and quickly release the Volume Down button.
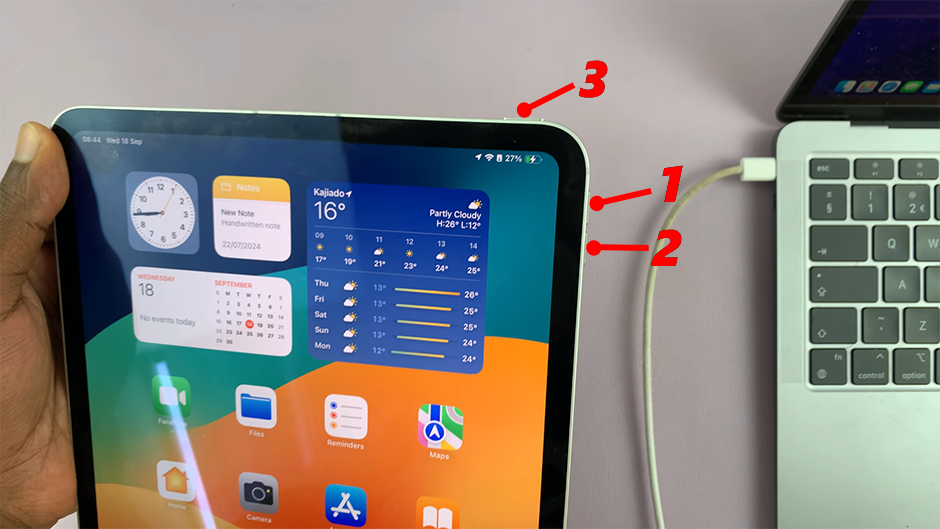
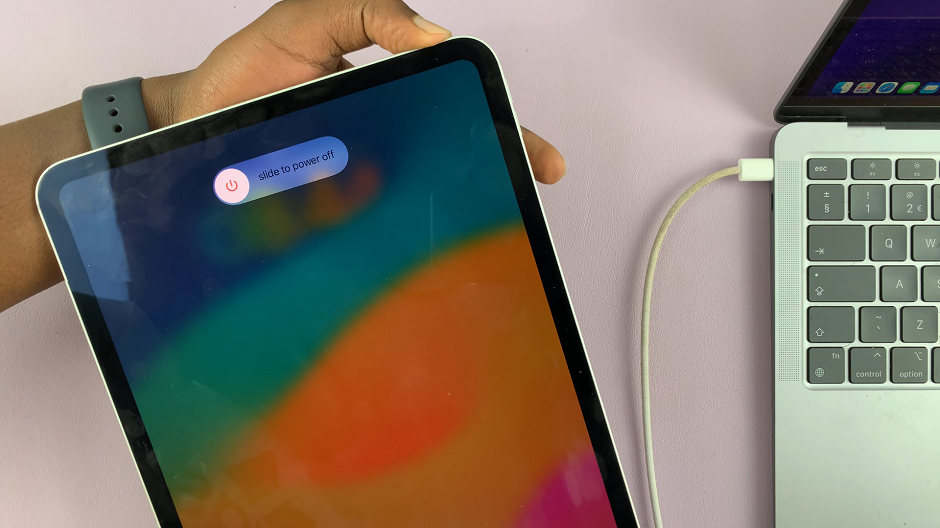
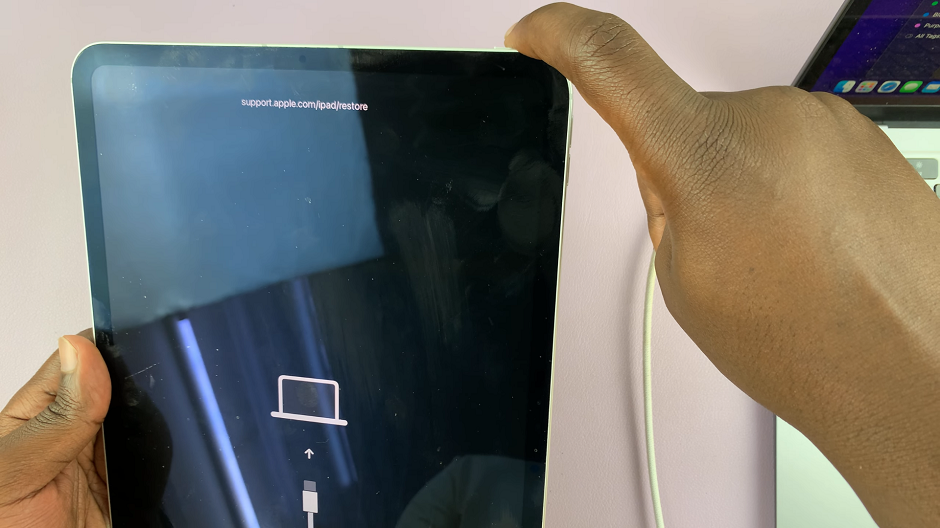
Finally, press and hold the Power (Top) button, ignoring everything that appears on the screen, including the power menu and Apple logo, until the Recovery Mode screen appears.
For older iPads with a Home button, press and hold both the Home button and the Power button. Do this until the Recovery Mode screen appears.
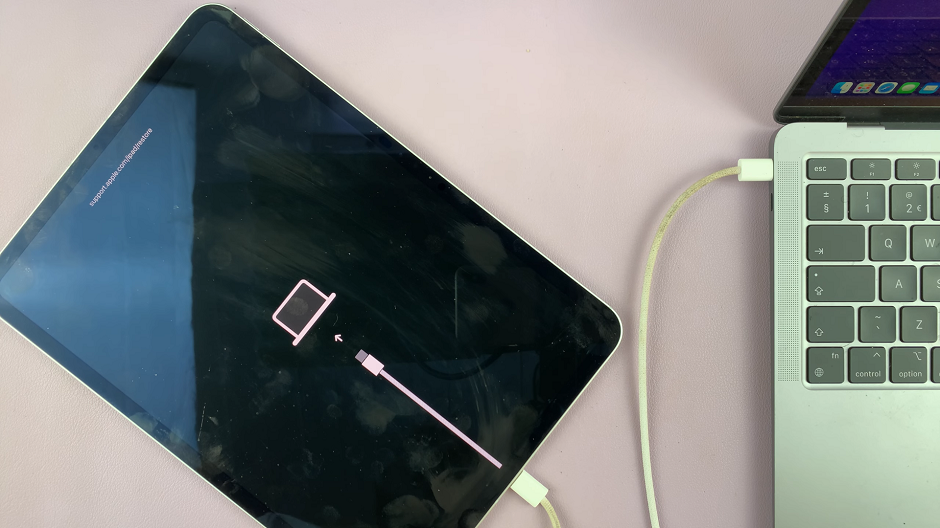
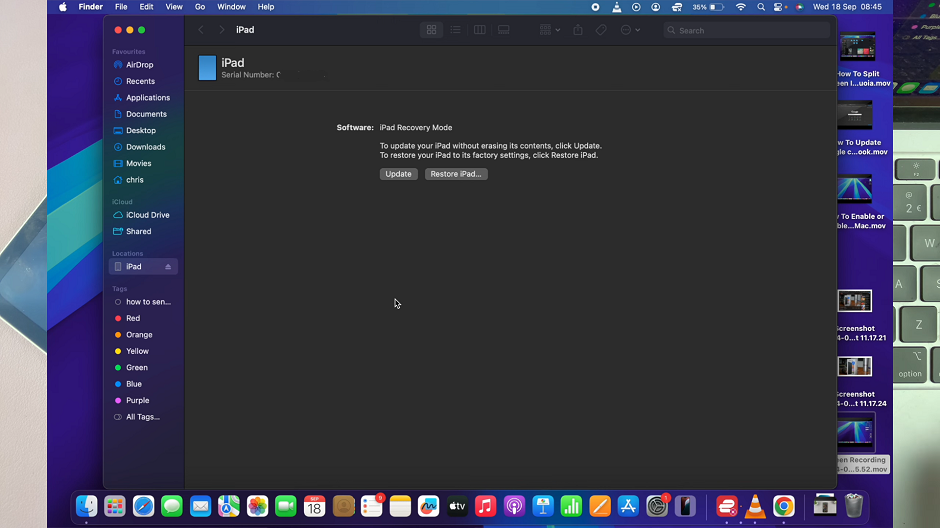
The iTunes or Finder prompt on your computer should confirm to you that your iPad is in Recovery Mode. You can now choose the appropriate action.
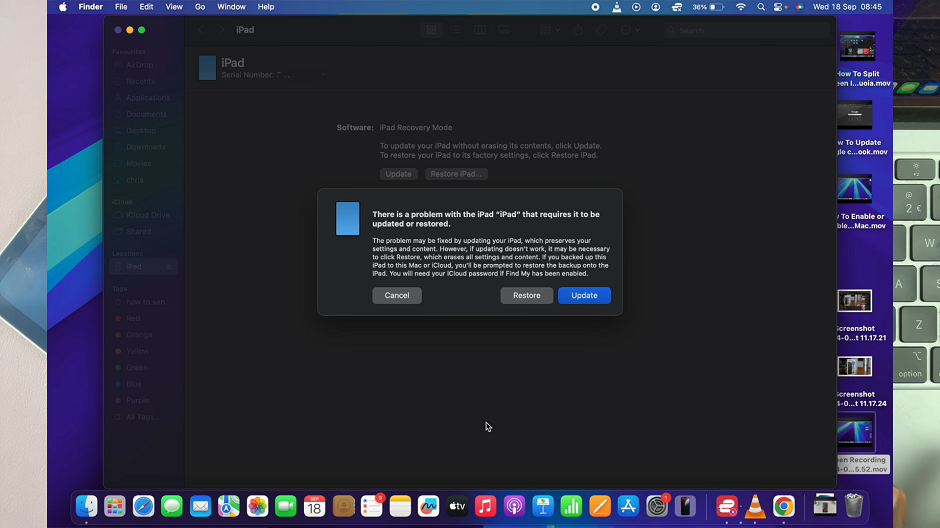
Update: This will update your iPad’s software without erasing your data.
Restore: This will erase all content and settings, restoring your iPad to factory settings.
Exit Recovery / DFU Mode
To exit Recovery Mode, simply disconnect your iPad from the computer. Unplug the cable from the iPad and force restart the device. Press and hold the Power button until the Apple logo appears.
This should apply to newer and older iPads. Once the Apple logo appears, your iPad will reboot normally.

