Recording incoming calls on your Android phone can be a valuable tool for various reasons, from preserving important conversations to creating content for your personal or professional use.
Fortunately, Android devices come equipped with a built-in screen recording feature that allows you to capture both video and audio during phone calls
In this guide, we’ll walk you through the comprehensive step-by-step process on how to record incoming calls on your Android phone.
Also Read: How To Delete Fingerprint On Android Phone
How To Record Incoming Calls On Android Phone
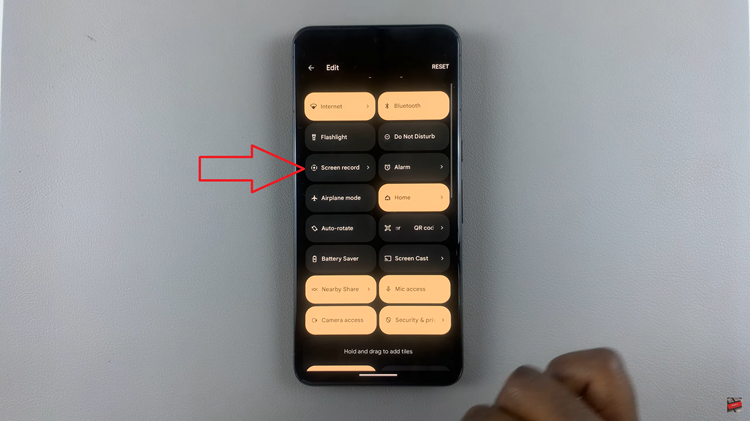
Ensure that you are in an active phone call. Swipe down to access the Quick Settings menu on your Android device. Look for the “Screen record” icon; if it’s not visible, tap on the edit icon (a pen) to customize your Quick Settings. Locate the screen record button and drag it to the Quick Settings panel for easy access.
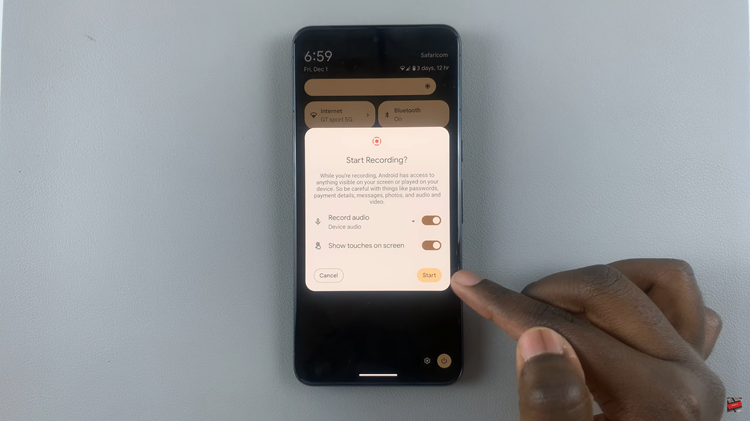
During your phone call, tap on the “Screen record” icon in the Quick Settings. A dialog box will appear, allowing you to customize settings. You can choose to enable or disable options like “Record audio” and “Show touches on screen.” Once you’ve configured your preferences, tap on “Start” to initiate the recording.
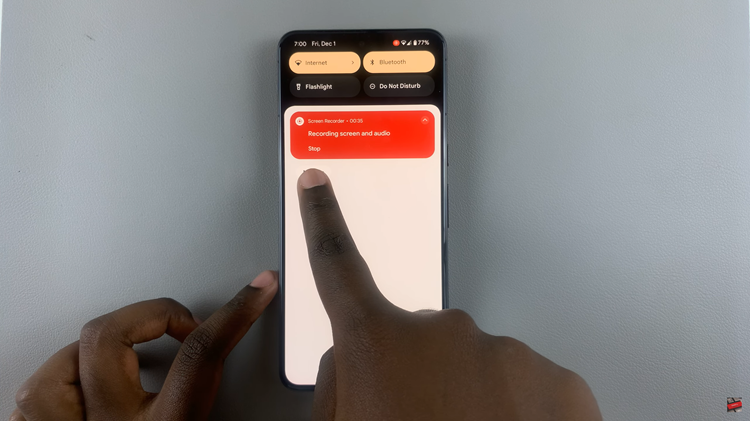
To conclude the recording, slide down to reveal the notifications shade while still on the call. Locate the “Stop” button in the recording menu and tap on it. Your call recording will be saved automatically.
After stopping the recording, open the Photos app on your Android device. Look for a folder labeled “Movies” to find your recorded calls. From the Photos app, you can edit your recordings or share them directly with others.
