The ability to remove a background from a photo allows you to create professional-looking images, whether for social media, personal projects, or presentations.
Luckily, with the iPad’s powerful tools, this process is easier than ever. In this guide, we’ll walk you through how to remove the background on iPad photos.
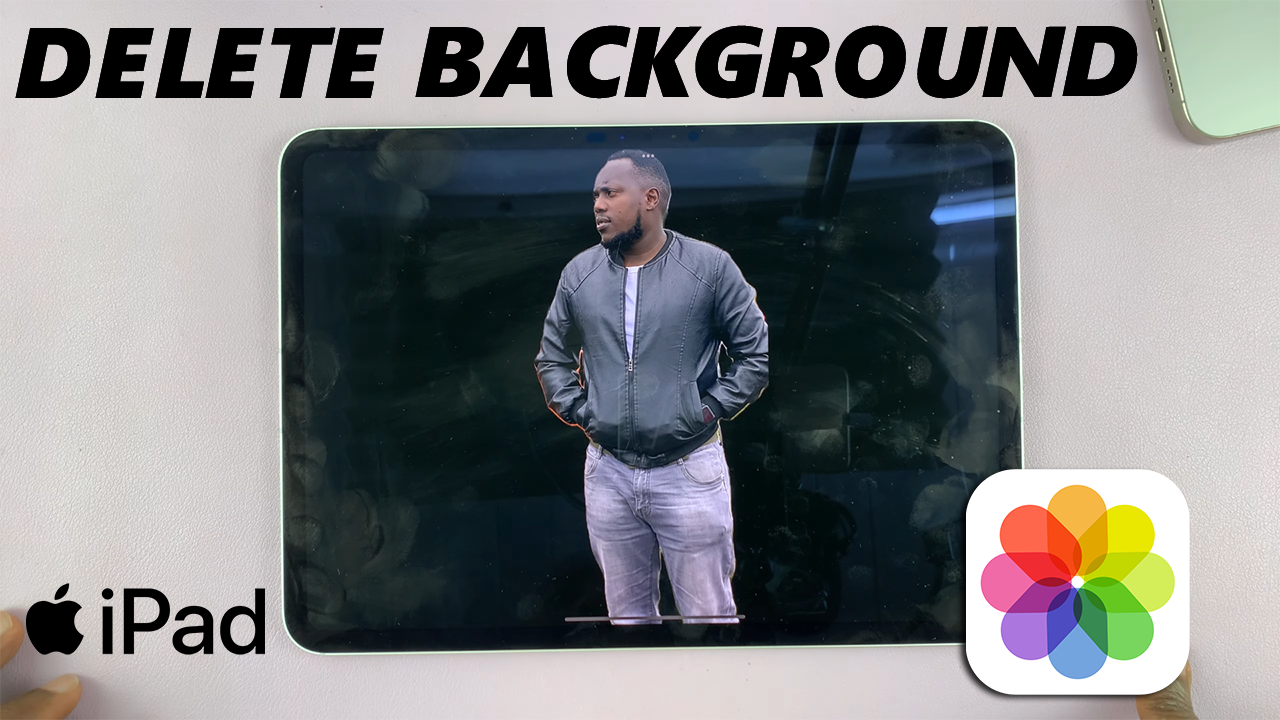
Apple introduced a built-in feature with iOS 16 that allows you to remove backgrounds directly from the Photos app. This makes background removal faster and easier than ever.
Watch: Force Restart iPad
Remove Photo Background On iPad
Start by launching the Photos app on your iPad and find the image you wish to erase the background from.
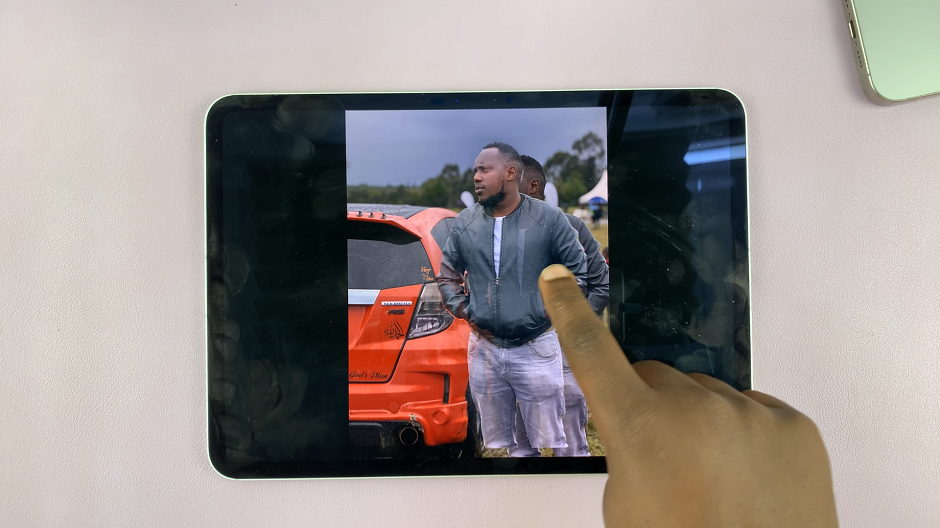
Next, tap and hold on the subject you wish to preserve, then let go of it to reveal a couple of options. You will have the option to copy, add sticker or share.
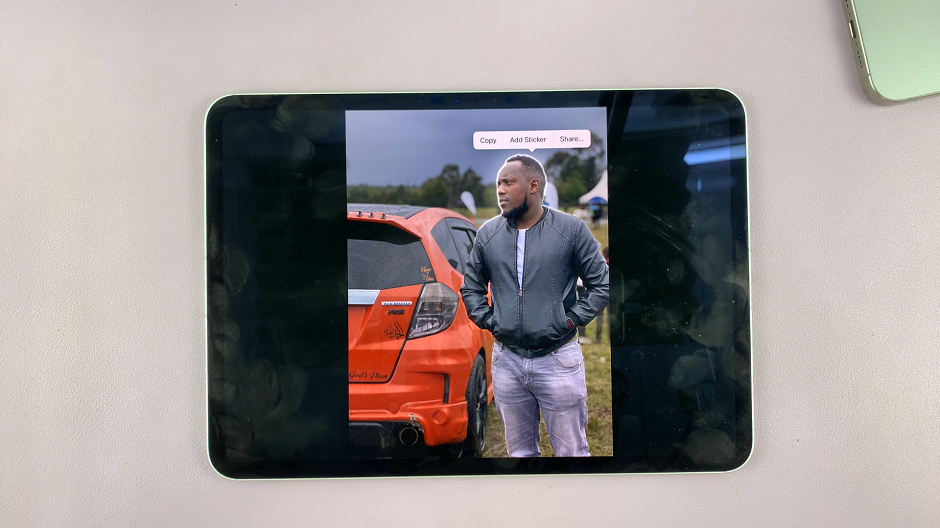
Copy: Select this option, then go to another app like the Notes or Messages app, and paste it there. In the Notes app, open a new note, then release the subject on it. On the Messages app, tap on the text box, then release the subject on it.
Add Sticker: Here, you will be able to add the image to your stickers collection. You will have the chance to add effects to it immediately, or delete it if you don’t like it.
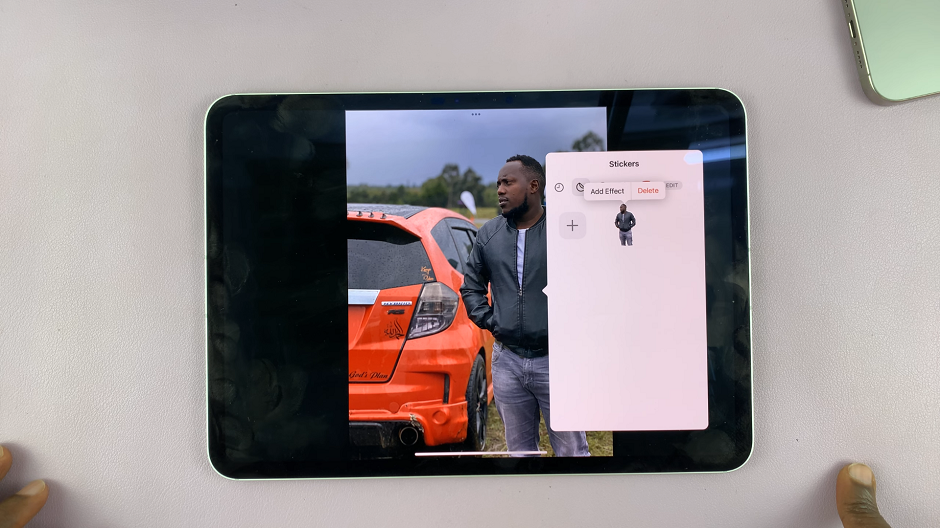
Share: This option allows you to send the image without a background to various platforms, including Airdrop, Mail, Notes, Messages, WhatsApp and many more. You can also copy the image from here, as well as use the image for other options.
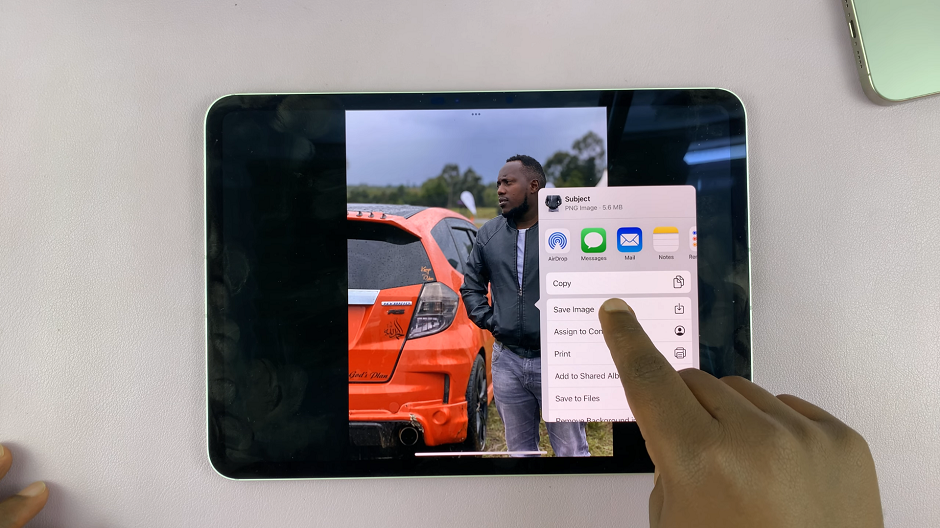
Tap on Share, then select the Save Image option. This will save your photo without a background as the most recent image on your camera roll.
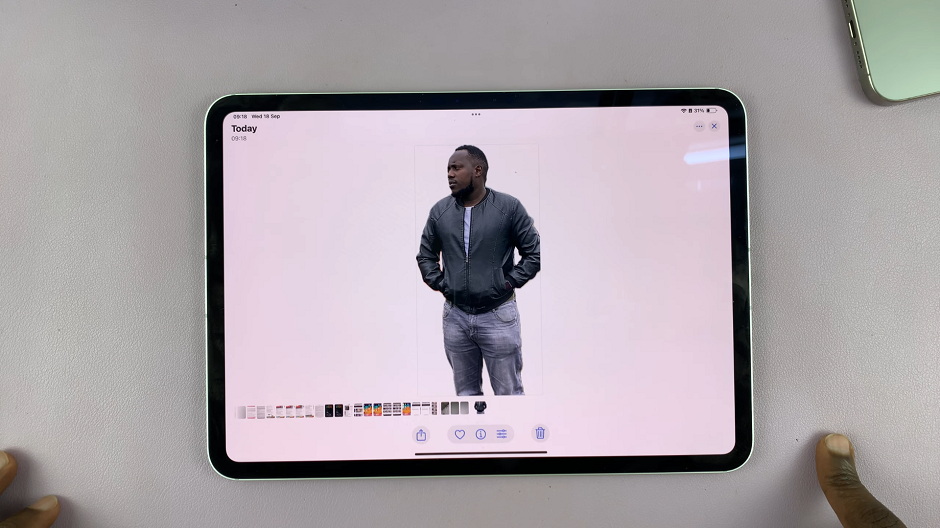
You will now be able to share or use it for later as you wish.

