In this article, we’ll provide you with a step-by-step guide on how to remove/change the battery on your Lenovo laptop.
Laptops have become an integral part of our daily lives, powering our work, entertainment, and communication. However, over time, the battery life of a laptop can diminish, leading to frustrating situations where you find yourself constantly tethered to a power outlet.
In such cases, replacing the battery can breathe new life into your Lenovo laptop and restore its mobility and productivity.
Read: How To Unpair Bluetooth Speaker On Samsung Galaxy A55 5G
Remove Battery
Before you begin, make sure to gather all the necessary tools for the battery replacement process. Additionally, ensure that you’re working on a clean and static-free surface to prevent any damage to your laptop components.
To avoid any risk of electrical shock or damage to your laptop, ensure that it is powered off completely. Once powered off, disconnect the laptop from any external power sources, and remove any connected peripherals such as USB drives or external monitors.
The next step is to locate the battery compartment on your Lenovo laptop. Depending on the model of your laptop, the battery compartment may be located on the bottom or back of the device. Consult your laptop’s user manual or manufacturer’s website for specific instructions on locating the battery compartment for your model.
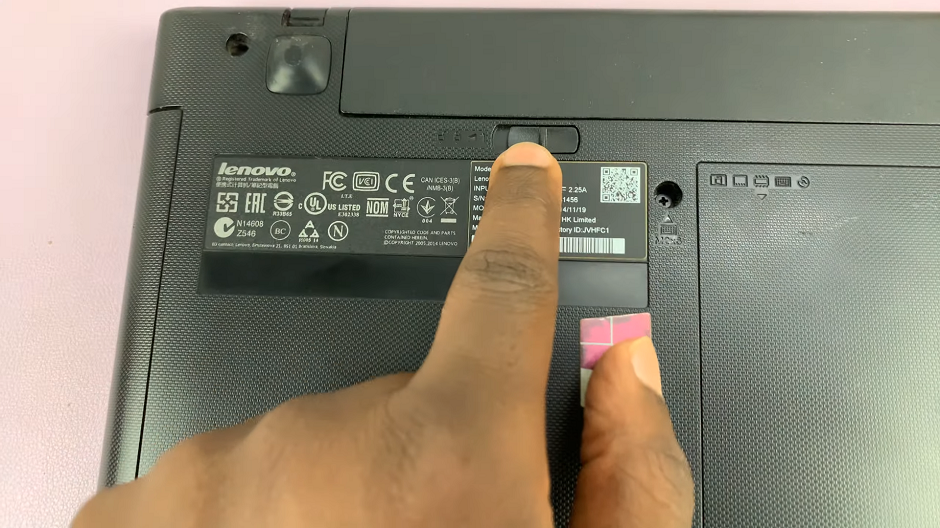
Once you’ve located the battery compartment, also locate the latches securing the battery in place. Typically, there are two latches, a manual one and a spring-loaded one. Slide open the manual one, followed by the spring loaded one.

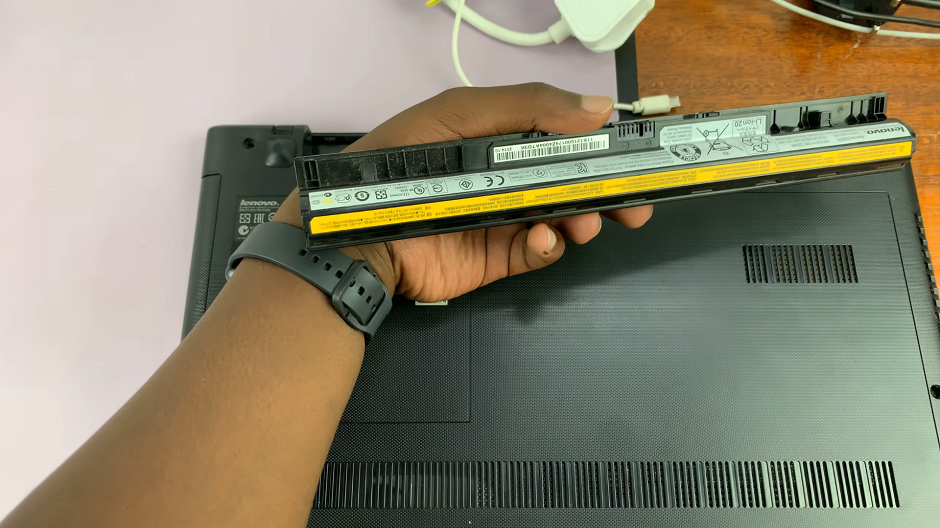
Once you slide open the spring-loaded one, the battery should be released. You can now remove the battery from its slot.

Change Battery On Lenovo Laptop
If you’re replacing the battery with a new one, ensure that the replacement battery is compatible with your Lenovo laptop model. Align the new battery with the slot in the battery compartment. Gently press the battery into place until it is securely seated. The spring-loaded latch should secure it in place. You should hear a click to verify this.
Once the new or even the old battery is installed, fasten the manual latch by locking it. With the new battery installed, reconnect any external peripherals and power on your Lenovo laptop.
Allow the laptop to boot up fully, and then check the battery status indicator to ensure that the new battery is recognized and functioning correctly. You may also want to calibrate the new battery by fully charging and discharging it a few times to optimize its performance.

By following these simple steps, you can easily remove or change the battery on your Lenovo laptop and enjoy extended battery life and improved mobility. Remember to exercise caution and patience throughout the process to avoid damaging any sensitive components.
If you encounter any difficulties or are unsure about any step, it’s always best to consult with a professional technician or Lenovo customer support for assistance. With a new battery in place, you can continue to enjoy the convenience and versatility of your Lenovo laptop for years to come.
Watch: Samsung Galaxy A55 5G: How To Change Mobile Hotspot Name & Password

