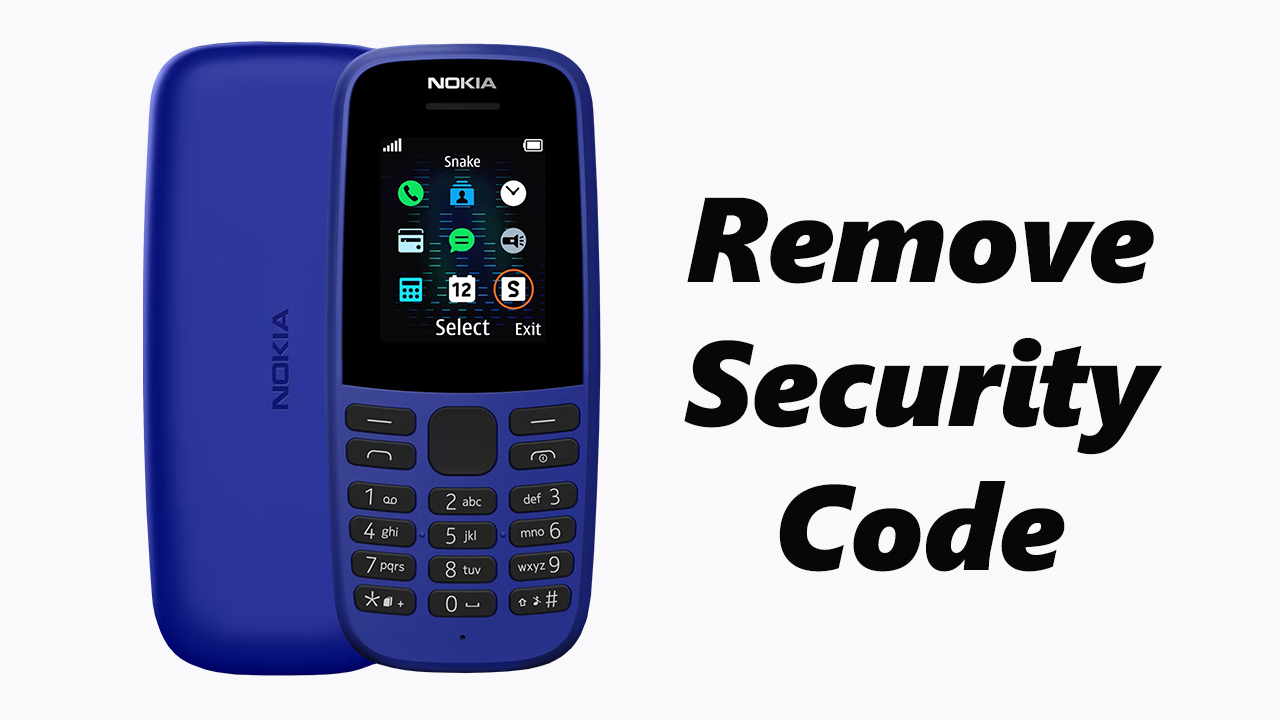
Nokia, to prevent unauthorized access to the phone and to protect personal data, created the security code. When the automatic keyguard is enabled, the phone will automatically lock after a period of inactivity. You will need to enter the security code to unlock it and use the phone again.
Before proceeding with the process of removing the security code, it is crucial to consider the potential risks and consequences. Without a security code, your phone becomes vulnerable to unauthorized access and potential data breaches.
In this article, we guide you through the process on how to remove the security code in Nokia phones. These instructions are useful for the Nokia 105, Nokia 105 4G, Nokia 225, Nokia 106, Nokia 3310, Nokia 110 and Nokia 8110 models.
Also Read: How To Insert Nano SIM Card In Nokia Phones
How To Remove Security Code In Nokia Phones.
To begin the process, navigate to the main menu and tap on the “Settings” app. In the Settings menu, scroll through the options and look for “Phone Settings“.
Under the Phone Settings, you will find a list of options. Look for “Keyguard Settings“. In the Keyguard Settings, you will have the option to either disable the Automatic Keyguard or disable the Keyguard code altogether.
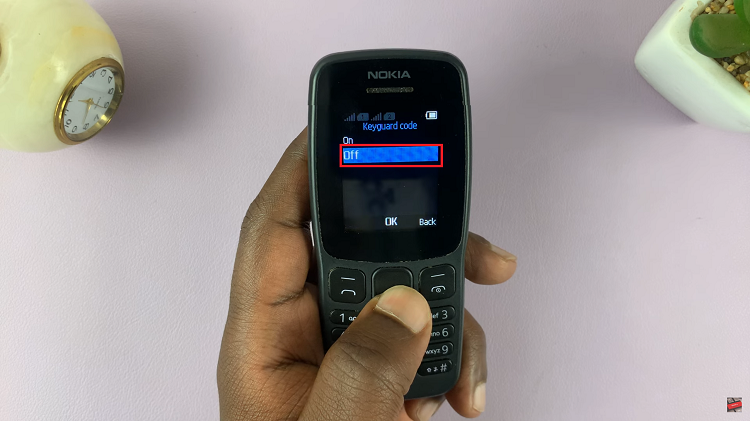
If you only want to remove the security code without affecting the Automatic Keyguard feature, choose the option to disable the Keyguard code.
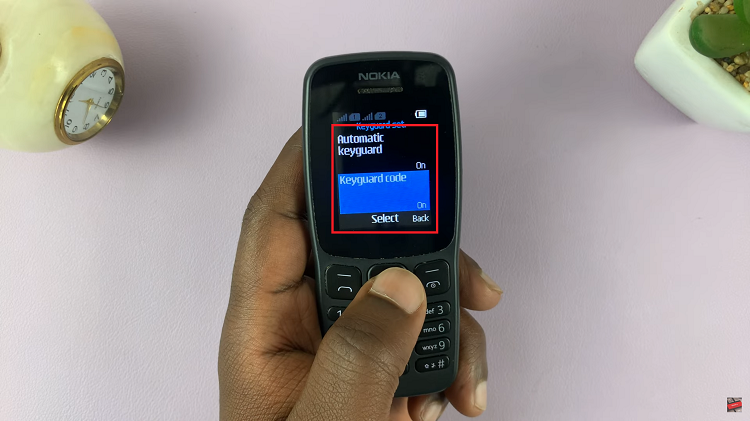
Once you select the appropriate option, the phone will prompt you to enter your current security code for verification purposes. After providing the correct code, the phone will allow you to remove the security code permanently.
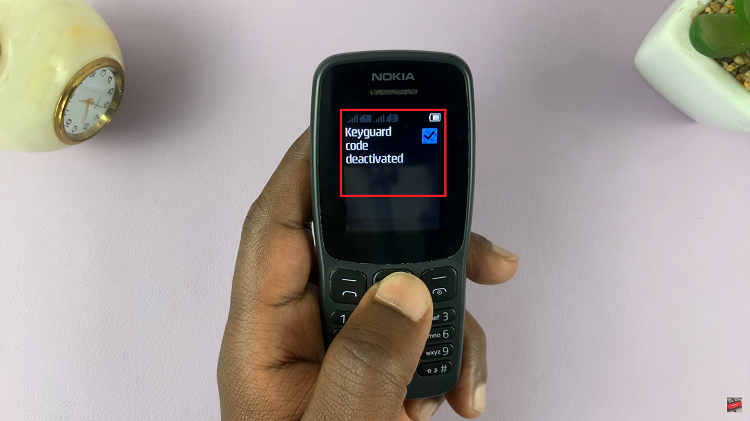
After successfully removing the security code, it is essential to test the changes by locking and unlocking your phone. This will help ensure that the code has been removed successfully and the phone is functioning as desired.

