Oraimo FreePods 4 are more than just earphones; they’re an essential companion for your daily audio needs, providing crisp sound quality and seamless connectivity. However, like any electronic device, they may encounter occasional glitches or connectivity issues that require a reset.
Whether you’re troubleshooting connectivity problems or preparing to pair them with a new device, knowing how to reset your FreePods 4 can be invaluable.
In this guide, we’ll walk you through the comprehensive step-by-step process on how to reset your Oraimo FreePods 4.
Also Read: How To Connect Oraimo FreePods 4 To ANY Mac
How To Reset Oraimo FreePods 4
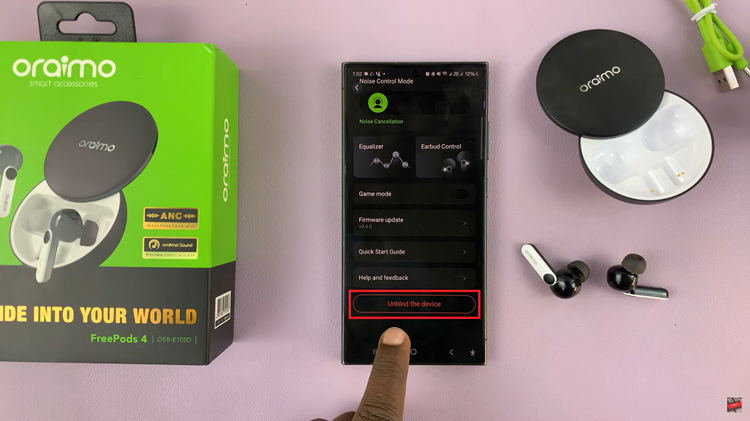
Begin by opening the Oraimo companion app on your smartphone. Tap on your FreePods 4 from the list of connected devices. Scroll through the options until you find “Unbind this device” and proceed by tapping on it. Confirm your choice to unbind the FreePods from your device.

Alternatively, if you don’t have the app installed, navigate to your smartphone’s Bluetooth settings. Look for your Oraimo FreePods 4 in the list of paired devices and disconnect. Next, ensure that your Oraimo FreePods 4 are adequately charged.
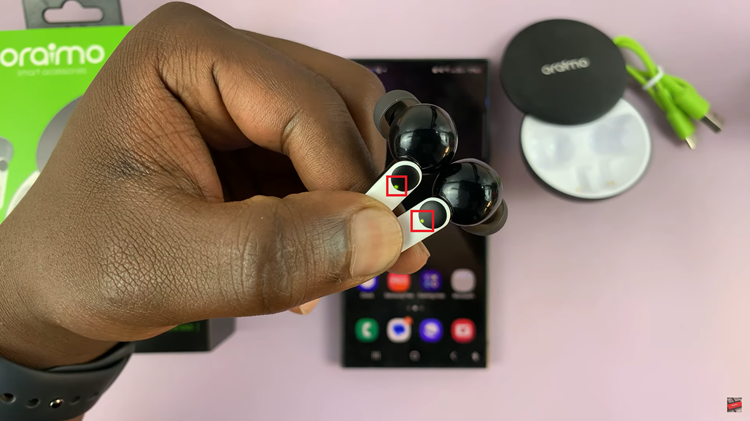
With both FreePods in hand, press the buttons on each FreePod three times quickly. Upon successful execution, you should see a yellow light appear on the FreePods. This indicates that the reset process has been completed successfully.

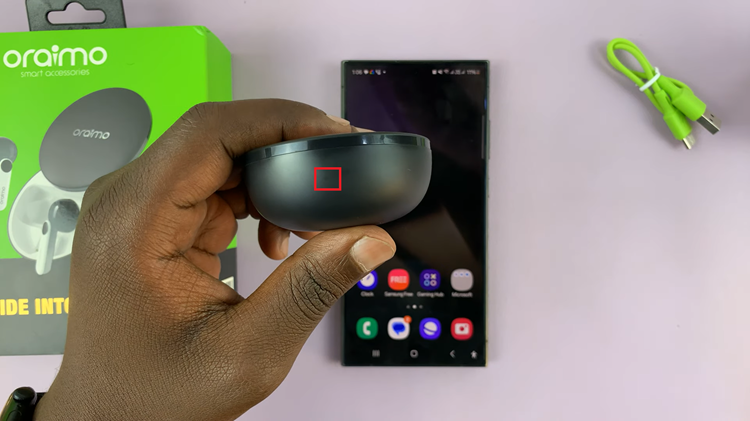
Once the yellow light appears, place the FreePods back into their charging case. Wait for the case light to disappear, indicating that the FreePods are properly seated and charging. Now, you can proceed to pair your FreePods 4 with your smartphone or any other compatible device as if they were brand new.

By following these simple steps, you can quickly reset your Oraimo FreePods 4 and resolve any connectivity issues you may encounter. Whether you’re troubleshooting problems or preparing to connect to a new device, resetting your FreePods ensures a smooth and hassle-free experience with your audio accessories.

