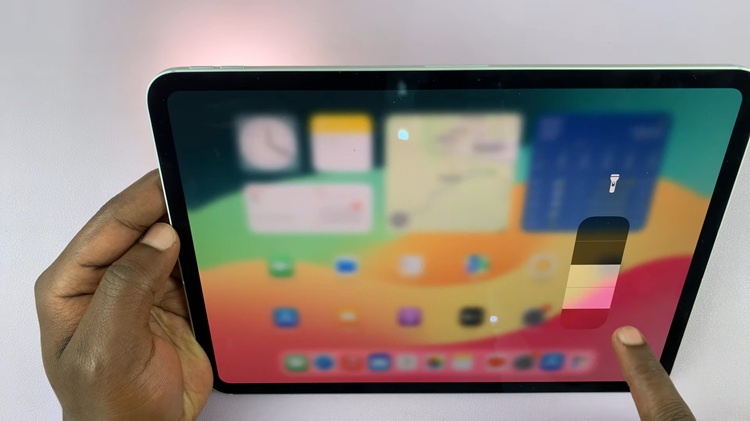
Rotating photos on your iPad is a fundamental skill that can greatly enhance your photo editing capabilities and ensure your pictures are always presented in the best possible orientation.
Whether you’re correcting an accidental rotation or adjusting for a preferred viewing angle, the process is straightforward and can be accomplished using the native Photos app.
In this guide, we’ll walk you through the steps to rotate photos on your iPad.
Watch: iOS 18 – How To Lock Apps With Face ID / Fingerprint On iPad
Rotate Photos On iPad
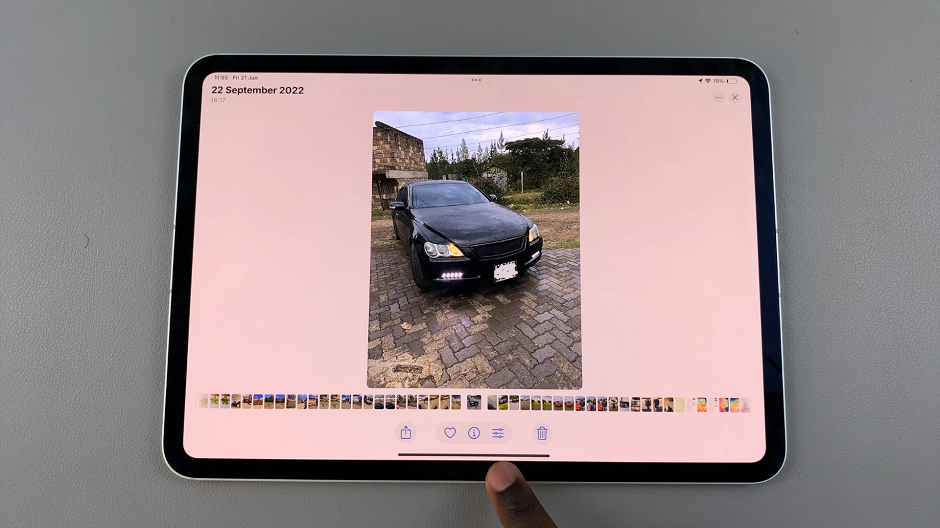
First, locate the Photos app on your iPad and tap to open it. Navigate to the photo you wish to rotate. You can find your photo by browsing through albums or using the search function.
Once you have selected the photo you want to rotate, tap the Edit button located at the bottom of the screen. It is resembles an equalizer. This will open the editing interface, where you’ll find a range of editing options.
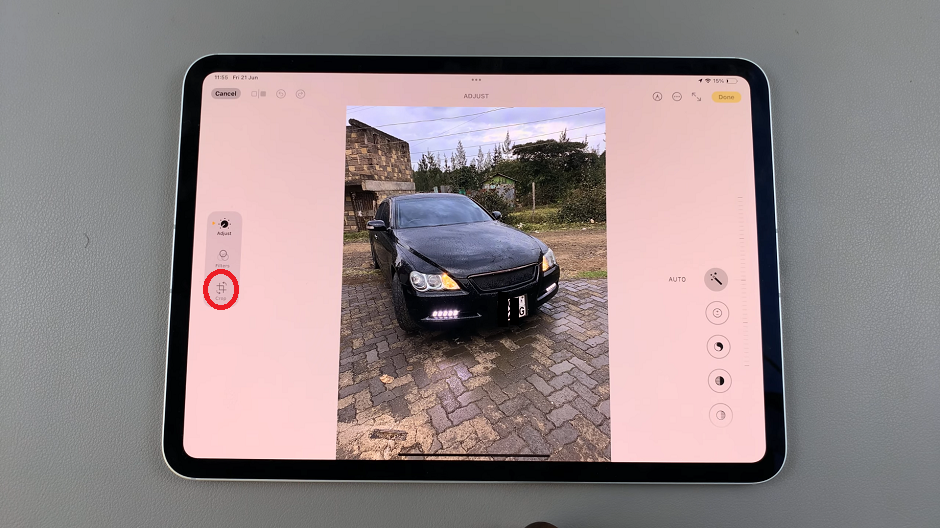
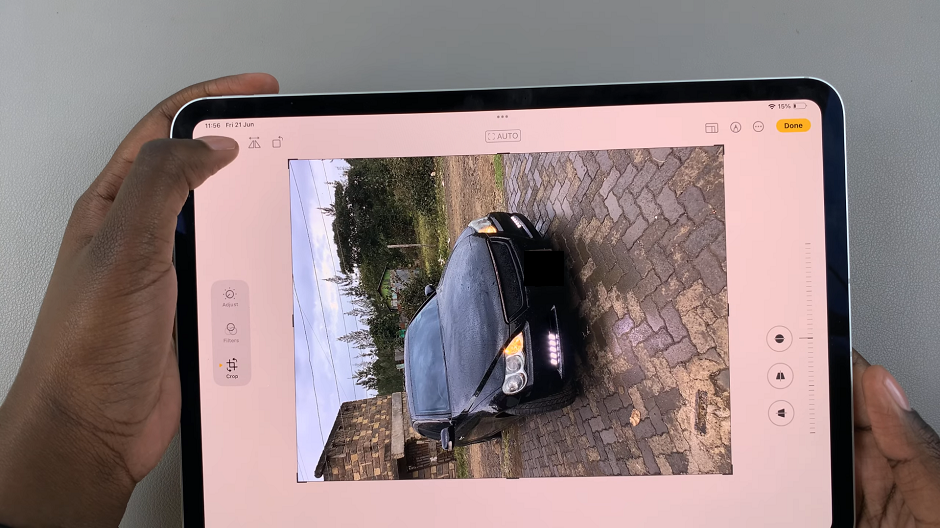
In the editing mode, you’ll find several tools at the left-hand side of the screen. Tap on the Crop icon (it looks like a square with arrows around it). Another range of sub-options should appear in the top-left corner of the screen.
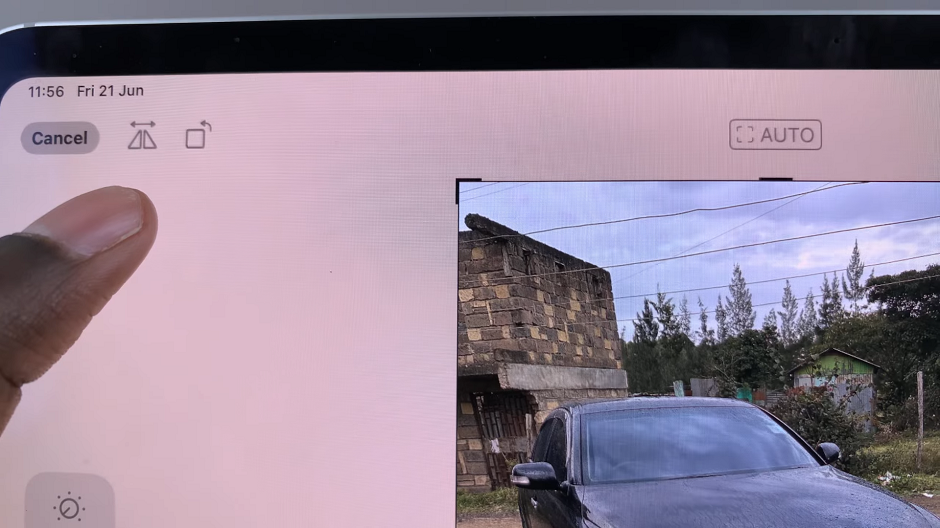
In the top left corner, you’ll see a rotate icon (a square with a curved arrow). Tap on this icon. Each tap rotates the video 90 degrees clockwise. Continue tapping until your photo is in the desired orientation.
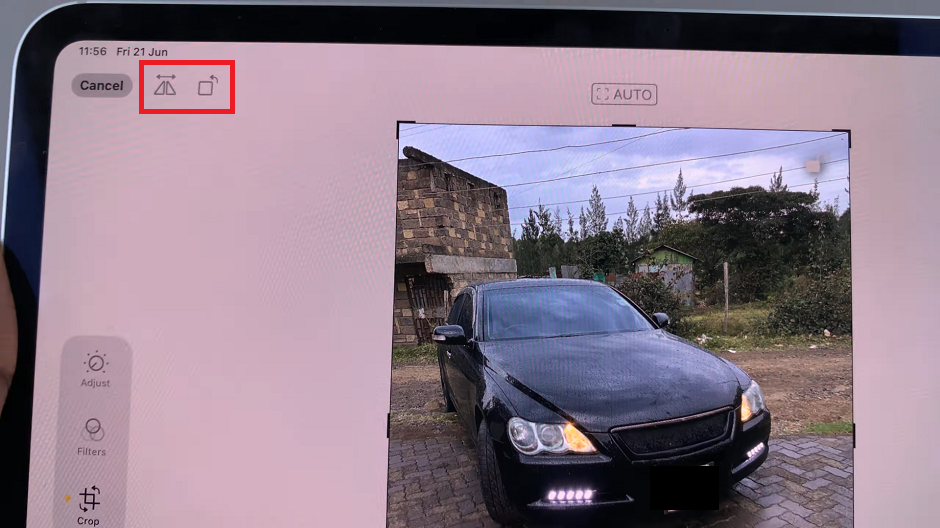
You can also flip the image by using the icon that resembles two rectangles facing opposite directions.
Once you’ve adjusted the orientation, tap Done in the top-right corner. Your photo will be saved in the new orientation, replacing the original version.
Now that your photo is correctly oriented, you can share it with friends and family. Simply open the newly rotated photo in the Photos app, tap the Share icon. Then, choose your preferred method of sharing, such as AirDrop, Messages, Mail, or social media platforms.
Additional Tips
Undo Changes: If you make a mistake while editing, simply tap “Undo” at the bottom left corner of the screen to revert the last edit.
Use Gestures: In some cases, you can also rotate photos by using two fingers to rotate the image directly on the screen. This gesture is intuitive and can be quicker for minor adjustments.
Third-Party Apps: While the Photos app provides basic editing tools, you can explore third-party apps from the App Store for more advanced photo editing capabilities, including precise rotation controls.
Learning how to rotate photos on your iPad is a valuable skill that can improve the presentation of your images and make your photo management more efficient. With the easy-to-follow steps outlined above, you can confidently rotate photos directly on your iPad using the built-in Photos app. Whether you’re a casual photographer or a seasoned professional, mastering this basic editing task will enhance your overall iPad experience.
Now that you know how to rotate photos on your iPad, explore other editing features and unleash your creativity with your digital photo collection.

