If you find yourself in possession of both a Mac or MacBook and a Roku TV, you’re in for a treat – the ability to screen mirror.
This convenient feature allows you to effortlessly project your Mac’s display onto the larger canvas of your Roku TV. It transforms your viewing and presentation experiences.
In this guide, we’ll walk you through the comprehensive step-by-step process on how to screen mirror on your Mac and MacBook to Roku TV.
Also Read: How To FIX Sound Not Working On Roku TV
How To Screen Mirror Mac & MacBook To Roku TV
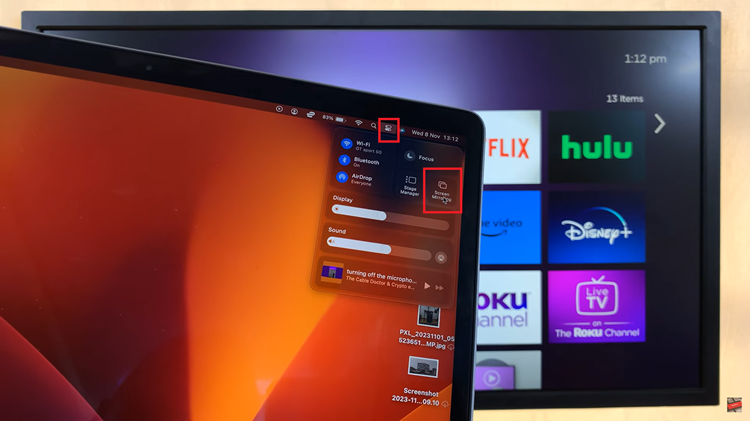
Before you begin the screen mirroring process, ensure that both your Roku TV and Mac are connected to the same Wi-Fi network. Also, make sure that AirPlay is enabled on your Roku TV. On your Mac, navigate to the menu bar located in the top right corner of the screen. Click on the menu button, and from the dropdown menu, select “Screen Mirroring.”
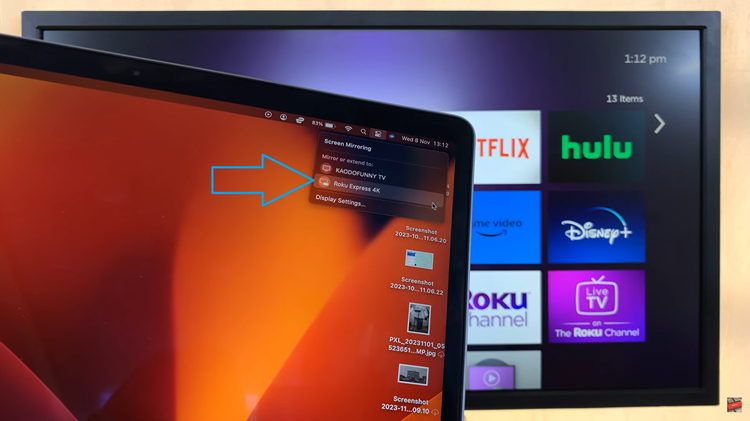
Once you’ve accessed the Screen Mirroring menu, a list of available devices will be displayed. Look for your Roku TV on the list and select it. Your Mac will then automatically start the screen mirroring process, projecting your display onto the Roku TV.
With the connection established, you can now enjoy your Mac’s content on the larger screen of your Roku TV. Whether it’s streaming videos, giving presentations, or showcasing photos, the possibilities are endless.
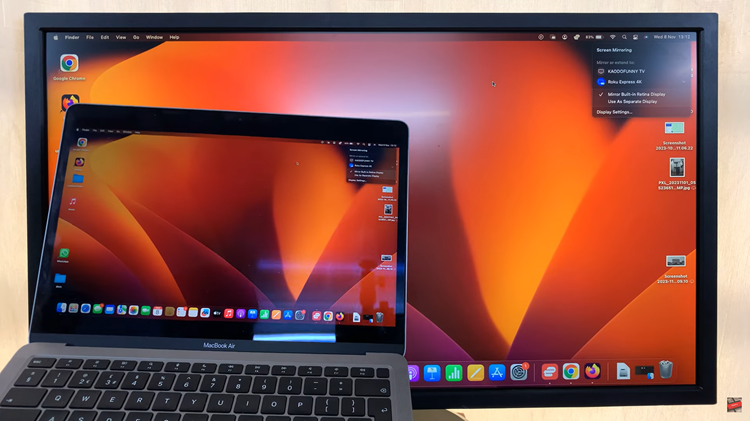
When you’re done screen mirroring and want to return to your Mac’s display, simply go back to the menu and tap on “Screen Mirroring” again. From the list of devices, select Roku, and this will automatically stop the screen mirroring process.
