Capturing a screenshot on your iPad is a simple yet powerful way to save and share important information quickly. Whether you want to preserve a memorable moment, capture an error message for troubleshooting, or share content from a website, knowing how to take a screenshot efficiently can be incredibly useful. By following a few straightforward steps, you can easily capture exactly what’s on your screen and have it ready for immediate use.
Moreover, once you master the process, you’ll find that taking screenshots becomes second nature. From the moment you press the necessary buttons to the instant the image is saved to your Photos app, each step is designed to be intuitive. Transitioning from capturing the screenshot to editing or sharing it is seamless, allowing you to focus on what you need to do next. This guide will walk you through the process, ensuring you’re equipped with all the knowledge you need to make the most out of your iPad’s screenshot feature.
Watch:How To Turn OFF iPad
Screenshot On iPad
Method 1: Standard Screenshot
Find the Buttons: Locate the power button and the volume up button. On some newer iPads, the volume buttons may switch places depending on how you hold the iPad.
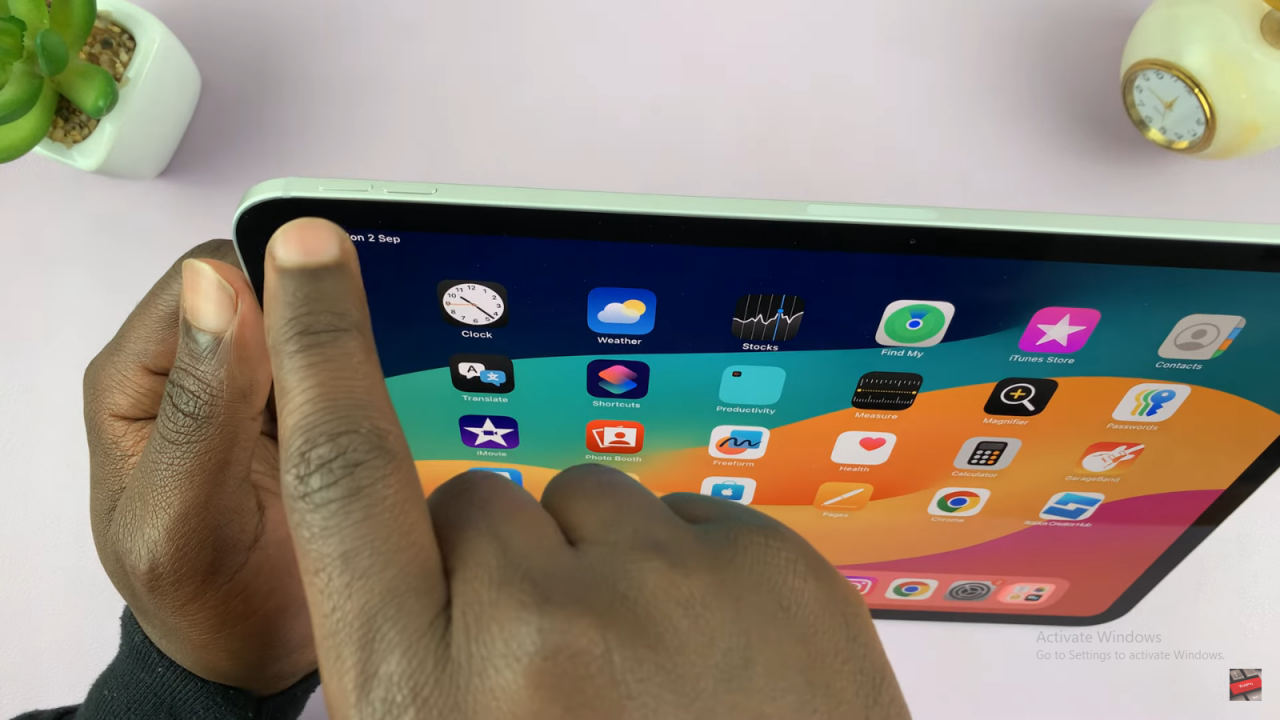
Take the Screenshot: Press both the power and volume up buttons at the same time, then quickly release them. You’ll see a flash and hear a sound indicating the screenshot was taken.
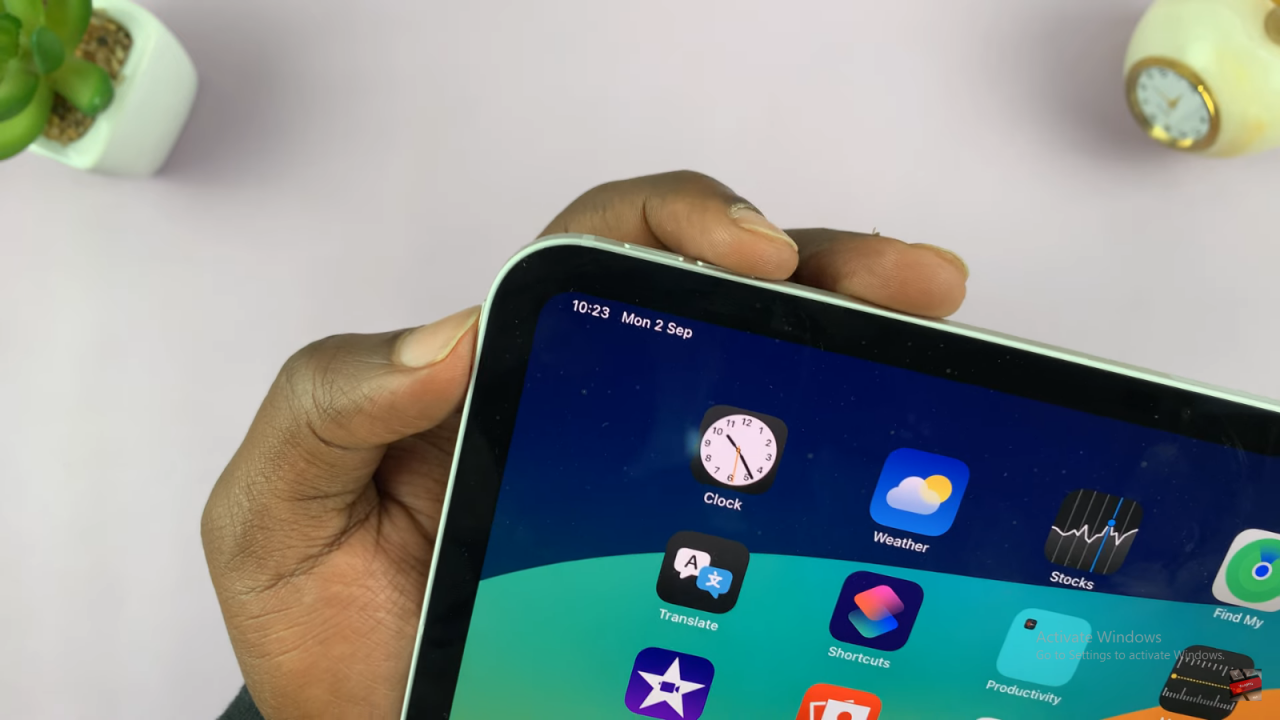
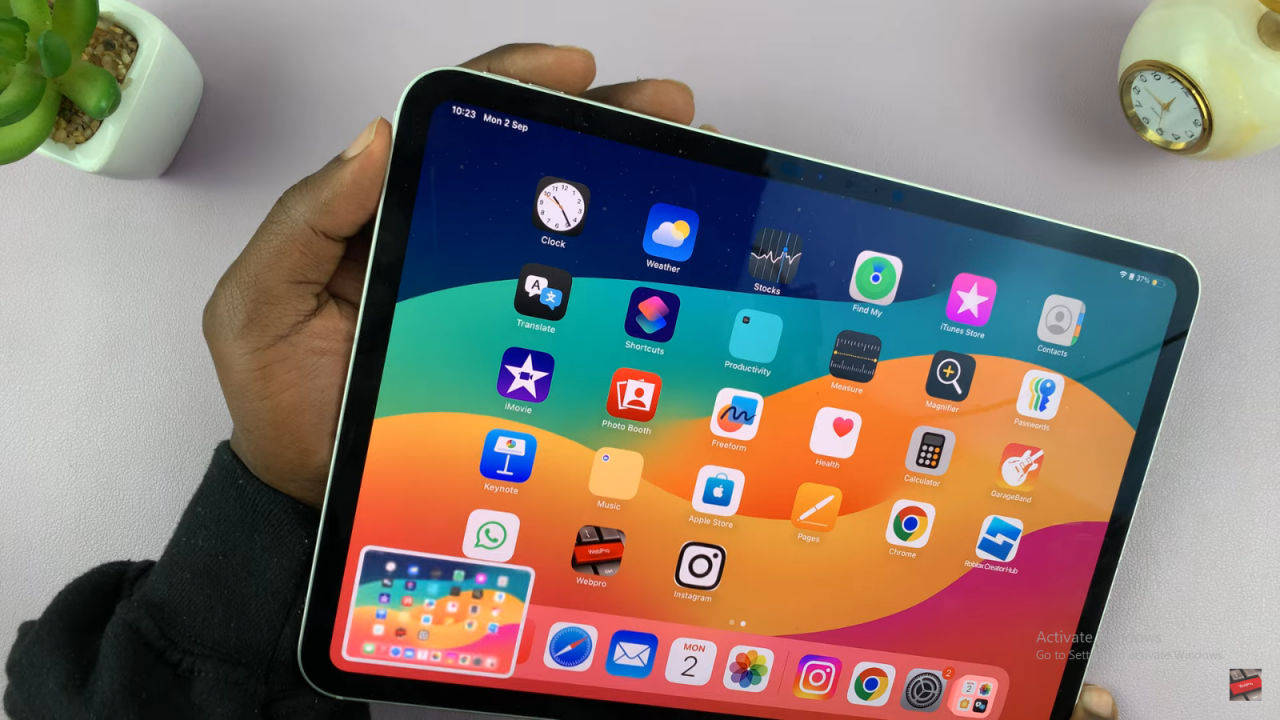
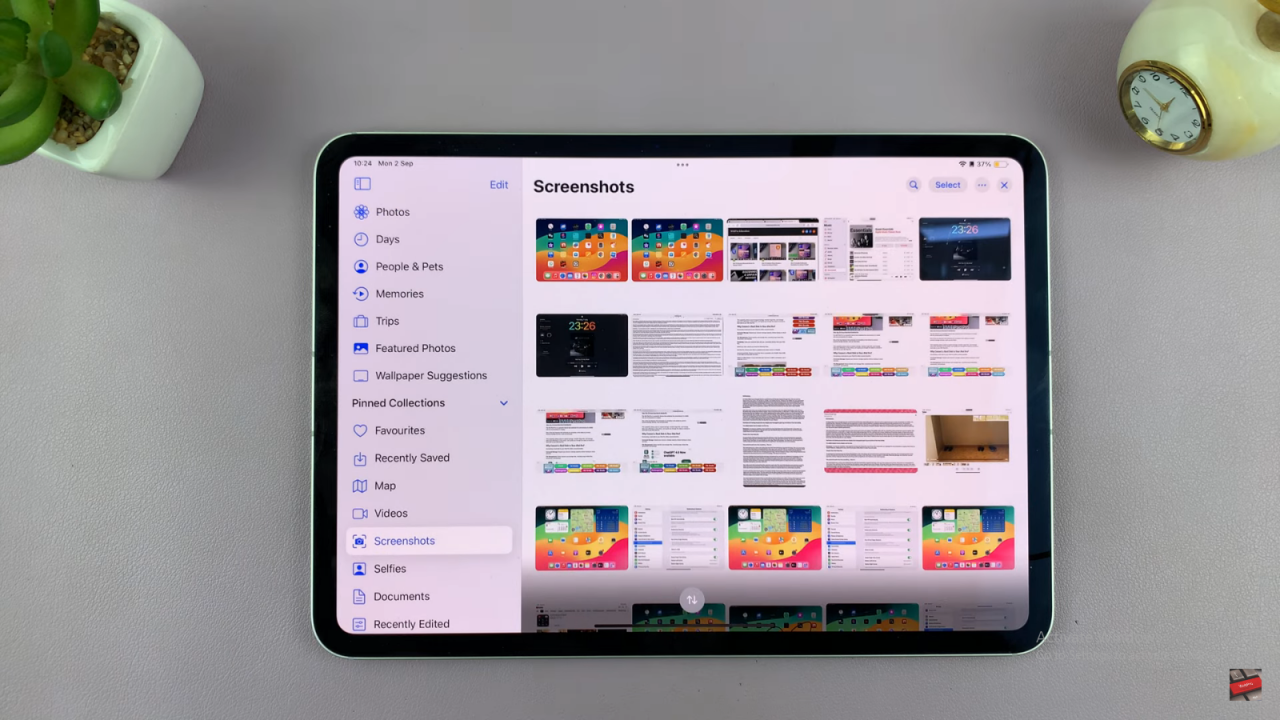
View Your Screenshot: Open the Photos app on your iPad. Your screenshot will be saved there, either in your main photo gallery or a special “Screenshots” folder.
Method 2: Scrolling Screenshot
Open a Scrollable Page: If you want to capture a long page, like a webpage, make sure it’s open on your screen.
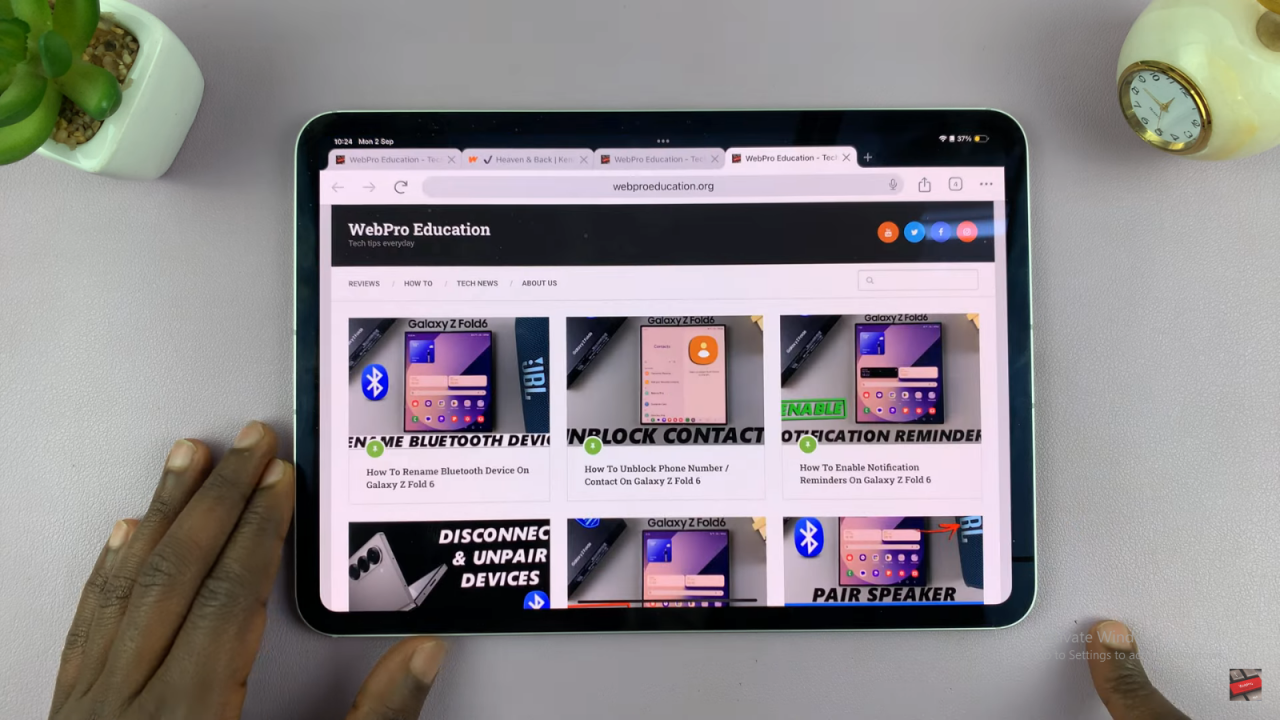
Take the Screenshot: Press the power and volume up buttons together as you would for a regular screenshot. Tap the thumbnail that appears before it disappears.
Capture the Full Page: Select “Full Page” from the options. This captures the entire length of the page.
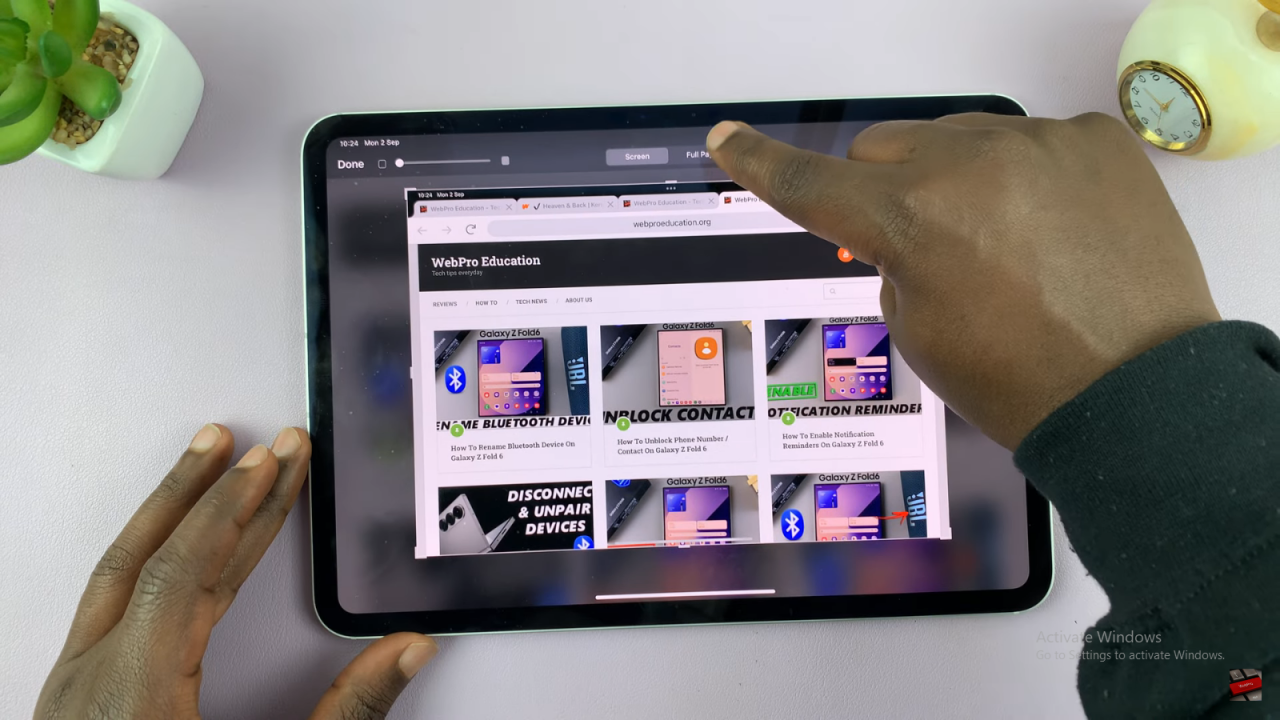
Save or Edit: You can crop or adjust the screenshot if needed. Tap “Done” and choose “Save to Photos” to keep it.
Additional Tips
- Share Quickly: Tap the thumbnail after taking a screenshot to share it through AirDrop, Messages, or other options.
- Save to Files: You can also save screenshots directly to the Files app if you prefer.
Read:How To Turn OFF iPad
