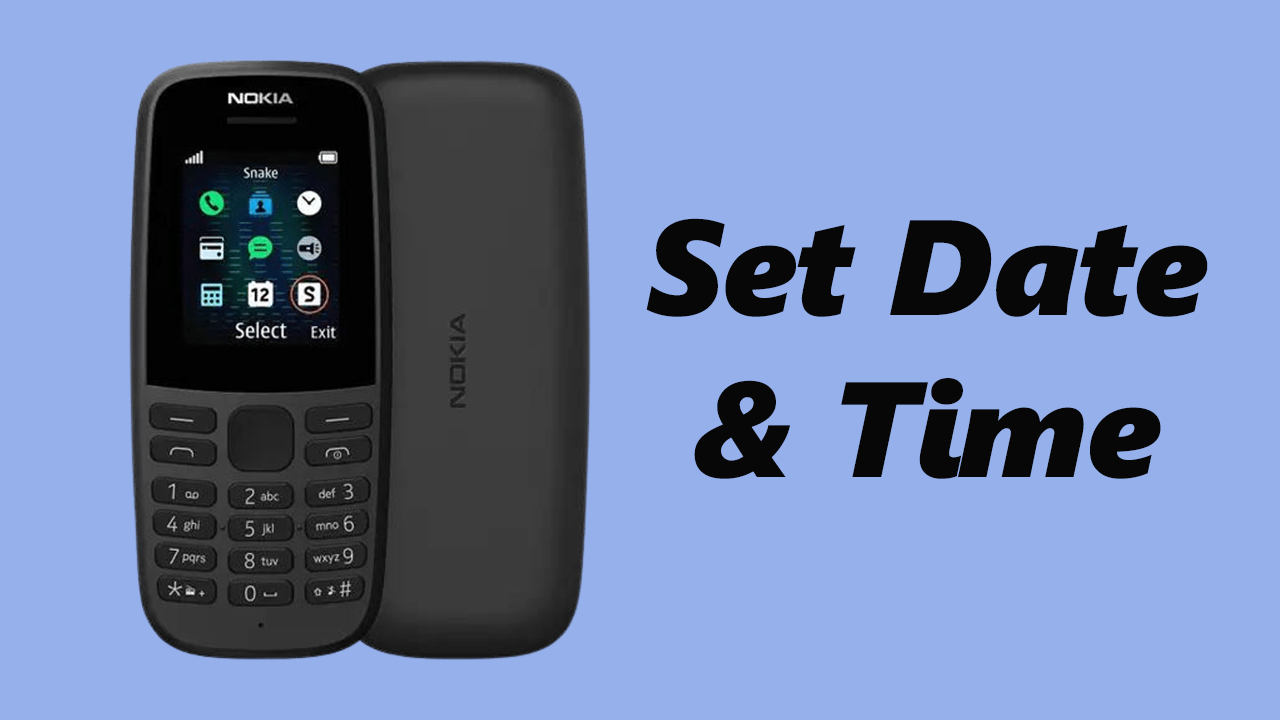
The Nokia is a popular and reliable feature phone known for its simplicity and durability nd long-lasting battery life.
While it lacks the advanced features of a smartphone, it serves as a basic communication device for calls and messages. One essential aspect of using any phone is setting the correct date and time.
In this article, we will provide a detailed, step-by-step guide on how to set the date and time in your Nokia phone. These instructions are useful for the Nokia 105, Nokia 105 4G, Nokia 225, Nokia 106, Nokia 3310, Nokia 110 and Nokia 8110 models.
Also Read: How To Insert SIM In Nokia Phone
How To Set Date and Time In Nokia Phone
To begin, go to the main menu. In the menu, navigate and select the “Settings” app. Within the Settings menu, scroll down again and choose the option labeled “Time Settings“. Once you enter the Time Settings menu, you will see two options: “Clock” and “Date settings.” To set the time, select “Clock“.
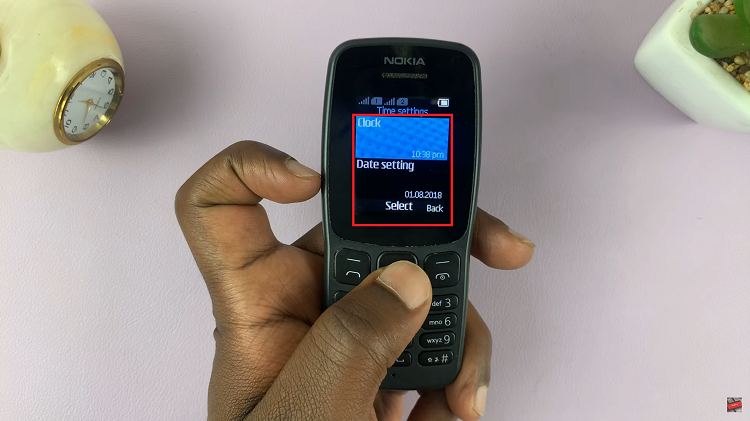
In the “Clock” menu, you will find two options: “Set the Time” and “Time format.” If you wish to change the time format (either 24-hour clock or 12-hour clock), select “Time format” and choose your preferred option. Press the center key to confirm your choice.
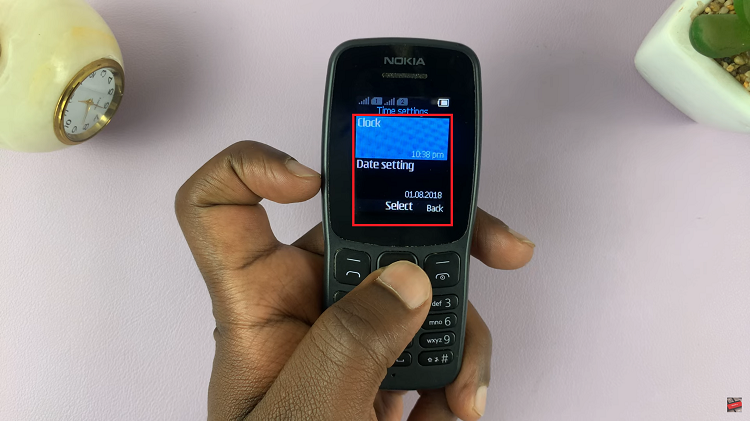
After setting the time format, go back to the “Clock” menu and select “Set the Time.” You will now see the current time displayed. Use the navigation keys to adjust the hours and minutes according to the correct time. Press the center key to confirm each entry before moving to the next one.
Once you have set the time, navigate to “Date Settings“. In the Date Settings menu, use the navigation keys to scroll through the available options (day, month, and year). Remember to confirm each entry by pressing the center selection key before proceeding to the next one.
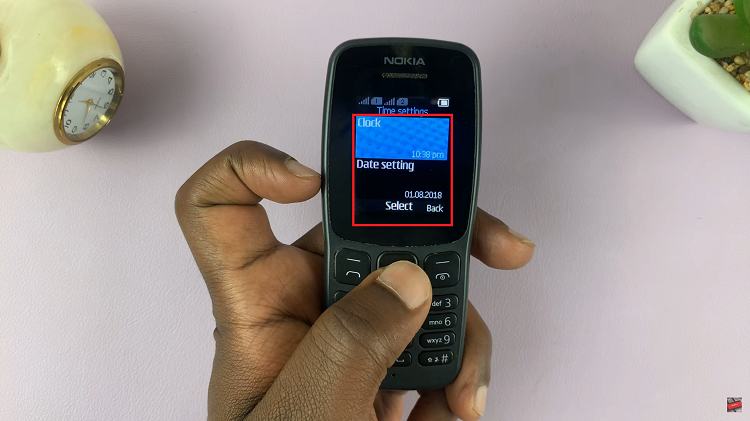
Once you have set the date and time according to your preference, make sure to save the changes. Navigate to the option labeled “OK” and press the center selection key to save the settings.
