In an era where global communication is a key aspect of our daily lives, smartphones have become indispensable tools that not only connect us with people around the world but also bridge language gaps.
The Live Translate functionality is a powerful tool. However, the Galaxy S24 series takes it a step further and allows you to translate during an active phone call as well as set a language preset for any of your contacts making the experience even easier.
In this guide, we’ll walk you through the comprehensive step-by-step process on how to set live translate presets for contacts on Samsung Galaxy S24s
Also Read: How To Enable & Disable USB Debugging On Samsung Galaxy S24s
How To Set Live Translate Presets For Contacts On Samsung Galaxy S24s
To get started, open the Settings app. Once in the Settings menu, scroll down and select “Advanced Features.” Within the Advanced Features menu, you’ll find an option named “Advanced Intelligence.” Tap on it to proceed to the next set of options. From there, select the “Phone” option.
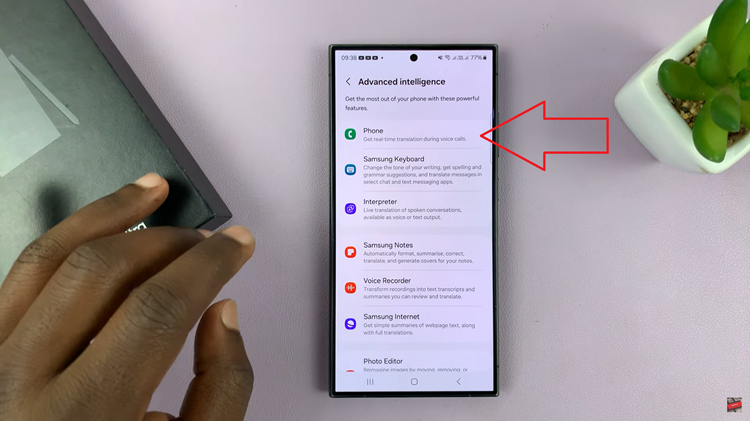
Under the Phone Live Translate settings page. Look for the option labeled “Language and Voice Presets for each person” and tap on it.
Now, you’ll see an option to “Add Contact/Number.” Tap on it, and a list of your contacts will appear. Choose the contact for whom you want to set up a language preset. Once selected, a pop-up will appear, prompting you to choose the language preset. Tap on the desired language and confirm your choice by tapping “OK.”
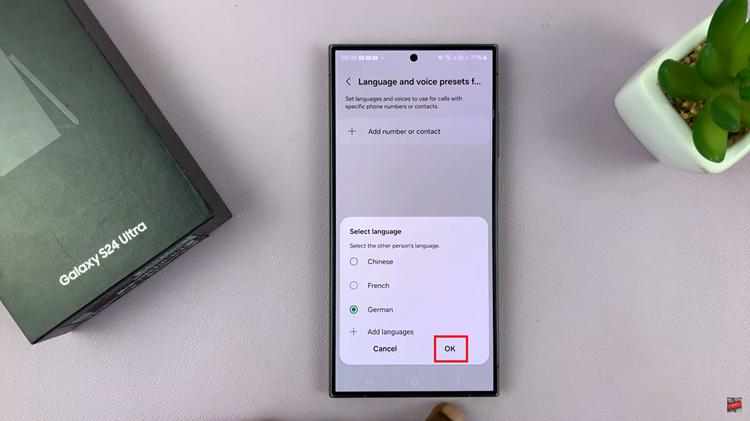
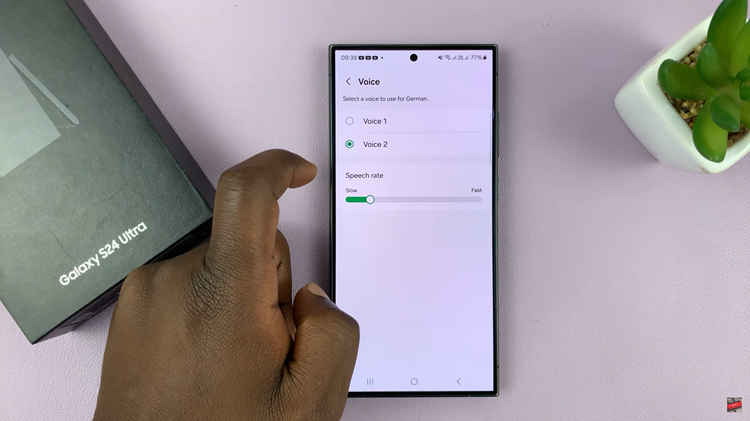
For a more personalized experience, you can customize additional settings such as gender and speech rate. This allows you to choose between a male or female voice and adjust the speed of the speech according to your preferences.
With Live Translate presets for contacts on your Samsung Galaxy S24, language barriers become a thing of the past. Whether you’re communicating with international clients, friends, or family, this feature enhances the overall user experience by making conversations more accessible.
Watch: Samsung Galaxy S24/ S24+/ S24 Ultra – How To Remove AI Watermark From Edited Pictures
