Roku TV stands as a beacon of seamless streaming, offering an expansive world of movies, TV shows, and more.
Setting up your Roku TV, especially with the advanced capabilities of the Roku Express 4K+, is a gateway to a personalized and immersive viewing experience.
In this guide, we’ll walk you through the comprehensive step-by-step process on how to set up Roku TV with Roku Express 4K+.
Also Read: How To Hard Reset Roku TV Without Remote
How To Set Up Roku TV With Roku Express 4K+
The first step is to ensure that your remote is paired with your Roku TV. Then, select the system language that suits your preferences. Using the remote, connect your Roku TV to your home Wi-Fi network. Scroll through the characters on the screen to input your Wi-Fi password. Once connected, Roku TV will automatically perform a software scan to ensure that your system is up to date.
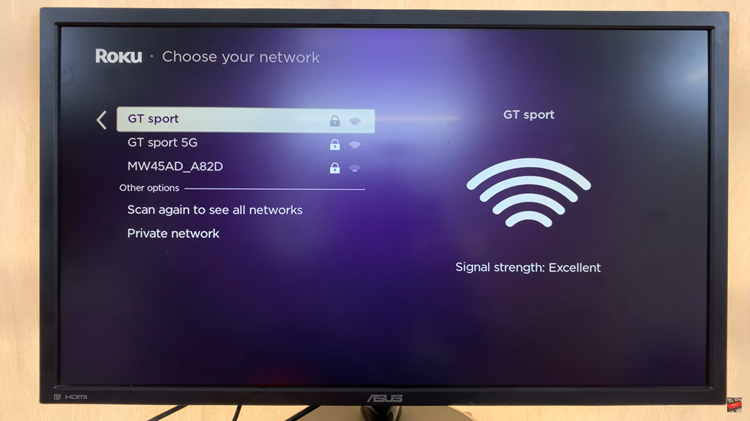
After connecting to the Wi-Fi network, you’ll be prompted to customize your remote functions. This step allows you to tailor the remote to your preferences, enhancing your overall user experience.
To access a wide range of streaming channels and personalize your Roku experience, you’ll need to create or sign in with your Roku account. If you already have an account, sign in; otherwise, follow the prompts to create one.
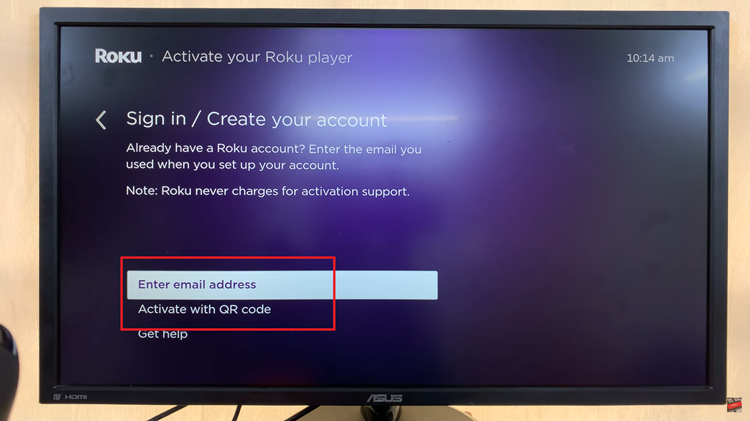
Once your Roku account is set up, wait for the system to log you in or for your stream gates to be added. This may take a few moments, but it ensures that your Roku TV is fully synced with your account.
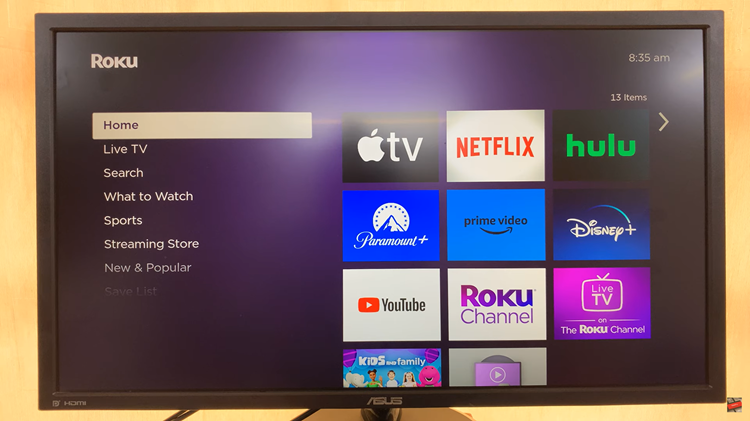
With the setup process complete, press the home button on your remote to access the Roku TV home screen. From here, you can explore the Roku Channel Store, launch streaming apps, and start enjoying a wide array of content.
