In this article, we’ll walk you through the entire process to set up the Samsung Galaxy A06 for the first time. If just got your brand new Galaxy A06, here’s everything you need to do to set it up.
Getting a new smartphone is always exciting. But before you can enjoy all of its features, you’ll need to go through the initial setup process.
Whether you’re new to Samsung devices or upgrading from an older model, this guide will walk you through the first-time setup of your Galaxy A06.
Watch: Unboxing Samsung Galaxy A06
First Time Set Up Of Galaxy A06S
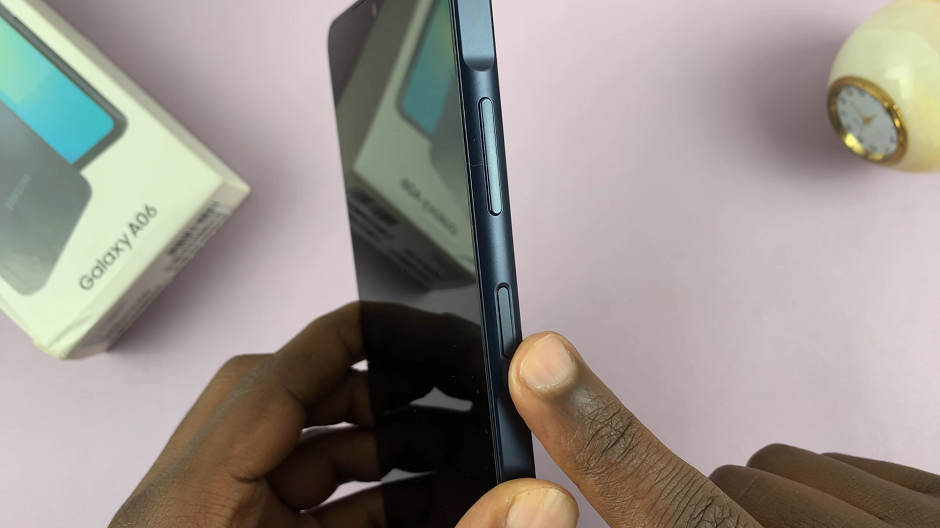
To start, you first need to power on your Galaxy A06. So, locate the power button on the right side of the Galaxy A06, just below the volume rockers. Press and hold it until you feel a slight vibration and you see the Samsung logo. Give the device a few moments to power up to the initial set up screen.
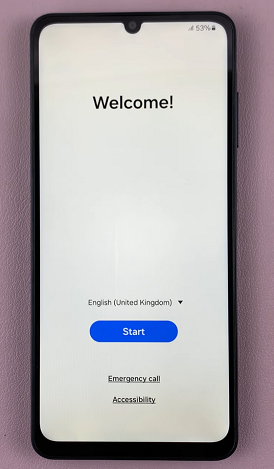
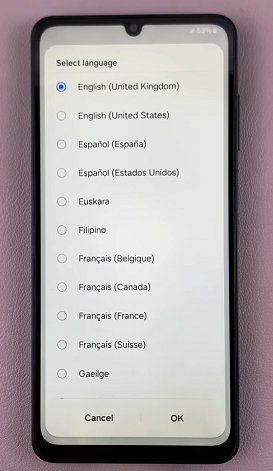
Upon powering on your device, you’ll be greeted with a Welcome screen. Here, you can select your language by tapping on the language drop-down menu. Choose your preferred language and region, then tap on Start.
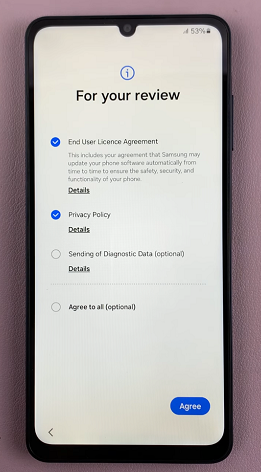
Next, check the End user License Agreement and Privacy Policy options. You can also check the Agree to All option, if you prefer. Then tap on Agree to continue.
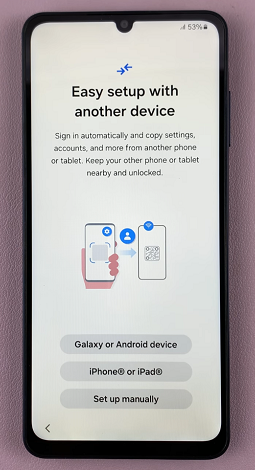
In the next page, you will receive options on how you can continue with the set up. Choose between Galaxy or Android Device, iPhone or iPad and Set Up Manually. Select any of the first two if you have a prior device that fits the description. For a fresh set up, select the last option.
The next crucial step will be to connect your Samsung Galaxy A06 to a Wi-Fi network. This enables you to access the internet, download apps, and sync your data seamlessly. Select your Wi-fi network of choice, enter the password and tap on Connect. Once connected, tap on Next.
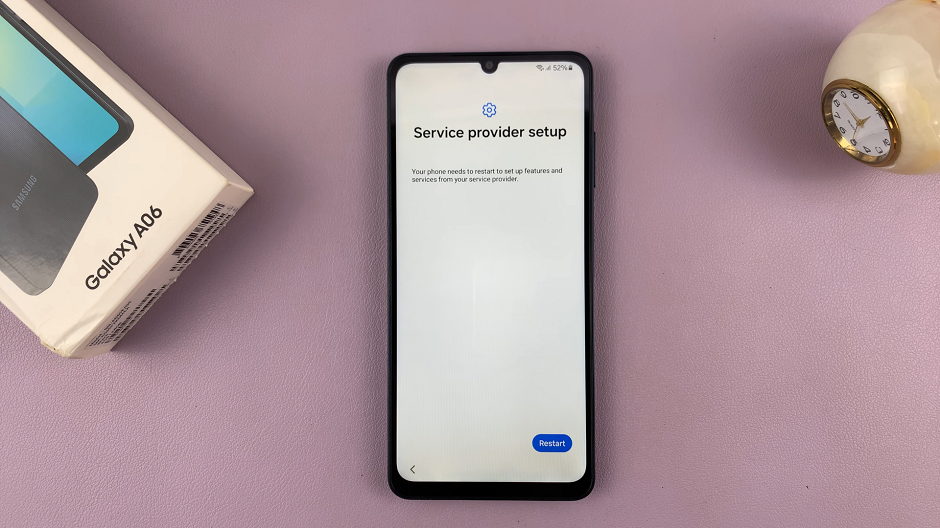
You will be prompted to restart your device in the Service Provider Setup page. Tap on Restart.
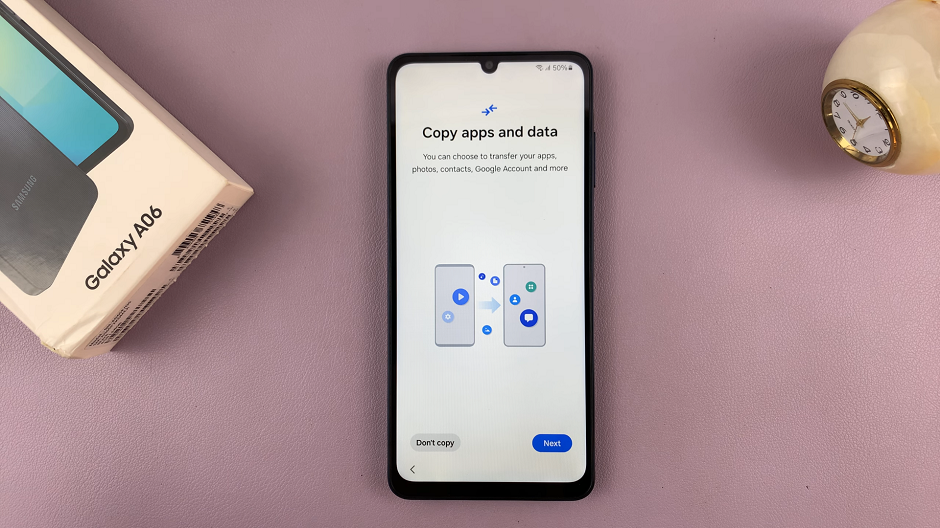
After the restart, you’ll need to confirm whether you want to copy apps and data. Choose Next if you do, or Don’t Copy for a fresh set up.
In the Google sign in page, you can sign in with your Google account. This allows you to access the Play Store, sync your contacts, and back up your data effortlessly. Enter your credentials and tap on Next to sign in. You can also tap on Skip to do this later.
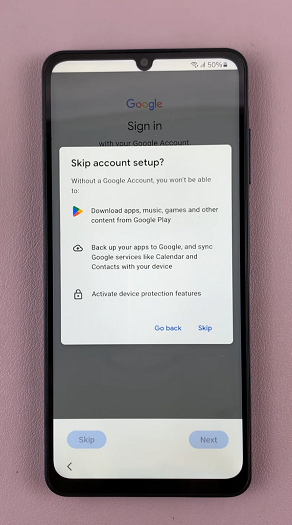
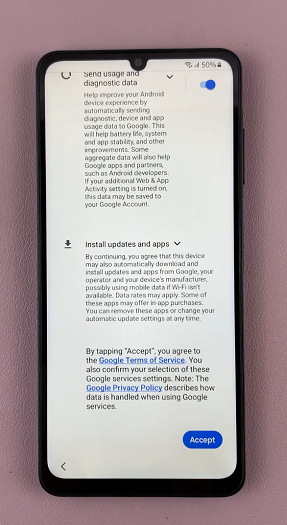
Tap on Skip once again to confirm. You will also be prompted to agree to the Google Service, so scroll down on the Google Service page and tap on Accept.
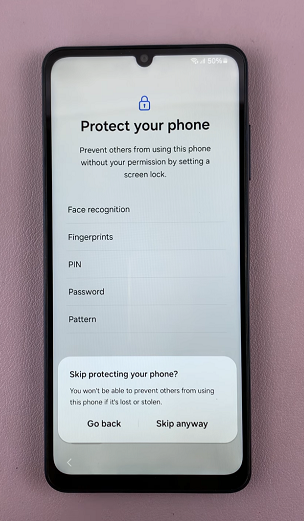
In the next page, you can set up a PIN, password, pattern, face recognition or fingerprints. This will protect your personal data by adding an extra layer of security to your device. Choose an option to continue, or tap on Skip to do it later. To confirm you’re skipping, tap on Skip Anyway.
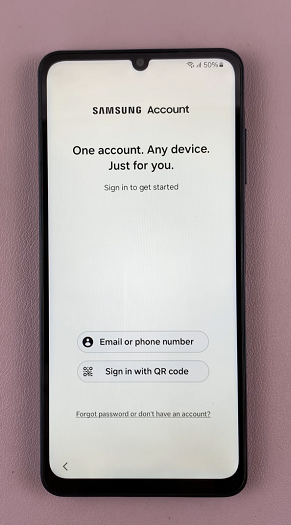
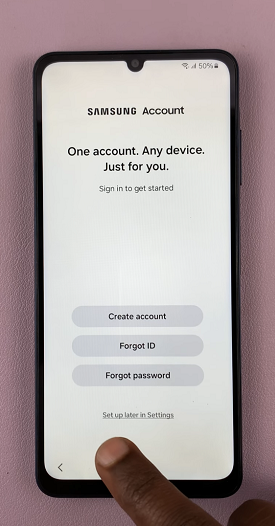
You can set up a Samsung account in the next screen, by selecting either Email or Phone Number or Sign In with QR Code. Tap on Forgot Password or Don’t Have Account, then select Set Up Later In Settings to skip this step for now.
A page will appear to let you know why a Samsung account is important, you can tap on Skip to confirm or on Sign in to go back and sign in to the account.
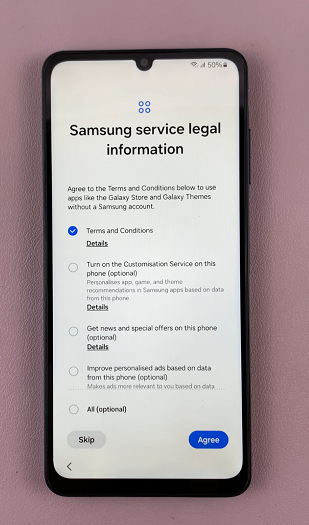
Select the Samsung Service Legal Information options you want to agree to by checking them. Also do the same foe the Samsung service permissions, then, tap on Agree.
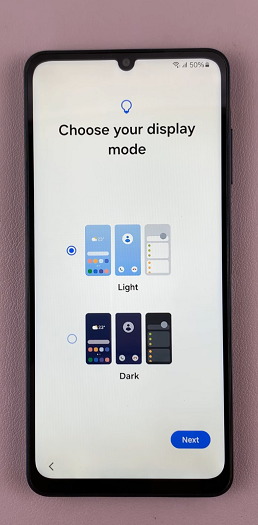
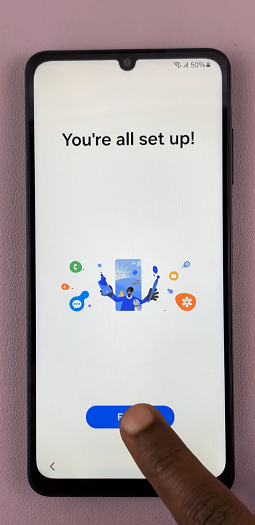
You will also have an opportunity to select either Light or dark mode before you finish the set up. Make your choice and tap on Next to proceed. Finally, tap on Finish to complete the set up.
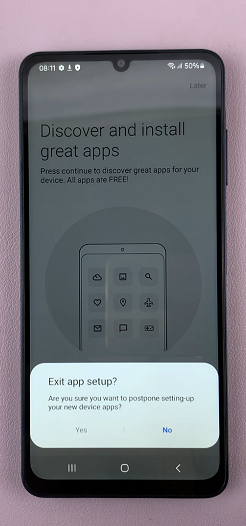
Tap on Continue to discover apps to get, or tap on Later, to do it at another time. Select Yes to confirm the latter and exit the setup.
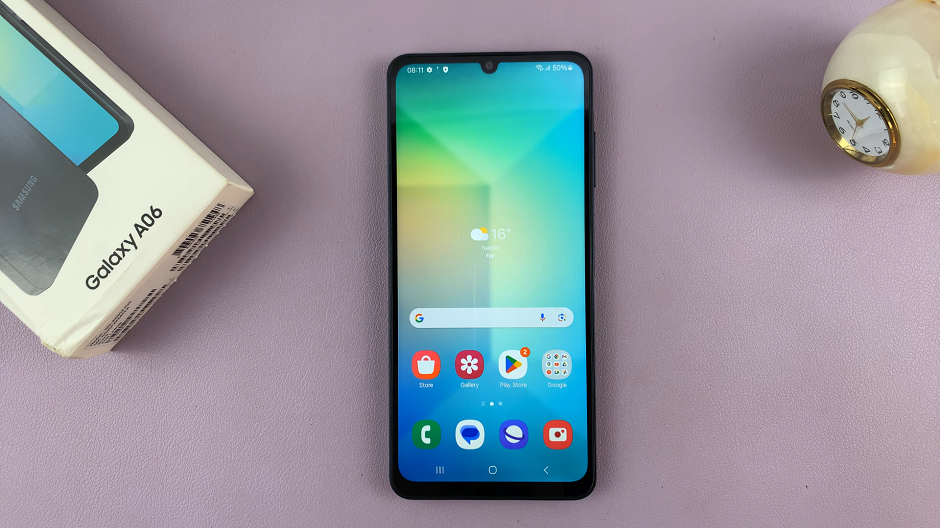
You will now land on the UI interface, where you can start using your device.
Read: How To Remove (Delete) ALL Spotify Downloads On Android
