In the fast-paced digital age, capturing life’s precious moments has never been more important. Whether it’s a spontaneous selfie with friends or a picturesque landscape during a hike, having a reliable and easy-to-use camera is essential.
The Rabbit R1 is equipped to meet these needs. One of the standout features of the Rabbit R1 is its ability to effortlessly switch between the front selfie and back camera, ensuring you get the perfect shot every time.
In this guide, we’ll walk you through the comprehensive step-by-step process on how to switch between the selfie & back camera on the Rabbit R1.
Also Read: How To Launch The Camera On Rabbit R1
How To Switch Between Selfie & Back Camera On Rabbit R1
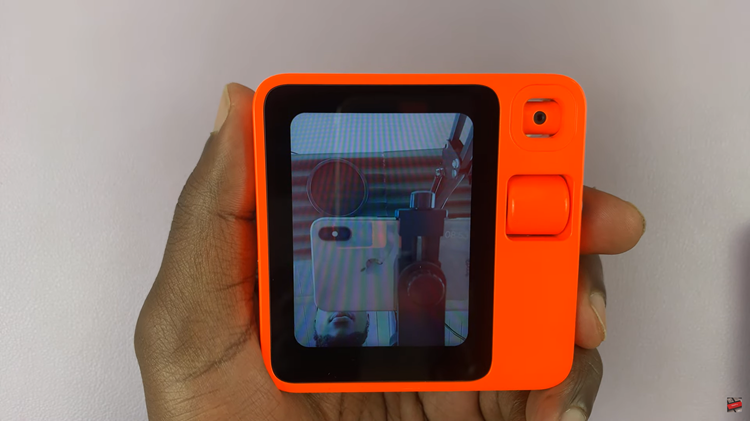
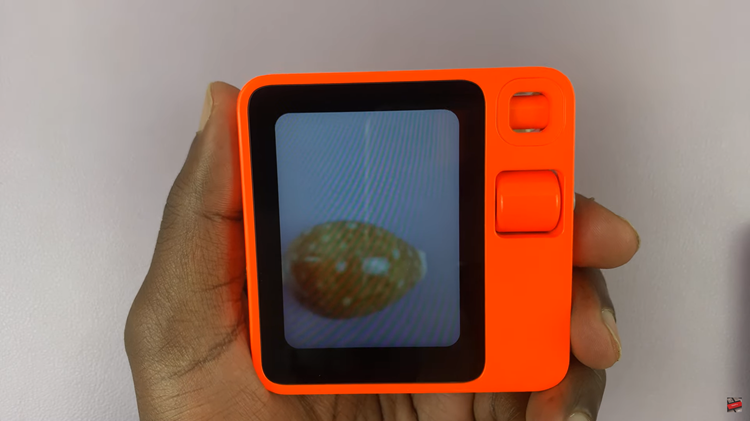
The first step is to activate the camera on your R1. You can do this effortlessly by double-pressing the button located on the side of the phone. To switch to the front selfie camera, gently scroll down on the scrolling wheel. This action activates the front camera, allowing you to capture stunning selfies with ease.

Conversely, if you wish to switch to the back camera for capturing landscapes, group photos, or any other shots requiring the rear lens, all you need to do is scroll up on the scrolling wheel. This upward motion seamlessly transitions the camera to the back mode.

By following these simple steps, you can effortlessly switch between the front selfie and back camera on your R1. It allows you to capture a wide range of photos and videos with ease. Whether you’re snapping selfies, capturing scenic landscapes, or documenting memorable moments, mastering this feature will enhance your overall photography experience.
Watch: How To Charge Rabbit R1

