In the era of interconnectedness, the ability to seamlessly switch between Wi-Fi networks is paramount. Whether you’re at home, in the office, or on the go, having the flexibility to connect to different networks ensures uninterrupted productivity and entertainment.
If you’re a proud owner of the Rabbit R1 device, you’re in luck! This innovative gadget offers not only a myriad of features but also a straightforward method for switching Wi-Fi networks.
In this guide, we’ll walk you through the comprehensive step-by-step process on how to switch to a different Wi-Fi network on the Rabbit R1.
Also Read: How To Turn Cellular Data ON & OFF On Rabbit R1
How To Switch To Different Wi-Fi Network On Rabbit R1
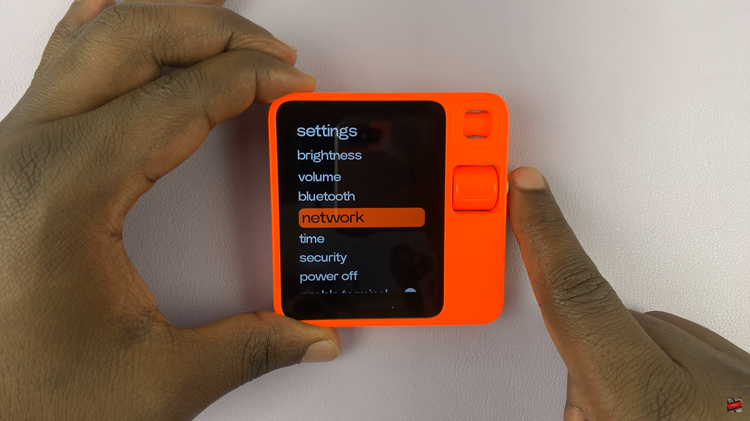
The first step is to shake the device gently. This action will prompt the Settings menu to appear on the screen. Once you’ve accessed the Settings menu, scroll through the options until you find the “Network” section. Use the button to select it.

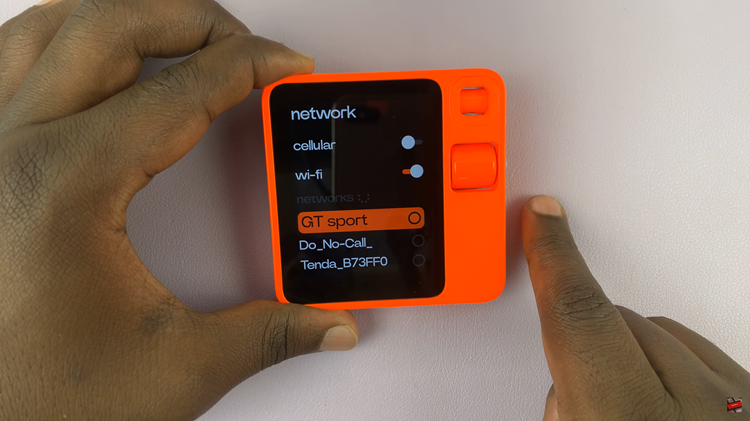
In the Network menu, locate and highlight the option labeled “Wi-Fi.” Once you’ve selected Wi-Fi, you’ll see a list of available Wi-Fi networks in your vicinity. Scroll through the list until you find the network you want to connect to.

After selecting the desired Wi-Fi network, you’ll be prompted to enter any necessary details to establish a connection. This may include a password or other authentication information. Use the buttons on the Rabbit R1 device to input the required information.

Switching Wi-Fi networks on your Rabbit R1 device is a straightforward process that can be accomplished in just a few simple steps. By following the steps outlined in this guide, you can ensure that you stay connected wherever you go, allowing you to make the most of your Rabbit R1 experience.
Watch: How To Disconnect & Unpair Bluetooth Device On Rabbit R1

