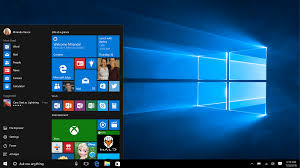
I can’t emphasise more than I already have in other ‘screenshot related articles’ the importance of knowing how to quickly take screenshots of your device. For Windows 10 users on both desktop and tablets, there is no exception.

With the Windows 10 operating system being the modern day operating system, there are more options and ways of taking screenshots than in any other version of Windows. Here are the different ways you can take screenshots on Windows 10 devices.
Prt Scr
This method of taking screenshots has been maintained through all versions of Windows. Just like the old times, all you need to do is press the Prt Scr button. This button is usually between the F12 and Lock Screen buttons.
The screenshot is copied to the clipboard. You need to open Microsoft paint or any other compatible program you have and paste it there. In paint, you can add or remove whatever you need to. Save the Image wherever you want it on your computer.
If you press Prts Scr while holding the Windows button down, your screenshot will be automatically saved in a ‘screenshots’ folder in your Pictures folder. The ‘screenshots’ folder is automatically generated when you take your first screenshot.
To take a screenshot of an active window, press Alt + Prt Scr. This will capture a screenshot of the currently active window. Paste the screenshot into Paint so that you can save it.
The Prt Scr method is easy but it has limitations. You can only capture the entire screen. But by using the Paint app, you can crop out the parts you don’t want to have.
Also Read: How To Screenshot On Mac
Snipping Tool:
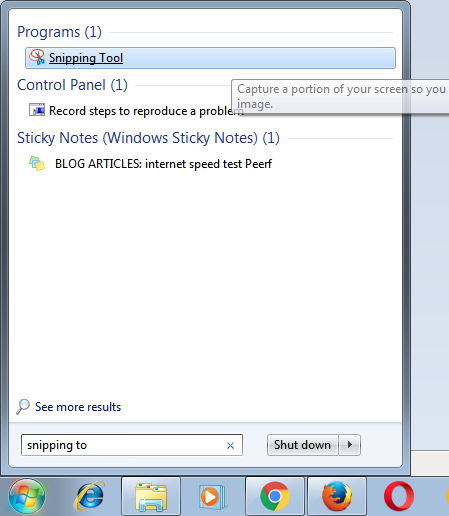
The snipping tool is another tool that has stood the test of time. The snipping tool allows you to capture screenshots of your desktop giving you more options and flexibility. Read more about the Snipping tool.
Windows Surface Device:
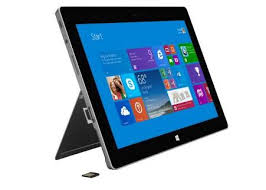
For those using Windows 10 on a Windows surface tablet, things are a bit different. You can use the snipping tool which is also available here.

There is also a button shortcut if you wish. Touch and hold the windows button on your Surface tablet, then press the ‘volume down’ button on the side of the device. A screenshot will be taken and saved in a ‘screenshots’ folder.

