Why is a longer screenshot useful? To prevent the confusion when you use references such as recipes, conversations, articles and to-do lists.
Also known as scrolling screenshot, full page screenshots are saved as pdfs instead of pngs meaning when saved they will be located in your files instead of photos.
We show you the step-by-step process in which you can accomplish this for any topic that interests you such as sports, fashion and entertainment. This article shows you easy to follow instructions that provide you with exactly what you need to start taking full page screenshots on your iPhone.
Also Read: How to Return Missed Calls From Lock Screen on iPhone
How To Take Full Page Screenshots On iPhone
To take a scrolling screenshot, open the desired document, site, or email then press the “Side Key” and “Volume Up” buttons simultaneously. Tap on the thumbnail that appears at the bottom left of your screen
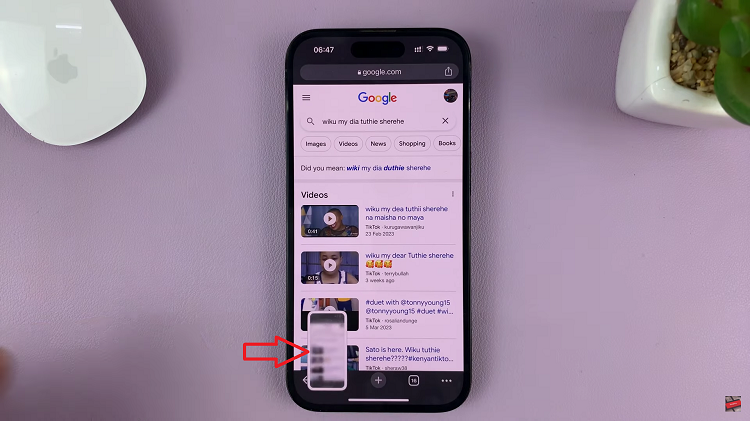
Next, tap on “Full Page” option at the top right corner of the screen.
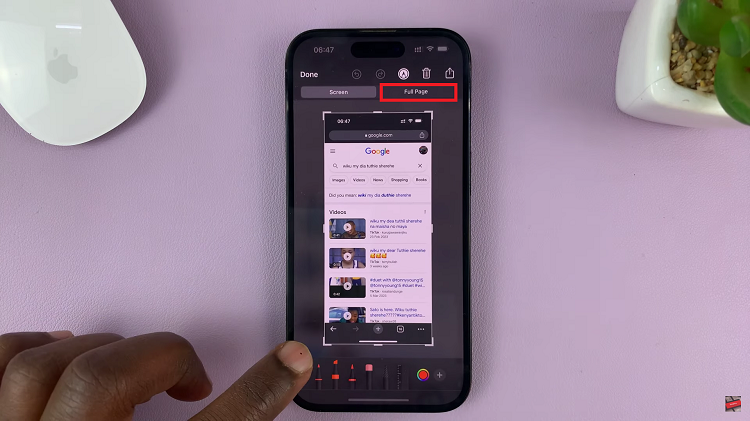
On the right side of the screen, the entire page has been captured.
From here, you can edit the captured screenshot. You can use the “Crop tool” at the top left corner to crop the desired part or annotate to suit your needs.
Tap on “Done” then select the “Save PDF to files” option. Next, select the destination to where the scrolling screenshot will be saved, then tap on “Save“.
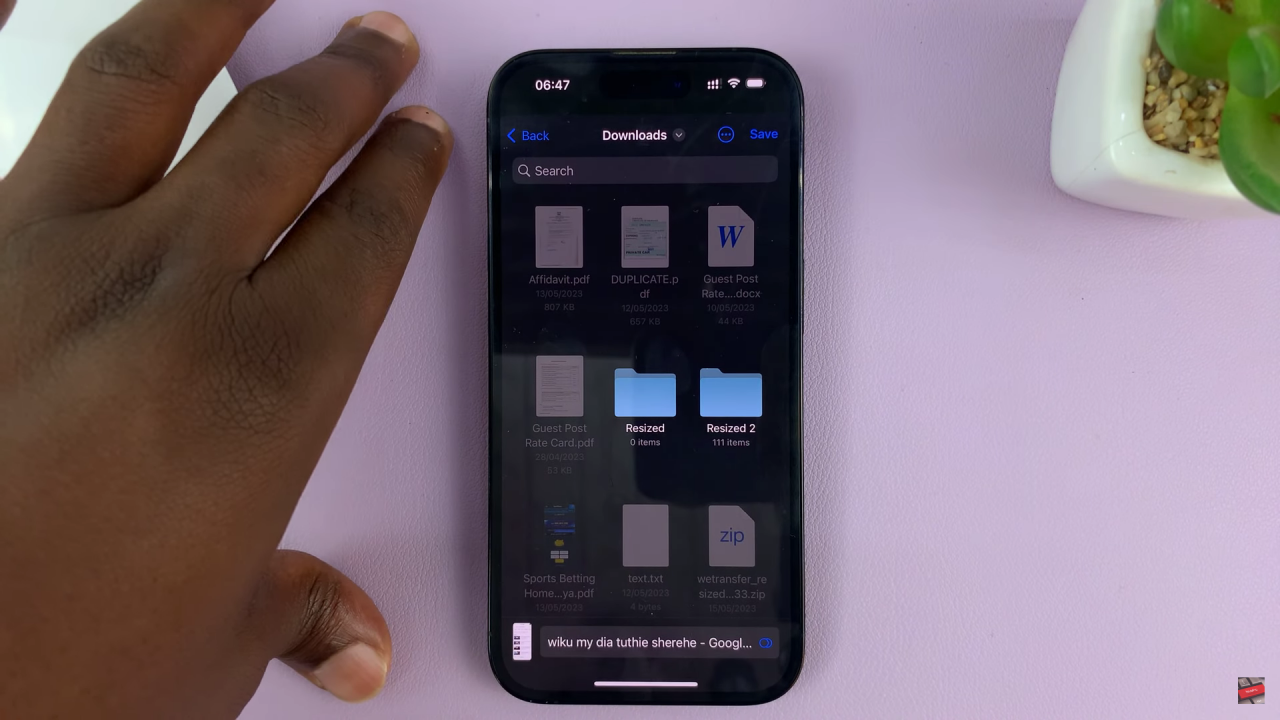
When you want to open your screenshot, go to your Files and open the folder you saved it in or use the search bar to locate it.
Let us know in the comment section below if you have any questions or suggestions. If you found the article helpful, please share it with your friends.
