In this article, we’ll delve into the world of RAW format photography on the Pixel 8 series and guide you through the steps to capture breathtaking shots.
The Google Pixel 8 and Pixel 8 Pro are known for their exceptional camera capabilities, and one feature that sets them apart is the ability to capture photos in RAW format. This advanced mode allows photographers to retain maximum detail and flexibility during post-processing, resulting in stunning, professional-grade images.
RAW format is essentially an unprocessed image file, containing all the data captured by the camera’s sensor without any compression or adjustments. Unlike JPEG files, which are processed in-camera and have some level of compression, RAW files retain all the original information. This gives you more control over aspects like exposure, white balance, and color grading in post-production.
Read this: How To Close Background Running Apps On Samsung Galaxy A24
Take RAW Format Photos On Google Pixel 8 / Pixel 8 Pro:
Begin by launching the camera app on your Google Pixel 8 or Pixel 8 Pro. Locate the settings menu, usually represented by a gear or cog icon, in the bottom-left corner of the screen, Tap on it to enter.
Within the photo settings, make sure you’re on the Pro tab.
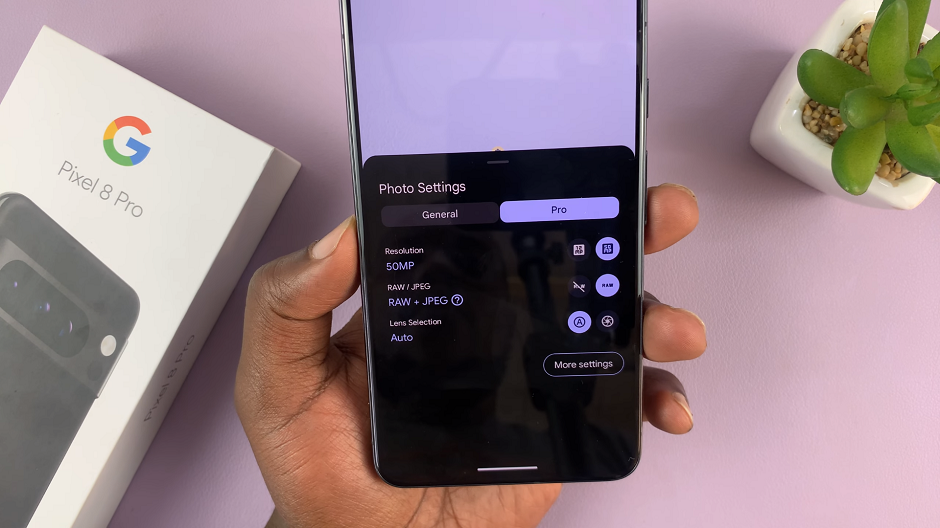
In the Pro tab, under Resolution, select either 12MP or 50MP. The 50MP resolution, however, will give you better quality and detail when editing.
The Pixel 8 and 8 Pro are set to take JPEG photos by default. Under RAW/JPEG section, select RAW. This option will take both the RAW + JPEG.
Capture the Perfect RAW Shot
Focus on Composition: Pay attention to the composition of your shot. RAW format allows for more flexibility in cropping and adjusting perspective, but a well-composed image is always a strong foundation.
Exposure and Highlights: Keep an eye on exposure and highlights, ensuring important details are not blown out. Use the histogram feature on your camera app to guide you.
White Balance: Adjust white balance settings to get accurate colors. This can be fine-tuned during post-processing as well, but getting it right in-camera can save time.
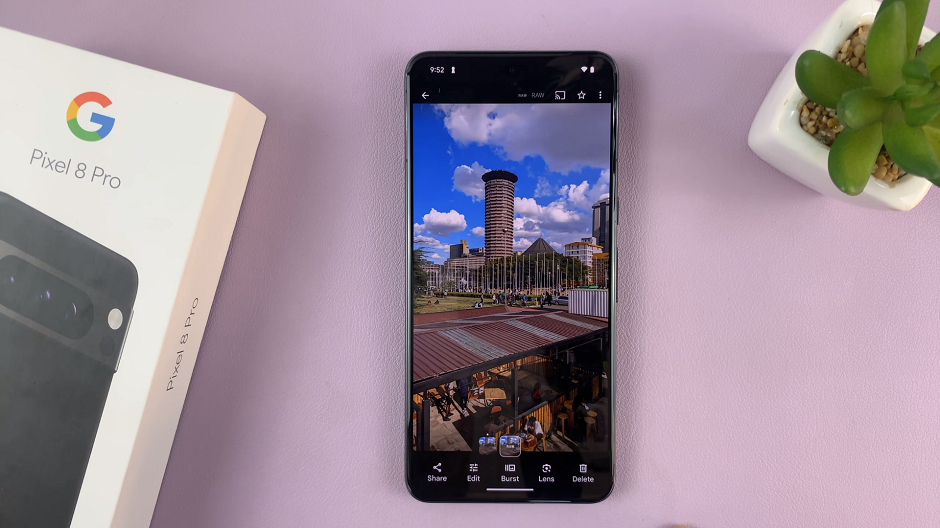
In the gallery, you can select the JPEG to share immediately and you also have the option to edit the RAW according to your liking.
Post-Processing RAW Images
Use RAW Editing Software: Transfer your RAW files to a computer and use specialized editing software like Adobe Lightroom, Capture One, or Google’s own Snapseed.
Adjust Exposure and Tone: Fine-tune exposure, shadows, highlights, and contrast to achieve the desired look.
Color Corrections: Manipulate color temperature, saturation, and vibrance to enhance the mood and tone of your image.
Sharpness and Detail: Apply sharpening and noise reduction as needed to bring out the finer details.
With the Google Pixel 8 and Pixel 8 Pro, you have a powerful tool at your disposal for capturing breathtaking images in RAW format. This feature opens up a world of creative possibilities, allowing you to push the boundaries of your photography skills. By understanding the basics of RAW format and following the steps outlined in this guide, you’ll be well on your way to creating professional-grade photographs that truly stand out. So grab your Pixel 8 series device, explore the world around you, and start capturing in RAW today!

![How To Hide and Unhide Desktop Icons In Windows 11 [Video]](https://www.webproeducation.org/wp-content/themes/mts_sense/images/nothumb-ad-sense-featured.png)