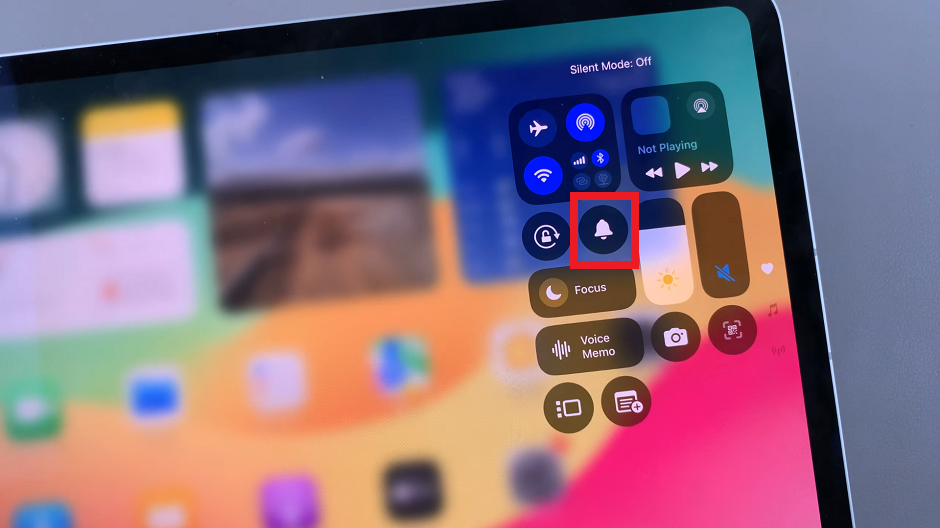
Screenshots are an essential feature for capturing and sharing information quickly on your devices.
Whether you’re saving a moment from a video, capturing a conversation, or grabbing an image from a website, knowing how to take screenshots on your M4 iPad Pro can be incredibly useful.
This guide will walk you through the various methods available to take screenshots on the M4 iPad Pro.
Watch: How To ‘Find My Phone’ With The Xiaomi Watch S3
Take Screenshots On M4 iPad Pro (2 Methods)
There are two simple methods you can use to screenshot on the revolutionary M4 iPad Pro. You can use the default method or a new special method for this device.
Using the Top Button and Volume Button
This is the most straightforward method and involves using the physical buttons on your iPad Pro.
First, find the Top button (previously known as the Power button) and the Volume Down button on your iPad Pro.
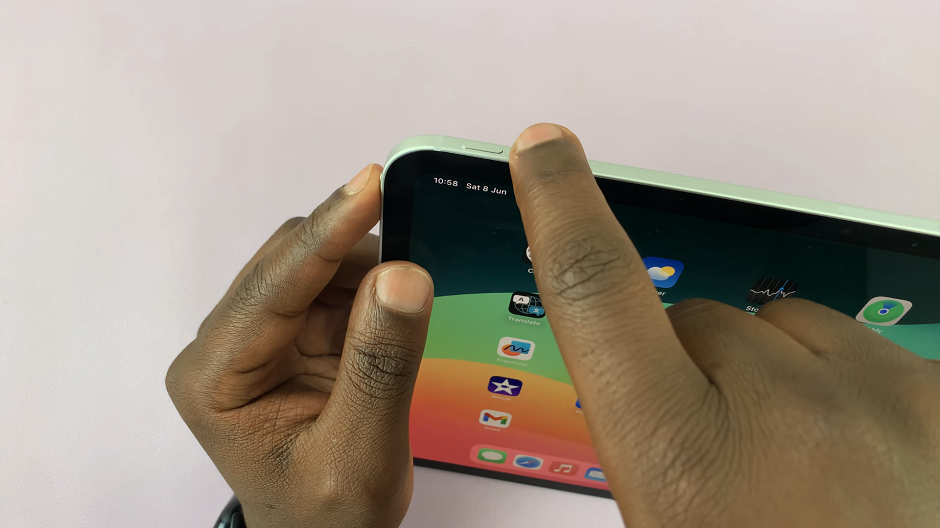
Press the Top button and the Volume Down button at the same time. Quickly release both buttons. You will see a flash on the screen, indicating that a screenshot has been taken.
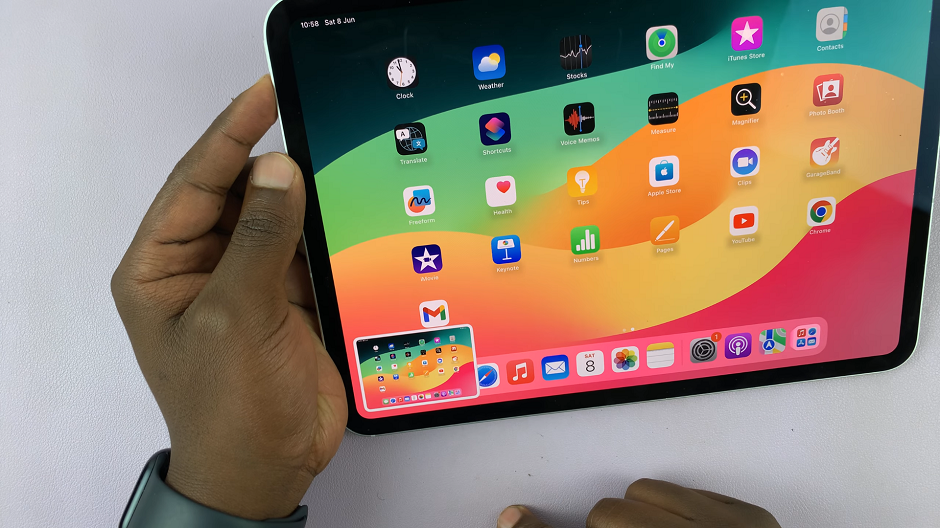
A thumbnail of the screenshot will appear in the bottom left corner of the screen. Tap on it to edit, annotate, or share the screenshot immediately.
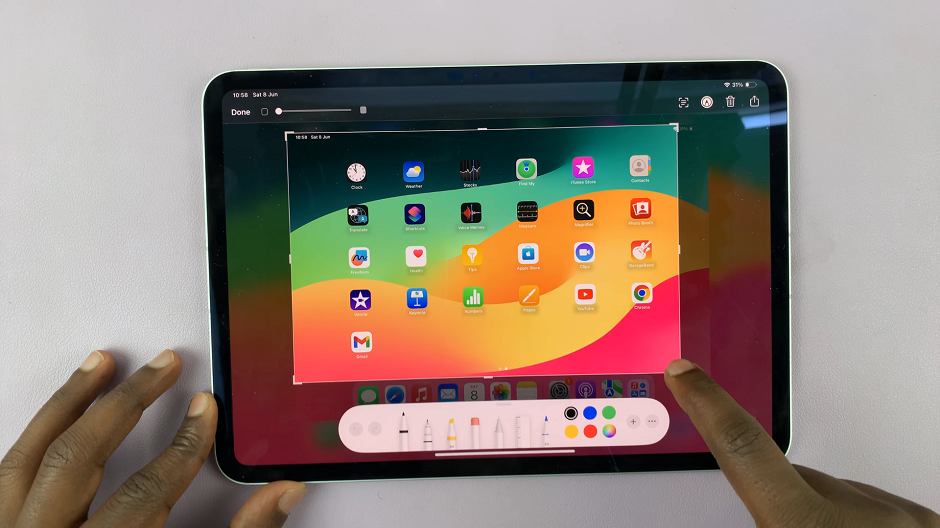
If you don’t want to edit the screenshot right away, simply swipe the thumbnail to the left to dismiss it. Screenshots are automatically saved in the Photos app under the Screenshots album.
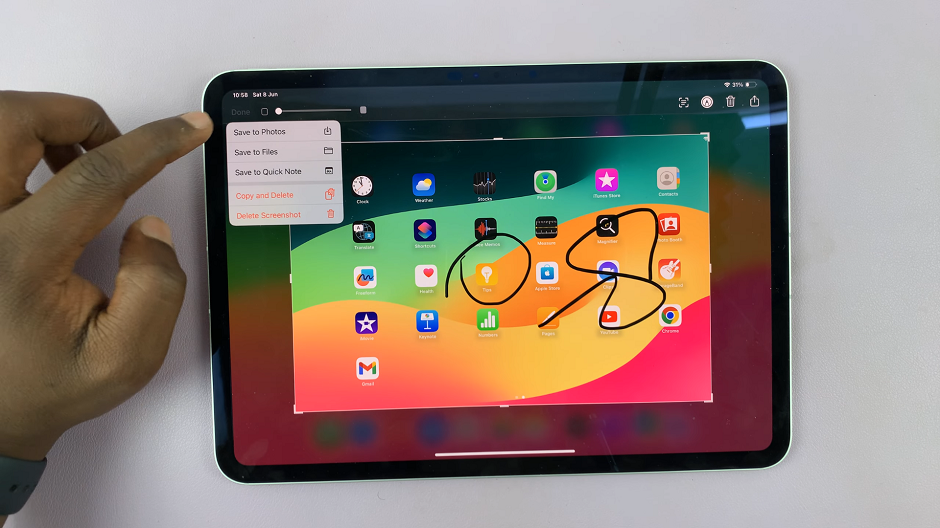
Swipe Finger From the Bottom Corners
First, open the Settings app on your M4 iPad Pro. Scroll using the left-hand side panel until you get to Multitasking & Gestures.
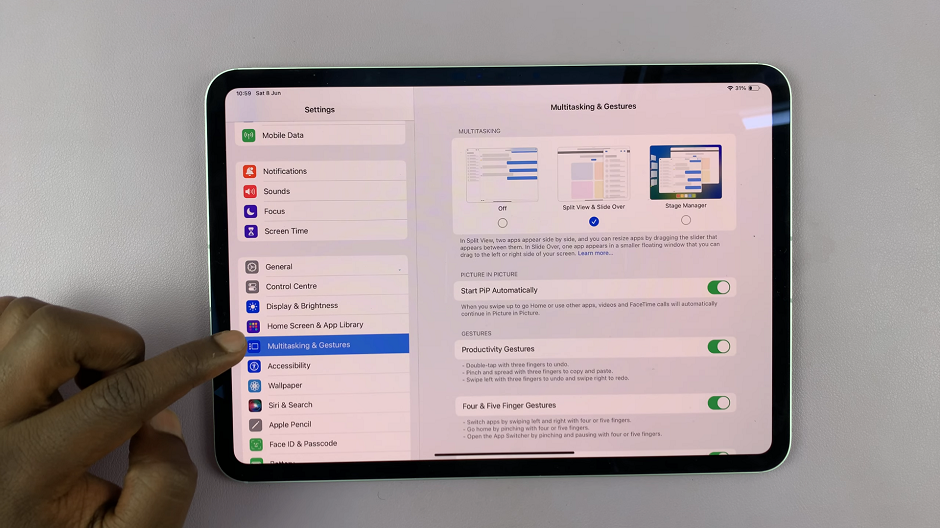
Under Multitasking & Gestures, scroll all the way down until you see the Swipe Finger From Corner. It should have a toggle button next to it.
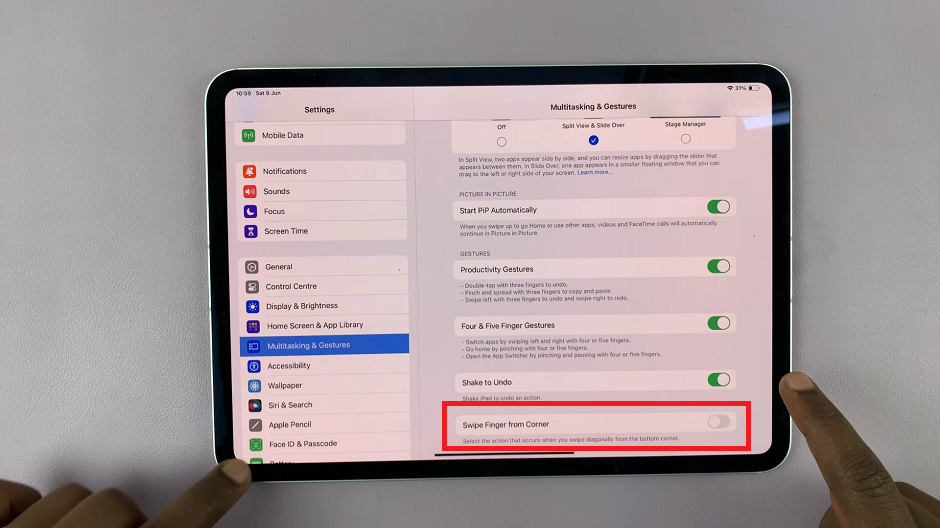
Tap on the toggle button to enable this option. It should turn green from grey.
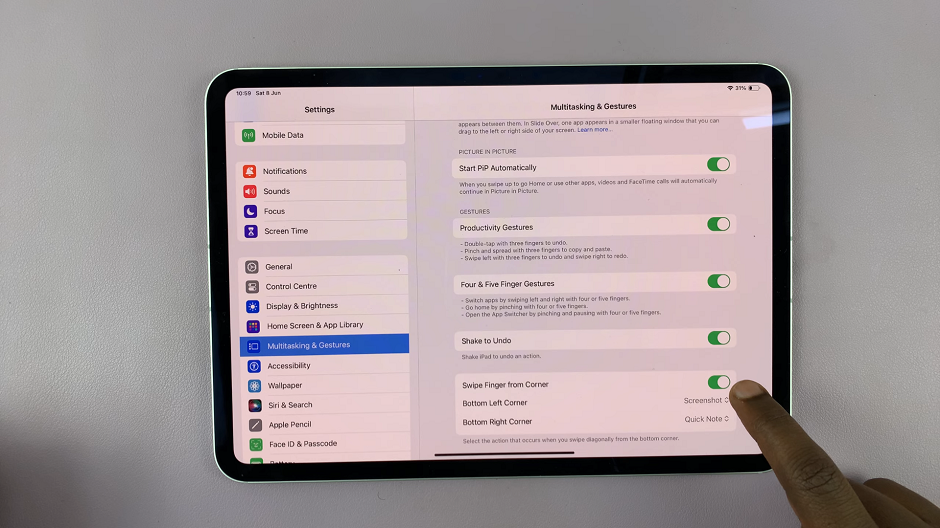
Customize the Bottom Left or Bottom Right corner to take a screenshot. Simply tap on the arrows next to either option, and select Screenshot.

Once this option is enabled and customized, you can now navigate to the page you want to screenshot.
Swipe diagonally from the bottom-left or bottom-right corner, depending on your customization. This should now take a screenshot.
Now you can edit, and later share your screenshot.
Taking screenshots on the M4 iPad Pro is a simple process, with multiple methods available to suit different preferences and needs. Whether you prefer using the physical buttons, the AssistiveTouch menu, or the Apple Pencil, capturing important information has never been easier. Experiment with these methods to find the one that best fits your workflow.
Remember, screenshots are stored in the Photos app under the Screenshots album, making them easy to find and organize.

