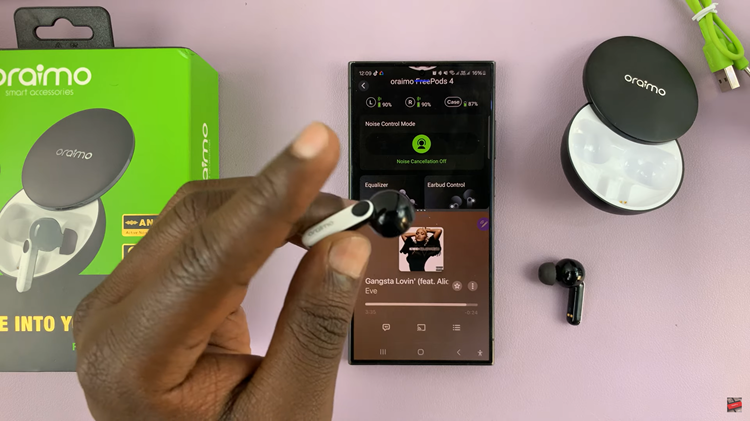
In the realm of true wireless earbuds, convenience and functionality are paramount. Oraimo FreePods 4 stand out not only for their impressive sound quality but also for their intuitive touch gestures.
They offer users seamless control over their audio experience. Whether you’re a seasoned user or new to the world of wireless earbuds, we’ve got you covered.
In this guide, we’ll walk you through the comprehensive step-by-step process on how you can understand the touch gestures on your Oraimo FreePods 4.
Also Read: How To Change Ear tips Of Oraimo FreePods 4
Touch Gestures On Oraimo FreePods 4 Explained
By default, your Oraimo FreePods 4 provide you with a single tap gesture. A single tap on either of the FreePods is all it takes to play or pause your music, providing instant accessibility without the need to fumble with your device.

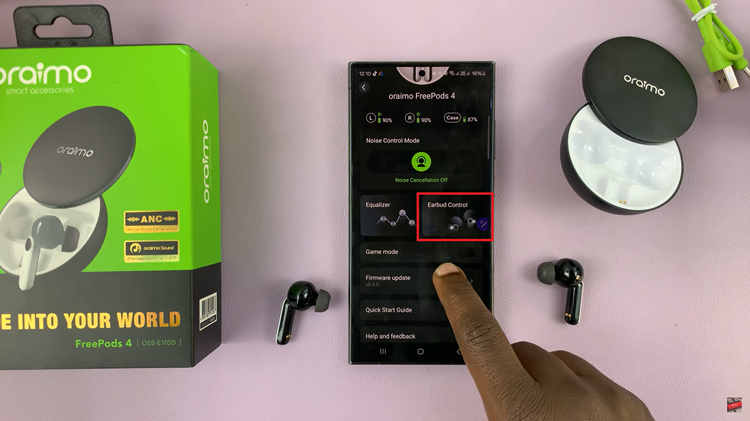
While the default touch controls are convenient, Oraimo takes personalization to the next level with the Oraimo Sound app. By simply accessing the app and selecting your FreePods 4, and navigating to the “Earbud Control” section.

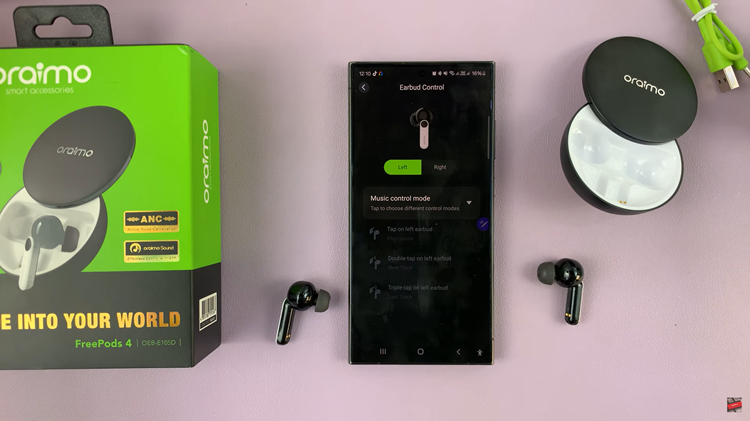
Once in the Earbud Control settings, users are presented with options for both the left and right FreePods. Whether it’s skipping tracks, adjusting volume, or activating voice assistants, the power lies in the user’s fingertips.

In addition to you can also use touch gestures, to control your Noise Control Mode settings. Accessible through a simple long press on the earbuds, users can seamlessly cycle through various noise control options.
In conclusion, FreePods 4 redefine the way we interact with true wireless earbuds through intuitive touch gestures and customizable controls. Whether you’re a music enthusiast, a fitness aficionado, or a professional on the go, the seamless integration of touch controls and advanced features ensures that your audio experience is not only immersive but also tailored to your individual needs.

