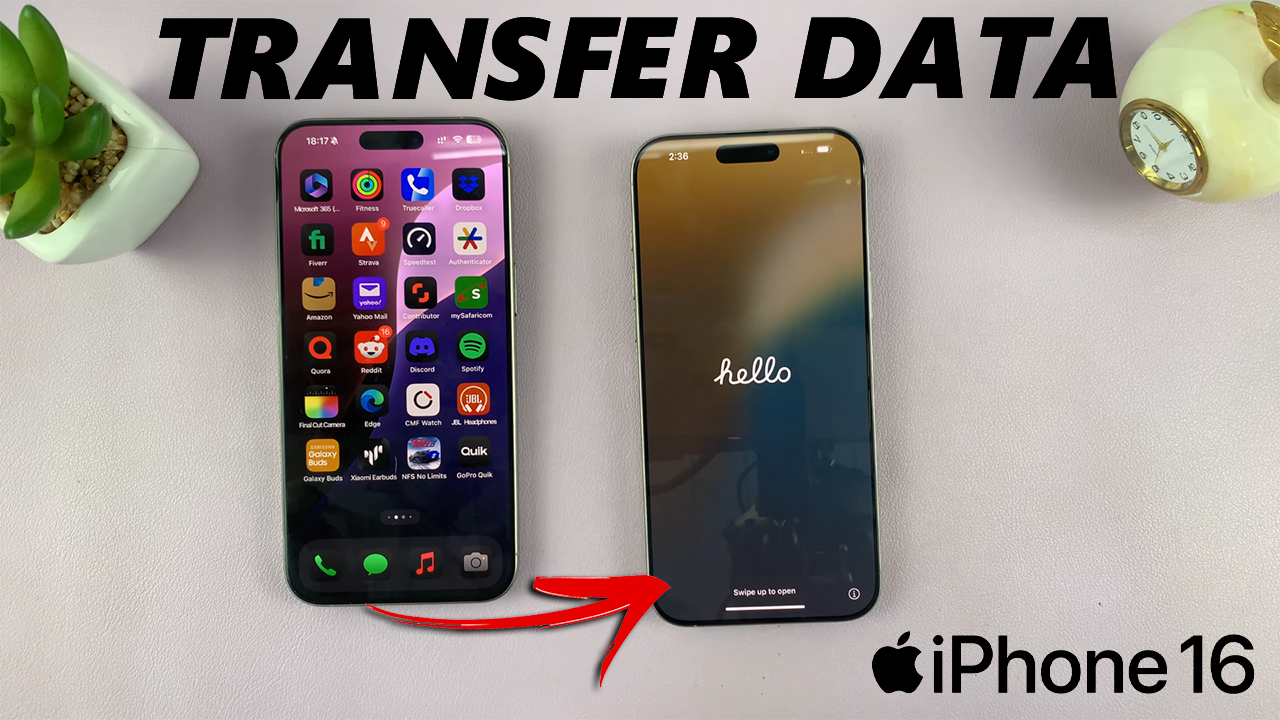
Upgrading to the iPhone 16 or iPhone 16 Pro is an exciting moment, but transferring your data from your old iPhone to the new one is essential to maintain continuity.
Thankfully, Apple has simplified the data transfer process, making it simple and efficient. Using the Quick Start method, this guide will walk you through each step to ensure all your apps, settings, and photos make the move with you.
Whether you’re transferring your data from the iPhone 15, or earlier iPhone, this is how to transfer data from an old iPhone to the new iPhone 16 / 16 Pro. this should work across all the iphone 16 models.
Watch: Disable Camera Control Button On iPhone 16 / 16 Pro
Initial Preparations
First, ensure that you turn on your iPhone 16 and place it side-by-side with the older iPhone. Once turned on, ensure both the iPhones have enough charge. If not, plug them in to power to prevent disruption during the transfer process.
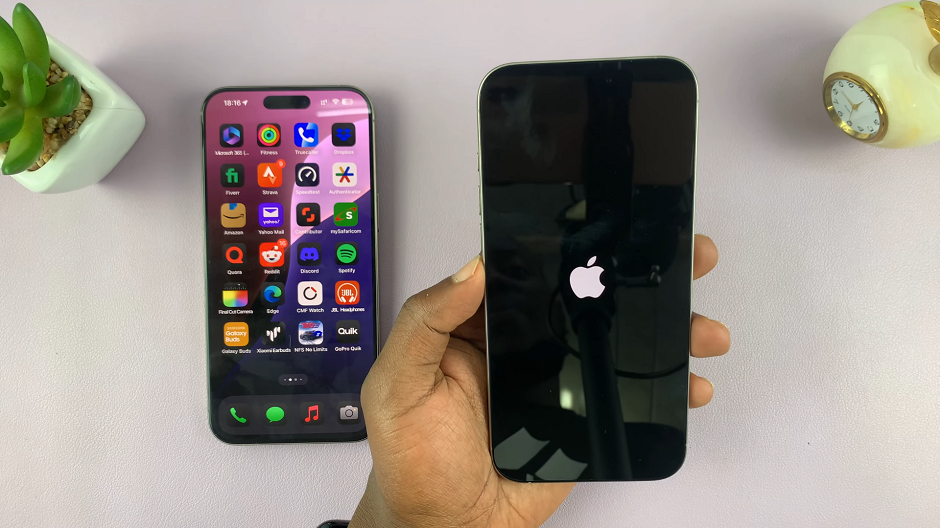
Once the iPhone 16 boots up, select your language of choice to proceed. On the older iPhone, you should see the Set up New iPhone prompt. Tap on Continue. This will prompt authentication with Face ID.
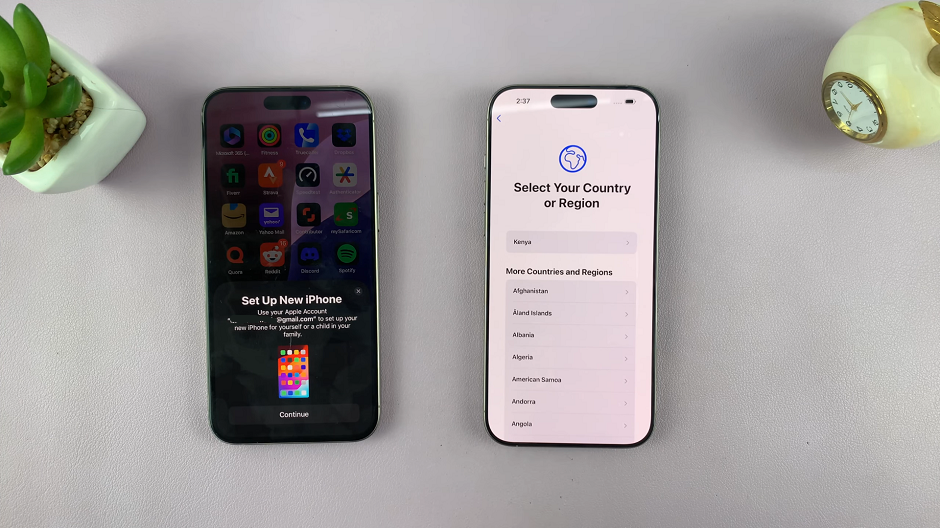
Use your older iPhone to scan the image on the new iPhone. You will then have to continue the set up on the older iPhone.
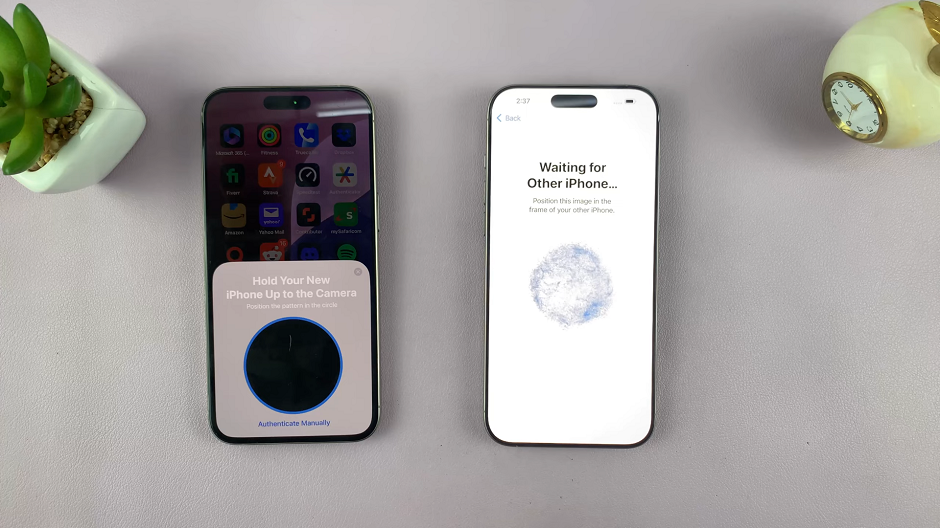
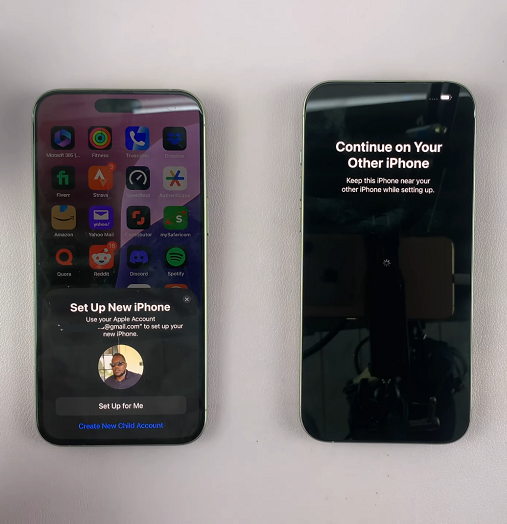
Select either Set Up For Me or Create New Child Account to continue the set up.
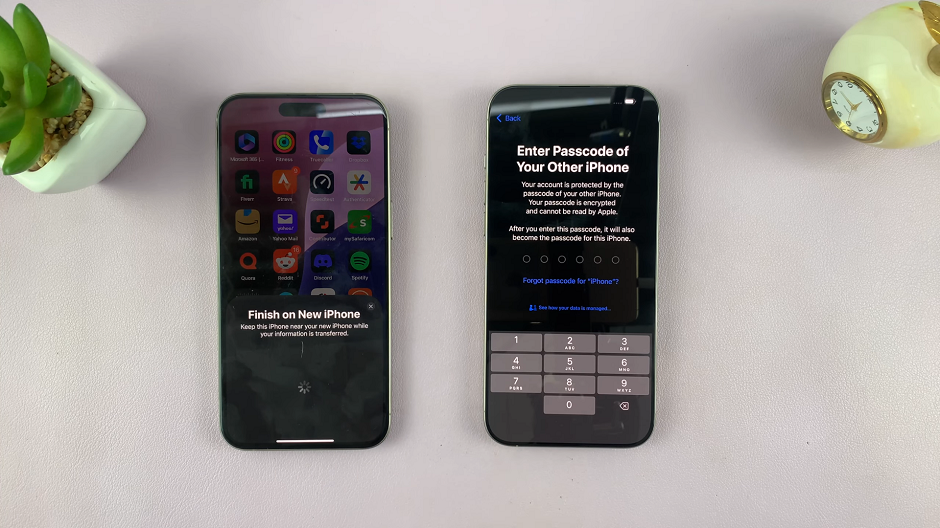
Enter the passcode of the older iPhone on your new iPhone to verify it’s you. This will activate your iPhone.
On your new iPhone, select Continue to agree to Data & Privacy policies. You can also select the same for Face ID or choose Set Up Later.
Transfer Data From Old iPhone To iPhone 16 / 16 Pro
In the Transfer Data From iPhone page, choose Continue to directly transfer all the data to the new iPhone.
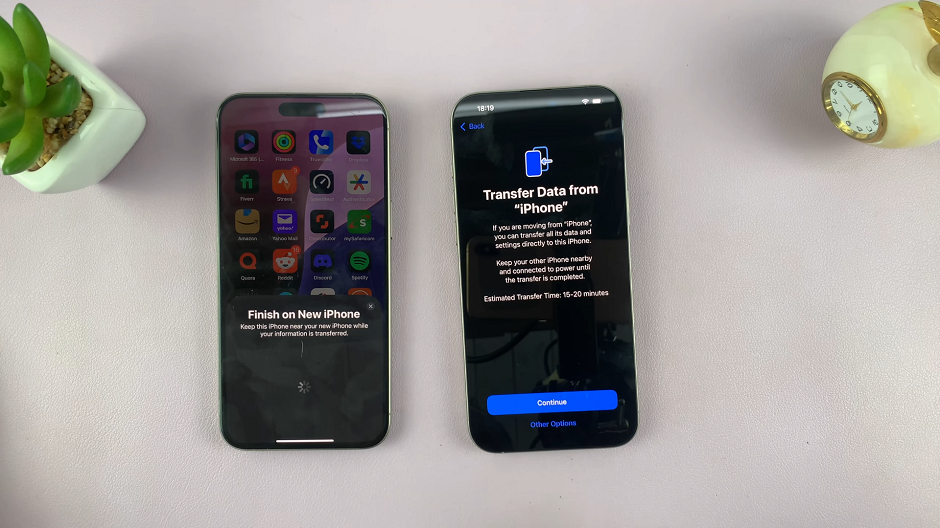
This will set up and sign you in to the iCloud account. Read and agree to the terms and conditions presented to you.
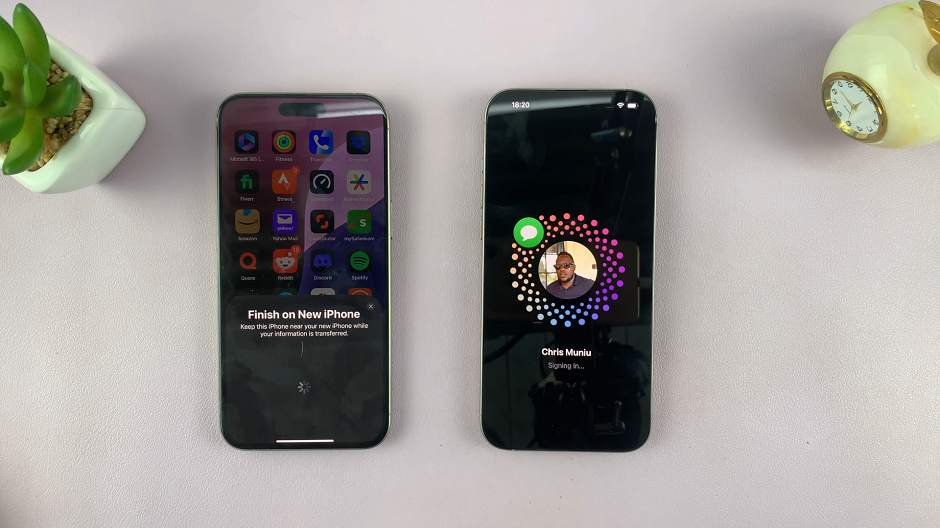
On your older iPhone, you should receive a notification from Apple, that your Apple ID has been signed in to your iCloud account on another device. Tap on Continue on your new iPhone to start transferring your data, and make it your new iPhone.
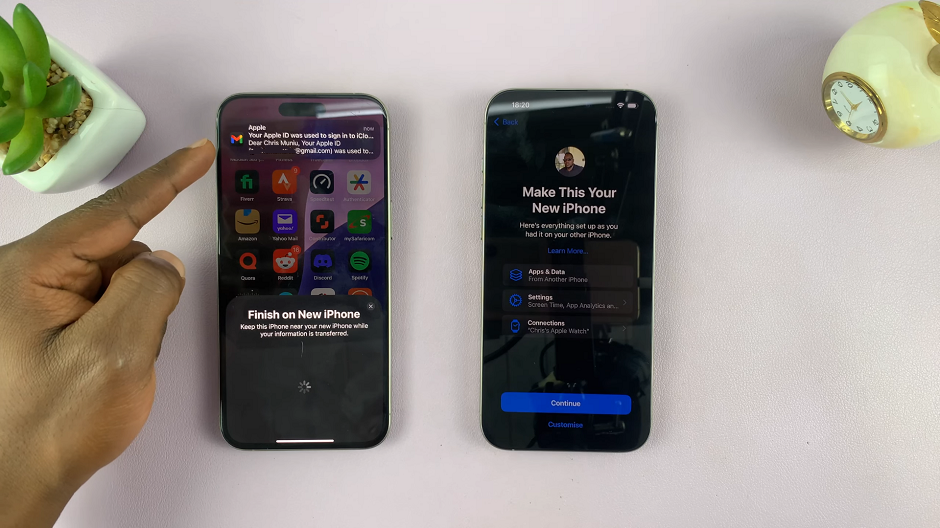
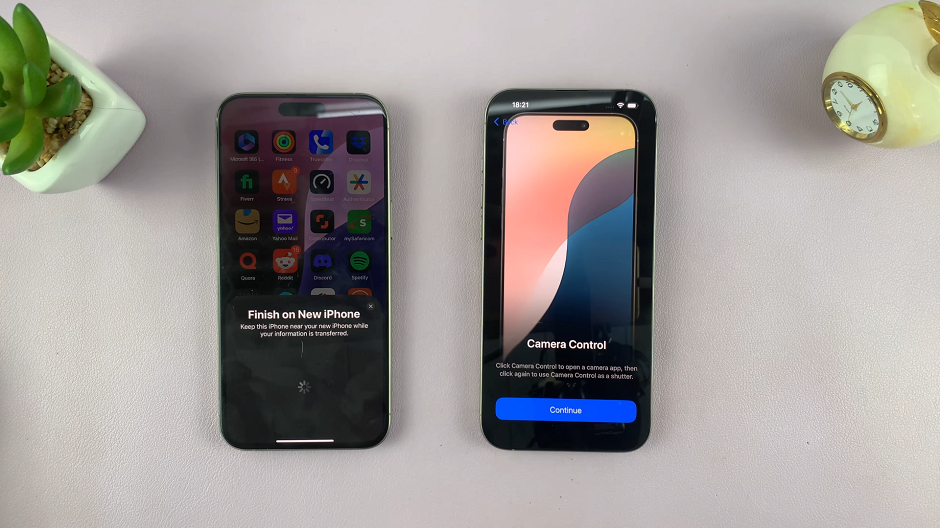
You can choose Continue or Set Up Later to enable location services. After you make your choice, you will be taken through the Camera Control tutorial. Select Continue to go through it.
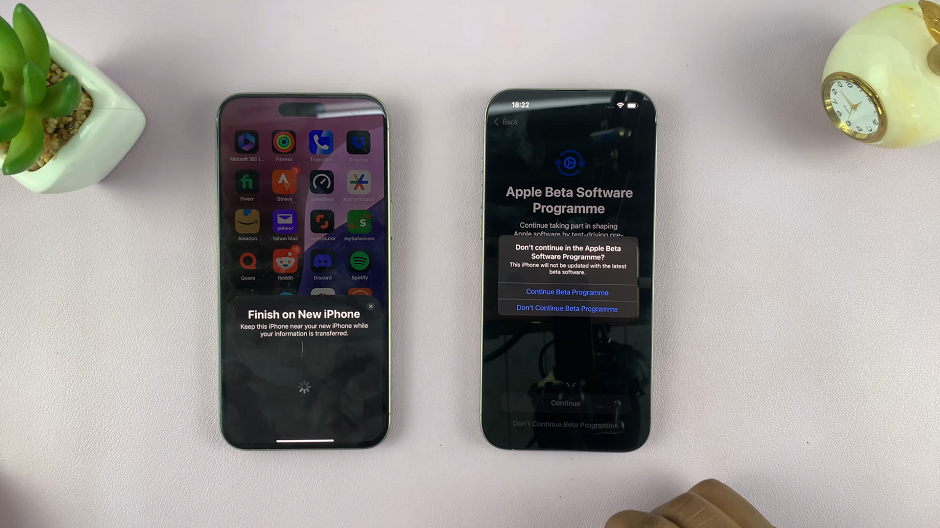
Under the Apple Beta Software Programme page, opt in by selecting Continue or opt out, by selecting Don’t Continue Beta Programme. The choice you make will not affect your older iPhone, you can still be involved in the Beta Programme on your old device, but choose not to on the newer one.
If you choose the latter, confirm your choice by selecting Don’t Continue Beta Programme from the prompt.
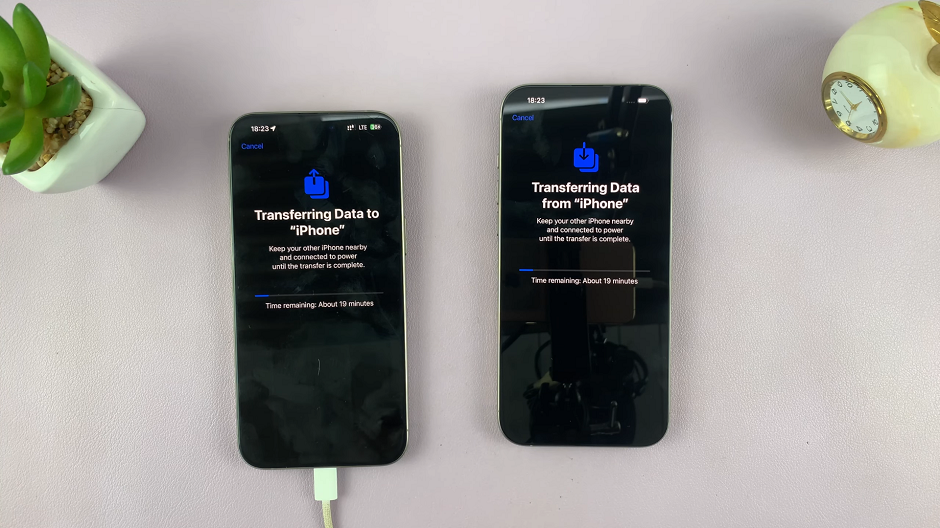
Keep your phones nearby as the transfer continues. It should take varying amounts of time, depending on the size of your data. When it’s done, you should see the Transfer Complete on your older iPhone.
Finishing the Set Up
Enter your Passcode once again on your new iPhone, you should see Restore Completed page. Select Continue to proceed.
You can set up the Face ID and Mobile Service now or later, depending on what you prefer. You should now be able to get into the home screen on your new iPhone 16.
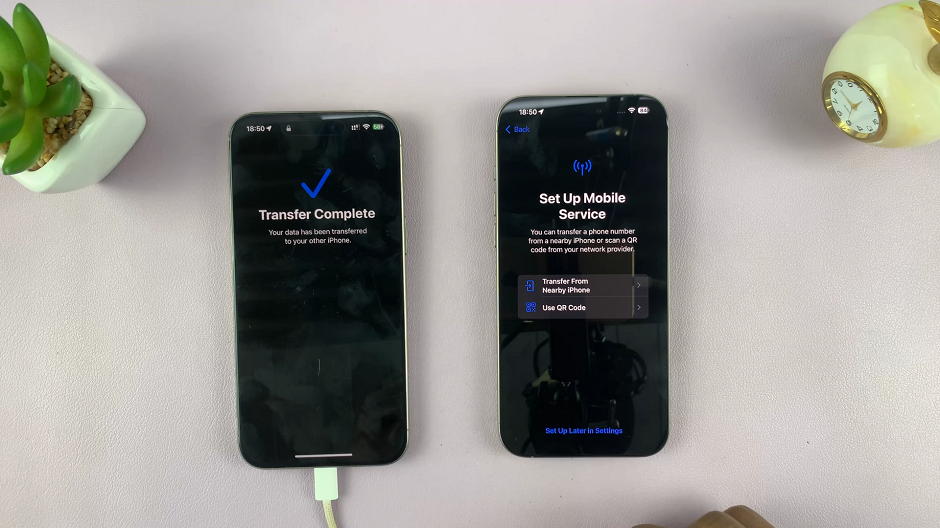
Enter your passcode on your older iPhone, then tap on Continue to complete the transfer. You will be prompted by an Erase this iPhone page on your older iPhone.
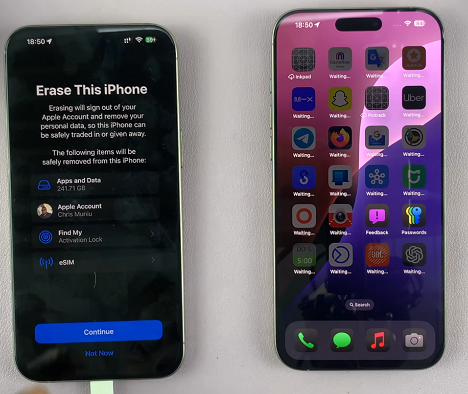
Tap on Continue to delete all your data, or select Not Now to keep your data on the old device. Once you make your choice, you will now be able to access it’s home screen as well.
A prompt will appear on the iPhone 16 asking you to verify whether to use it when sharing your location in Find My and Messages, instead on the older iPhone. Choose either Not Now or Use.
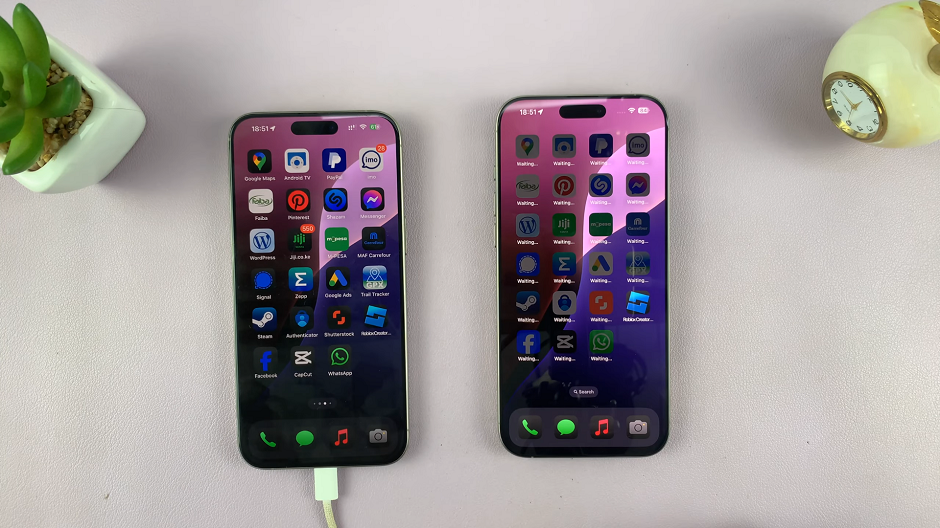
The transfer will continue in the background, but all your data will be exactly as it was in the older iPhone, on the iPhone 16 as well.
