Managing storage space on your iPad can be a challenge, especially when it fills up with photos, videos, and other large files. One simple and efficient way to free up space is to transfer these files to an external drive.
You can transfer photos & videos from your iPad to an external drive, and in this article we’ll outline how to do just that. Whether you’re using a USB flash drive, external hard drive, or an SSD, these steps will help you securely back up and manage your media.
Transferring your photos and videos to an external drive can help you manage the limited storage on your iPad. You also get to back up your data and keep it safe in case anything happens to your iPad.
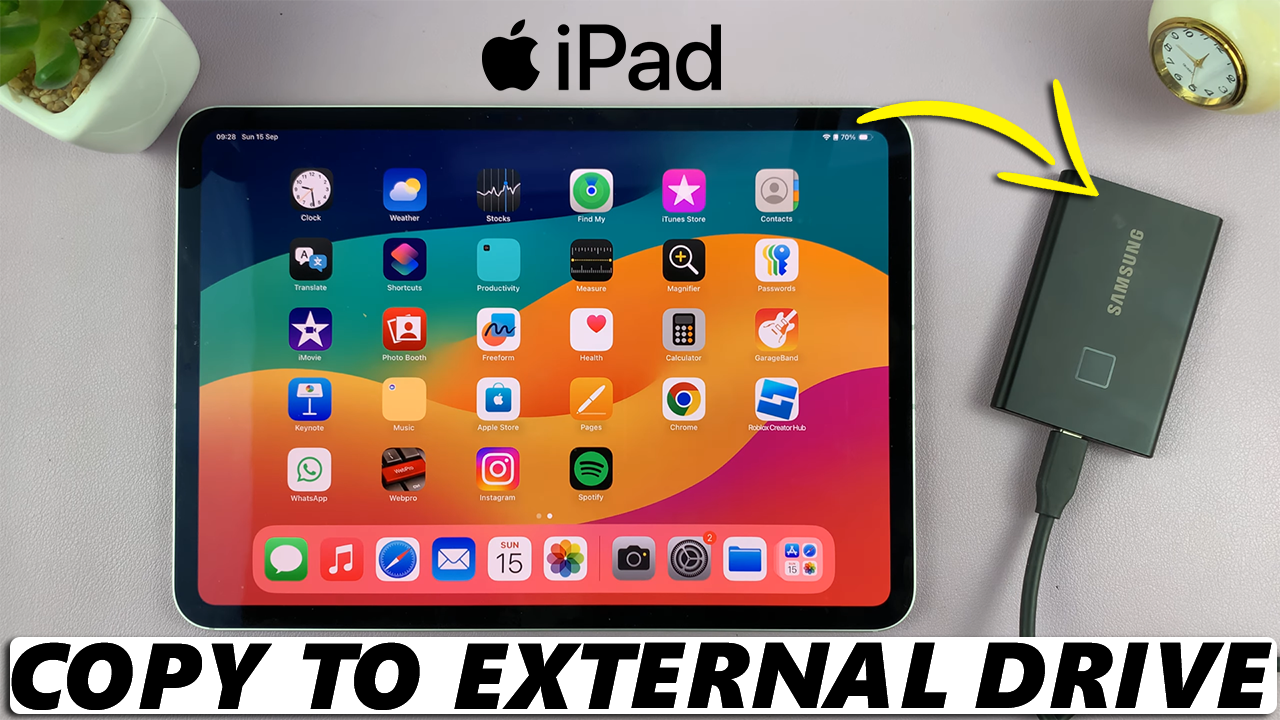
You will need an iPad, a compatible external drive, and an adapter. Even though the most recent iPads have a USB-C port, this method works for iPad models with USB-C or Lightning ports. Be sure to have the right adapter if your drive doesn’t directly connect to your iPad.
Watch: Take Scrolling Screenshots On iPad
Choose the Right Adapter
Begin by connecting your external drive to the USB OTG adapter. This is if your iPad has a USB-C port and a USB-A cable. However, if you have an external drive like an SSD that has a USB-C cable, then you will not need an adapter for the newer iPads with USB-C ports.
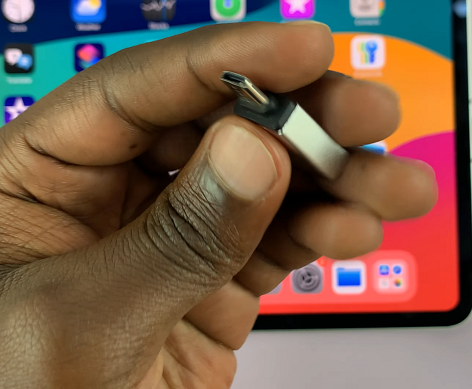
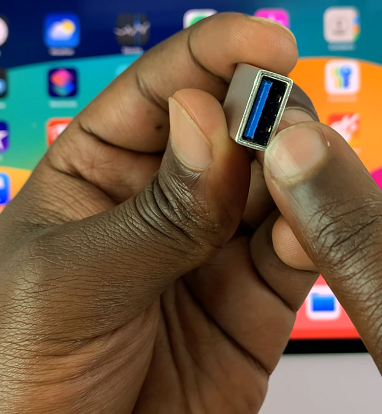
If you have an iPad that still uses a lightning port, you can use a different adapter.
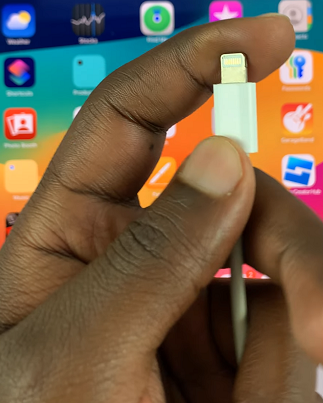
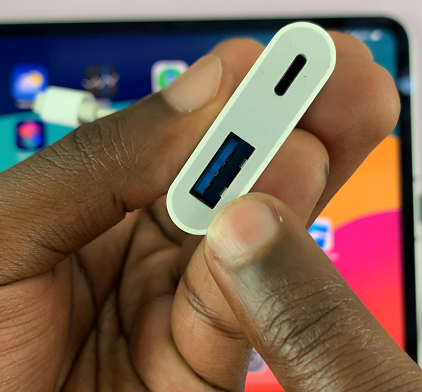
You can also use other adapters, from other manufacturers to connect your external drive to your iPad.
Connect your external drive to your iPad, making sure to plug it into your iPad’s type-C charging port.
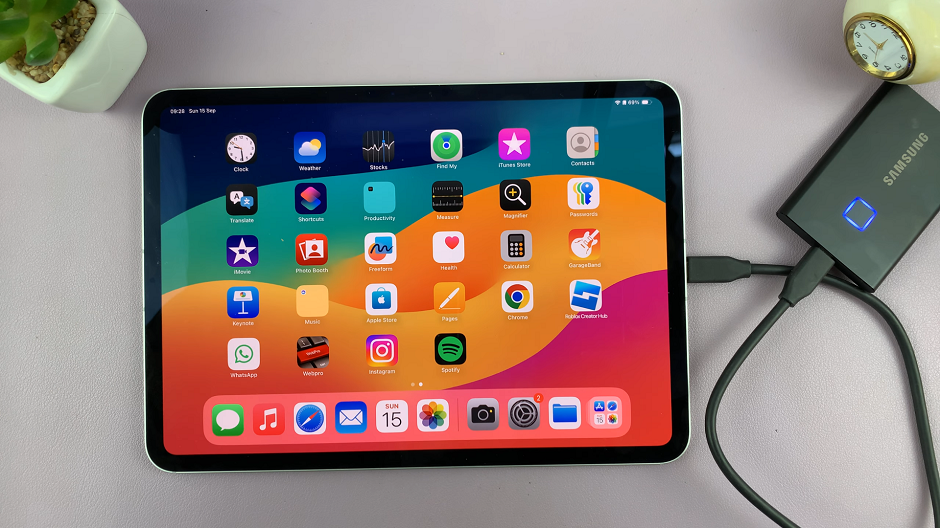
Transfer Photos & Videos From iPad To External Drive
On your iPad, navigate to the Files app. This is where you’ll be able to manage your files. You can find the Files app on the home screen or simply swipe up and use the search function to find it.
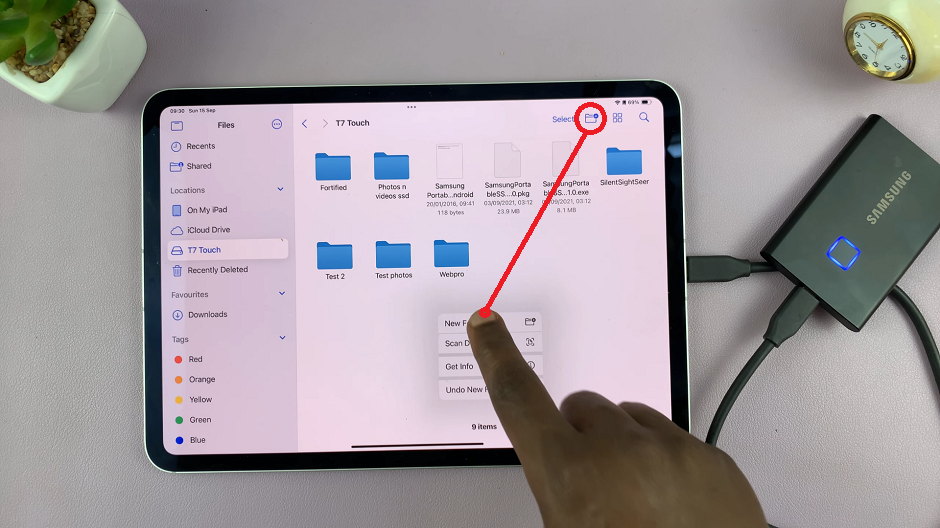
In the Files app, find the connected external drive in the left-hand side panel, under the Locations section. Tap on it to open the contents.
Long press on an empty space and select the New Folder option. You can also tap on the New Folder icon in the top menu, next to the Select option. This will create a new folder, which you can name to whatever you desire.
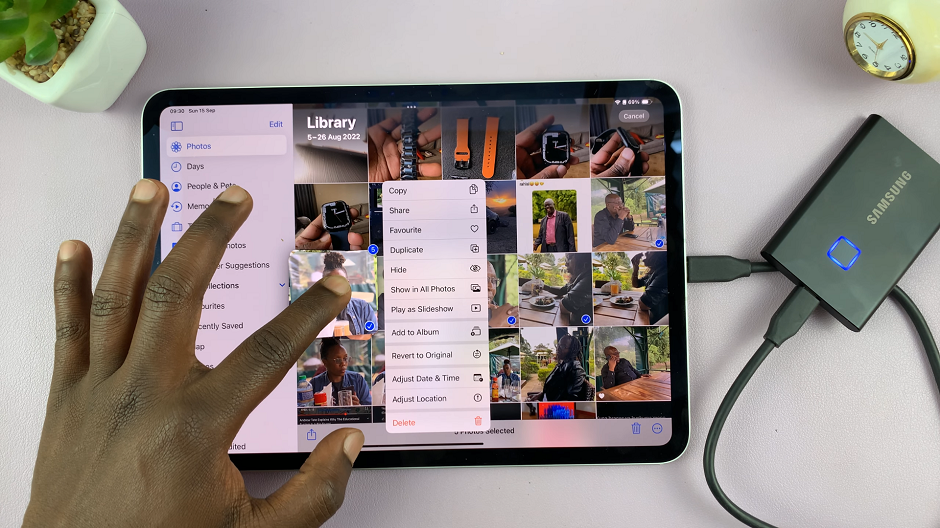
Now, open the Photos app and locate the photos and videos you want to transfer. Tap on the Select option in the top menu and tap on the desired images & videos to select them.
Once you select all your files, tap and hold on any one of the selected files, and don’t release. This will group them together and you can now drag them to a location of your choosing.
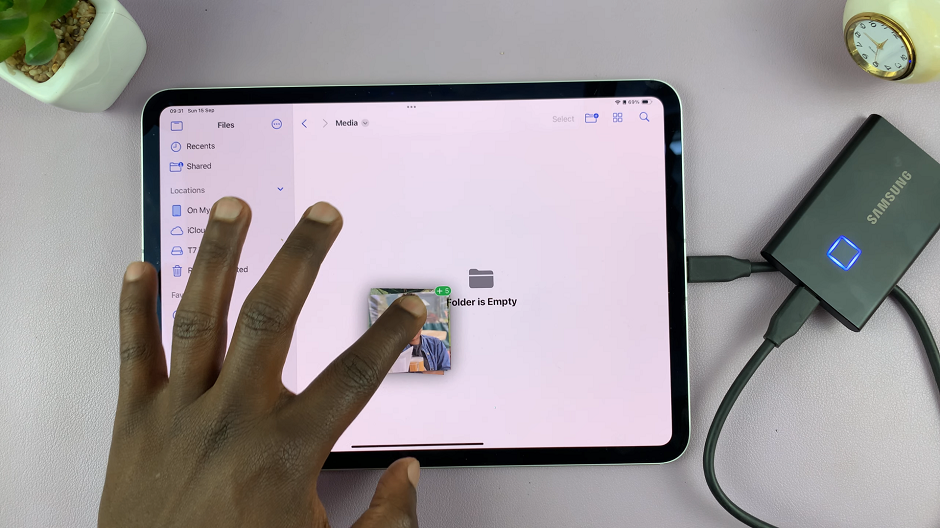
Navigate to the folder you created on your external drive, and drag the photos and videos there. Release them into the open folder to copy your files there.
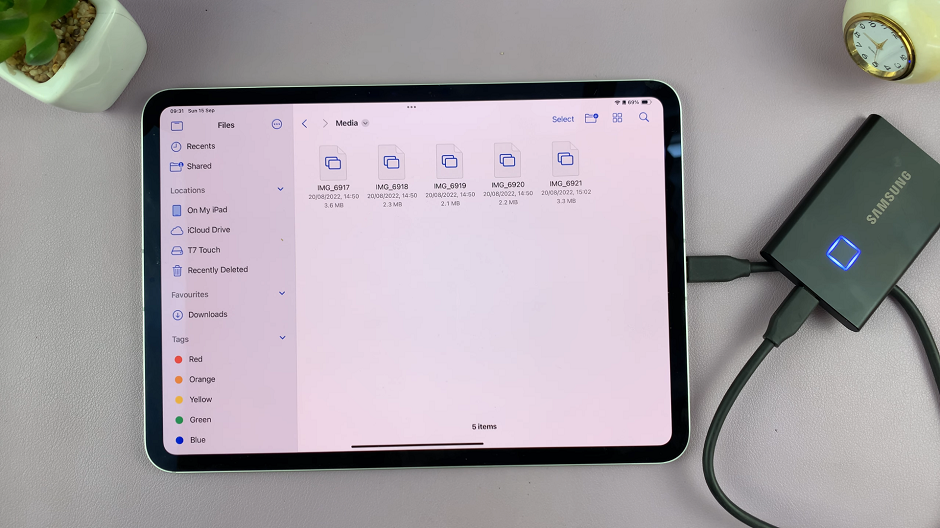
The photos and videos will now be stored on your external drive. You can now access them via the Files app.
After the transfer is complete, you can now eject the external drive from your iPad. Simply pull it out of the iPad.
