Taking control of your Roku TV’s microphone settings is a simple yet crucial step in ensuring your privacy and managing your viewing experience. With the rise of voice-controlled features, it’s not uncommon for users to seek ways to turn off the microphone on their Roku TVs when not in use.
Whether you’re concerned about unintentional voice commands or simply value your privacy, Roku provides an intuitive process to disable the microphone and regain control over your TV’s voice-related functionalities.
Here’s a step-by-step guide on how to turn off the microphone on your Roku TV.
Watch: How To FIX Roku TV Not Connecting To WiFi
To Turn OFF Microphone On Roku TV
First, ensure that your Roku TV is powered on and connected to the internet. Navigate to the home screen using your Roku remote. Using the Roku remote, scroll down to highlight the “Settings” option on the home screen. Press the OK button to enter the Settings menu.
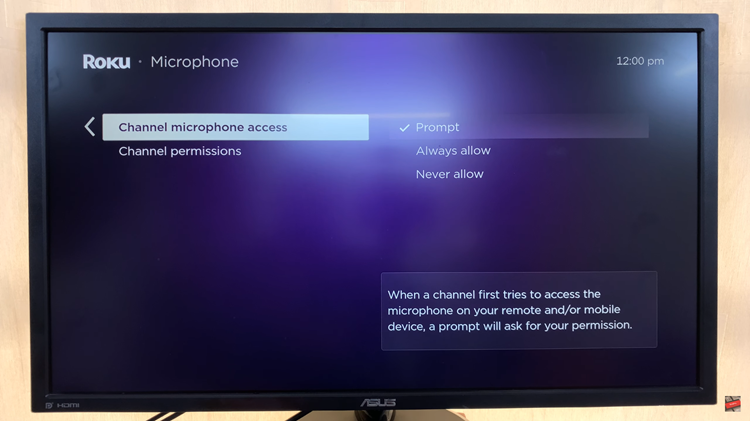
In the Settings menu, navigate down and select the “Privacy” option. Within the Privacy menu, select “Voice” then select “Microphone Access.” At this point, select “Channel microphone access.” To disable the microphone, simply select “Never Allow.”

By following these steps, you can easily turn off the microphone on your Roku TV. Keep in mind that the exact menu names and options may vary slightly depending on your Roku TV model and the software version it’s running.
Read: How To Change Nearby Share Device Name On Google Pixel 8

