Have you ever wanted to have that special song playing every time someone calls you? Well, look no further because we have the perfect solution for you. In this step-by-step article, we will walk you through the process of creating your own personalized ringtone using any song you love.
No need to rely on the limited selection of ringtones available on your iPhone. With our method, you can choose from millions of songs to create a unique and personalized ringtone that reflects your taste in music. Whether it’s a catchy pop song, a classic rock anthem, or a soothing instrumental track, the choice is entirely yours.
We will be using simple and user-friendly tools that are available to everyone, ensuring that you can easily follow along, regardless of your technical expertise. Our tutorial will cover all the necessary steps, from selecting the song and editing it to creating the ringtone file and saving it to your iPhone.
Read: How To Turn Camera Flash ON and OFF or Auto
What Do You Require?
First, you need to choose the song you want to use as your ringtone. It could be any track from your music library, a song you downloaded, or even a recording you made. The possibilities are endless, so select the song that resonates with you and will make you smile every time your phone rings.
Make sure it is saved as an mp3 file in the Files app.
To be able to use a custom ringtone on your iPhone for free, you will require a third-party app. Our recommended one for this particular demonstration is the GarageBand app.
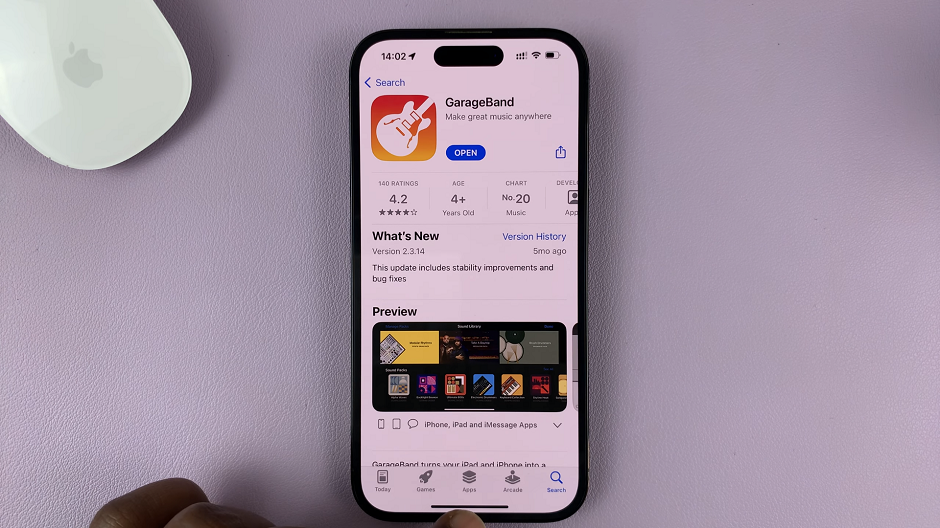
Simply download the app from the App Store, follow the on-screen instructions to transfer the ringtone file to your iPhone’s ringtones.
Customize Ringtone with GarageBand
Before you can set the song as your custom ringtone, you need to import the song into your iPhone’s ringtones. To do this:
Launch the GarageBand application on your iPhone. Tap on the + icon in the top-right hand side to start a new project.
Select the Audio Recorder option from the menu that you are presented with.
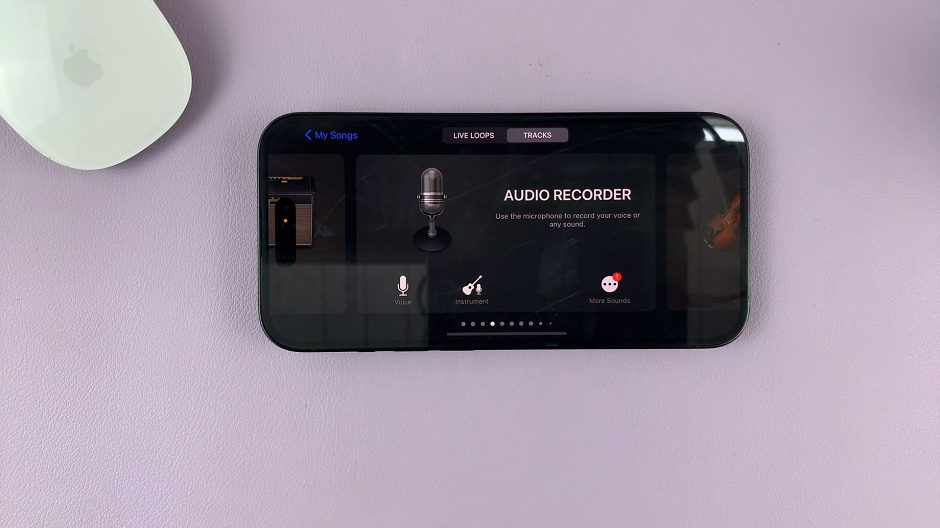
Tap on the timeline icon, located as the third option from the top-left hand side of the audio recorder menu.
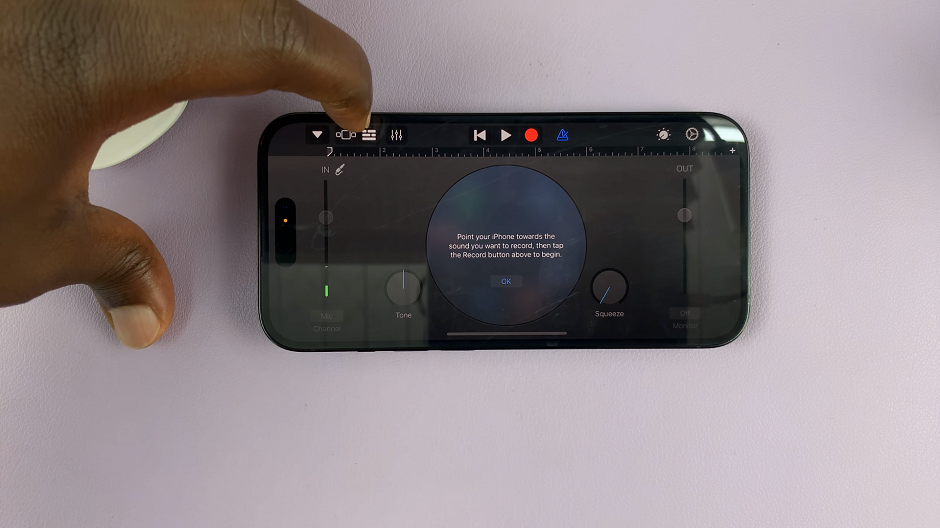
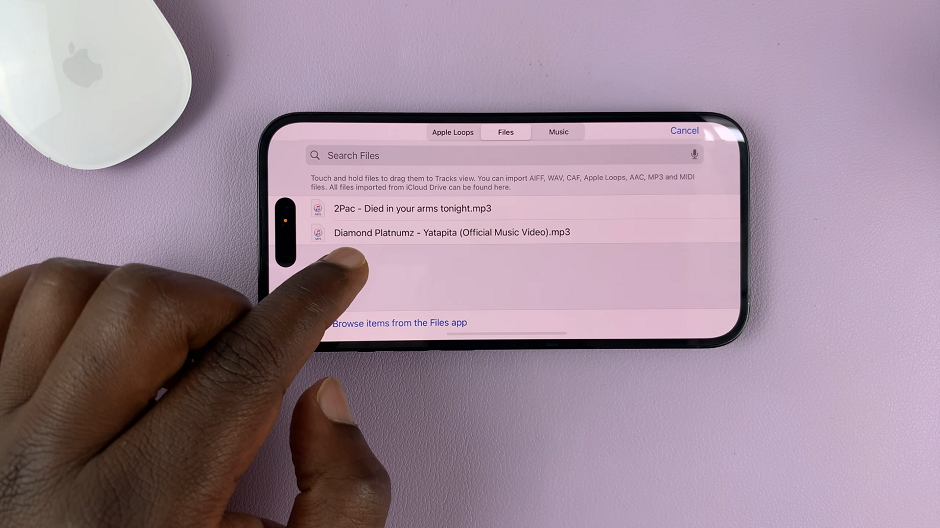
Next, use the loop icon in the top-right hand side to select the song you had saved in the files app. Navigate to the folder in the Files app, in which you had saved your song. Select Files and then select Browse items from the Files app.
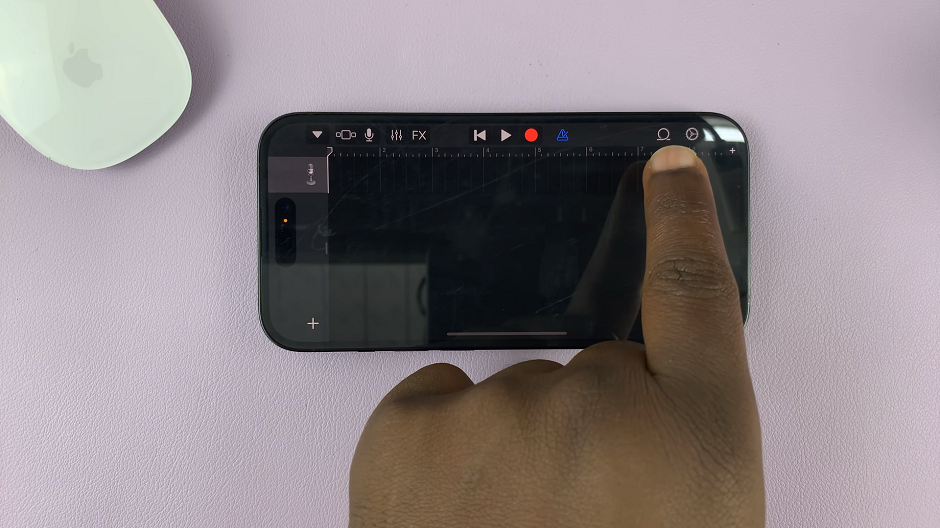
Tap on the song to add it to the GarageBand timeline.
What you need to do next is export the song into Ringtones. Tap on the drop-down arrow in the top-left hand side corner of the timeline and select My Songs.
Then, tap and hold on the song you just added and select the Share option.
Select Ringtone from the pop-up menu. Input a name for the ringtone, tap on Done and then tap on Export in the top-right hand side. Give the ringtone some time to be exported.
Once the export of the ringtone is finished, you should receive a prompt that reads, Ringtone Export Successful. Tap on OK.
You can now exit the GarageBand app.
Use ANY Song as Your iPhone Ringtone For FREE
After the export, to add your custom ringtone to your iPhone and set it as your default ringtone:
Open the Settings app on your iPhone. Tap on Sounds & Haptics or Sounds.
Select Ringtone. Your newly added custom ringtone should be listed there. Tap on it to set it as your default ringtone.
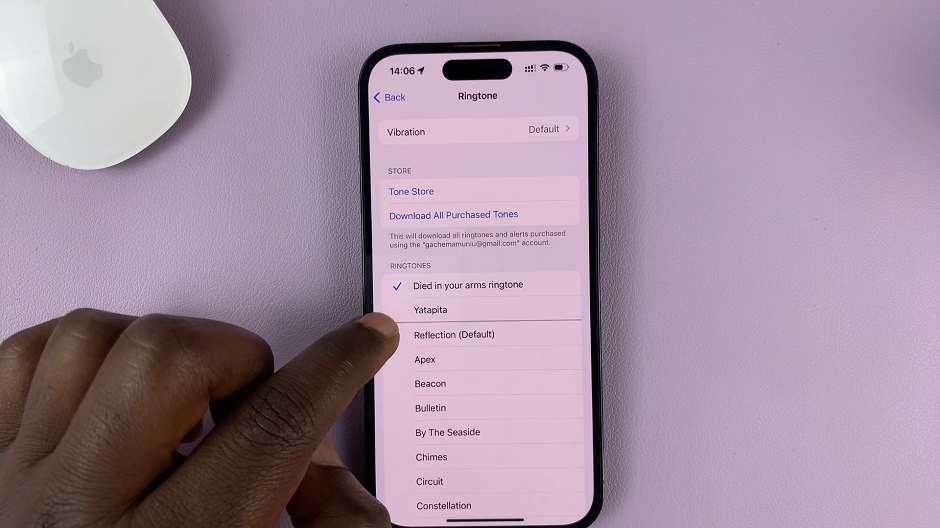
That’s it! You’ve now personalized your iPhone with your favorite song as the ringtone. Enjoy the unique sound every time your phone rings and make a statement with your customized device.
Remember, this method is completely free and doesn’t require any specialized software or subscriptions. Feel free to experiment with different songs and create a diverse collection of ringtones to suit your mood or occasion.
