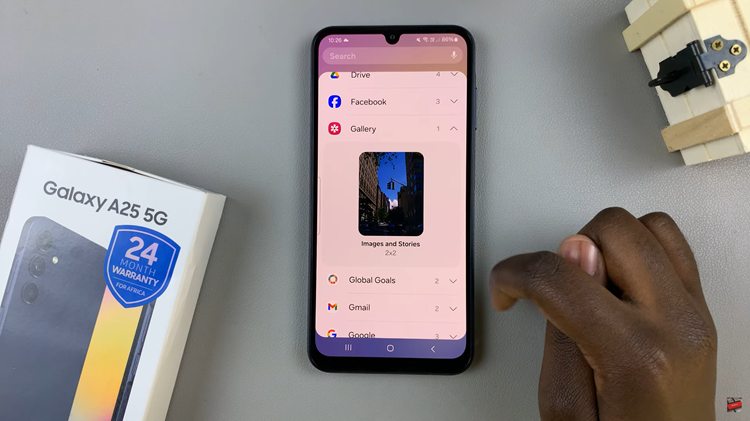
Time management is an essential aspect of our daily lives, and Apple understands the importance of it. With the release of iOS 17, Apple introduced a new feature that allows users to utilize multiple timers simultaneously.
This feature is incredibly handy when it comes to managing various activities, tasks, and reminders efficiently.
In this article, we will guide you through the steps of using multiple timers on iOS 17 and explore the benefits it offers.
Also watch: How To Remove Sound From Video On iPhone
How To Use Multiple Timers On iOS 17
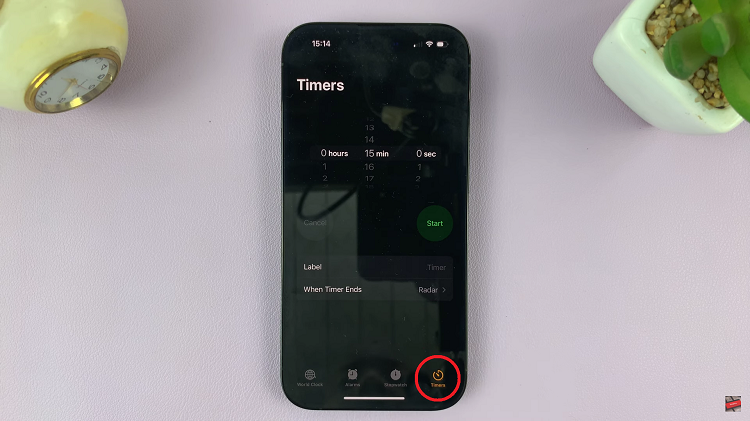
To begin with, locate and tap on the “Clock” app icon to launch it. Once the Clock app is open, locate and tap on the “Timer” tab at the bottom of the screen.
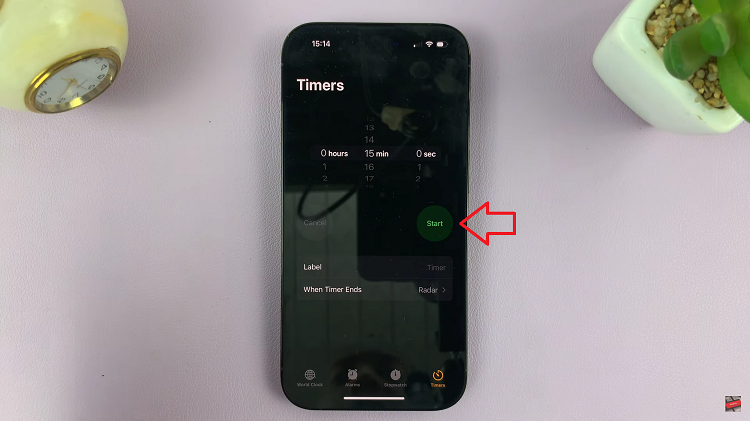
Next, set the duration for your first timer by using the scroll wheels or entering the desired time manually. Tap “Start” to confirm. This will launch the first timer.
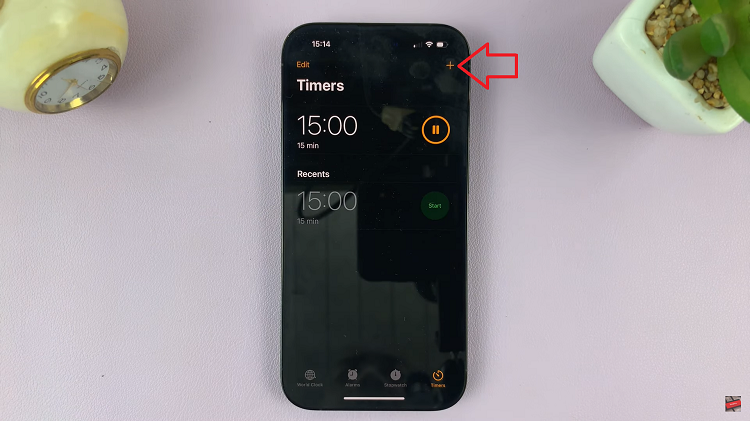
To create the second timer, tap on the “+” icon usually found at the top-right corner of the screen. Repeat the above step to add more timers on your iPhone.
Once you have multiple timers running, you can easily manage them. To pause a timer, tap on the “Pause” button represented by two vertical lines. To cancel a specific timer, simply swipe the timer card to the left, revealing a red “Delete” button. Tap on it to remove the timer from your list.
By following these steps, you can efficiently utilize multiple timers on iOS 17. This feature enables you to manage your time effectively and stay organized in various activities and tasks.
