Mastering the art of wrapping text around an image in Canva enhances your design capabilities significantly. Whether you’re a seasoned graphic designer or new to creative tools, understanding this technique is essential for crafting compelling visuals.
This article explores the intricacies of achieving seamless text wrapping in Canva, empowering you to create visually captivating designs that effectively integrate text and imagery.
Understanding how to strategically position text around images allows for a harmonious balance and enhances visual appeal. This technique not only improves the aesthetic quality of your designs but also ensures that your message is conveyed effectively.
Whether you’re creating social media graphics, presentations, or marketing materials, mastering text wrapping in Canva enables you to create cohesive and impactful visual content.
Watch:How To Use Full Screen Mode In Canva
Wrapping Text Around An Image In Canva
Here’s how;
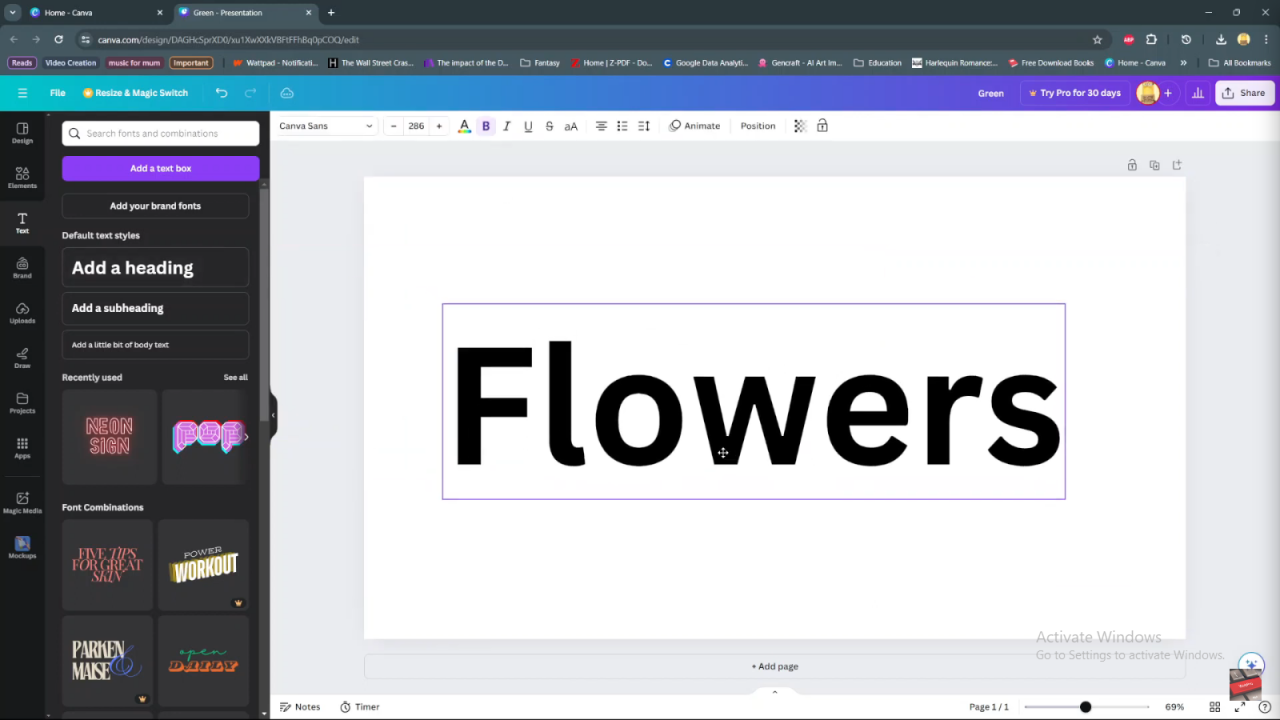
Step 1: Start by adding your text to the Canva canvas and customize it to your liking, adjusting fonts, sizes, and colors as desired.
Step 2: Navigate to the “Uploads” section in Canva and select the image you want to use. Upload your chosen image to integrate it into your design.
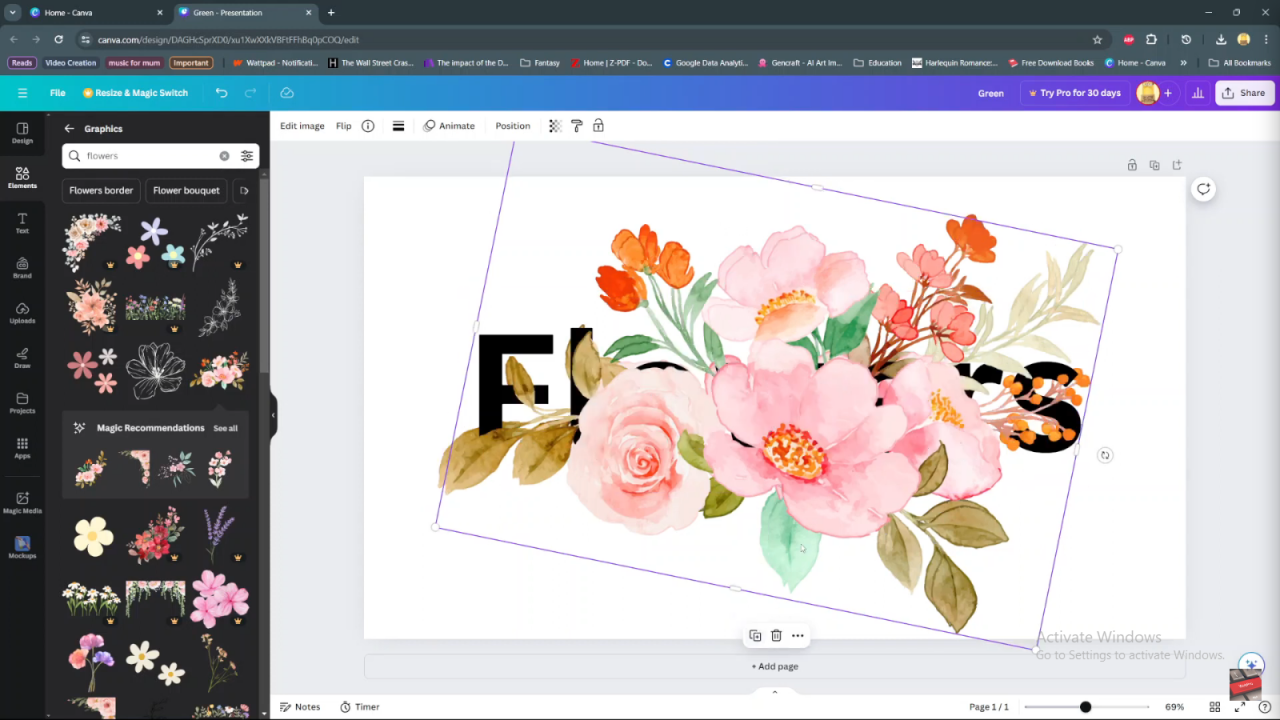
Step 3: Once the image is added, send it to the back of the text layer. This ensures the image is positioned behind the text, setting the stage for the wrapping effect.
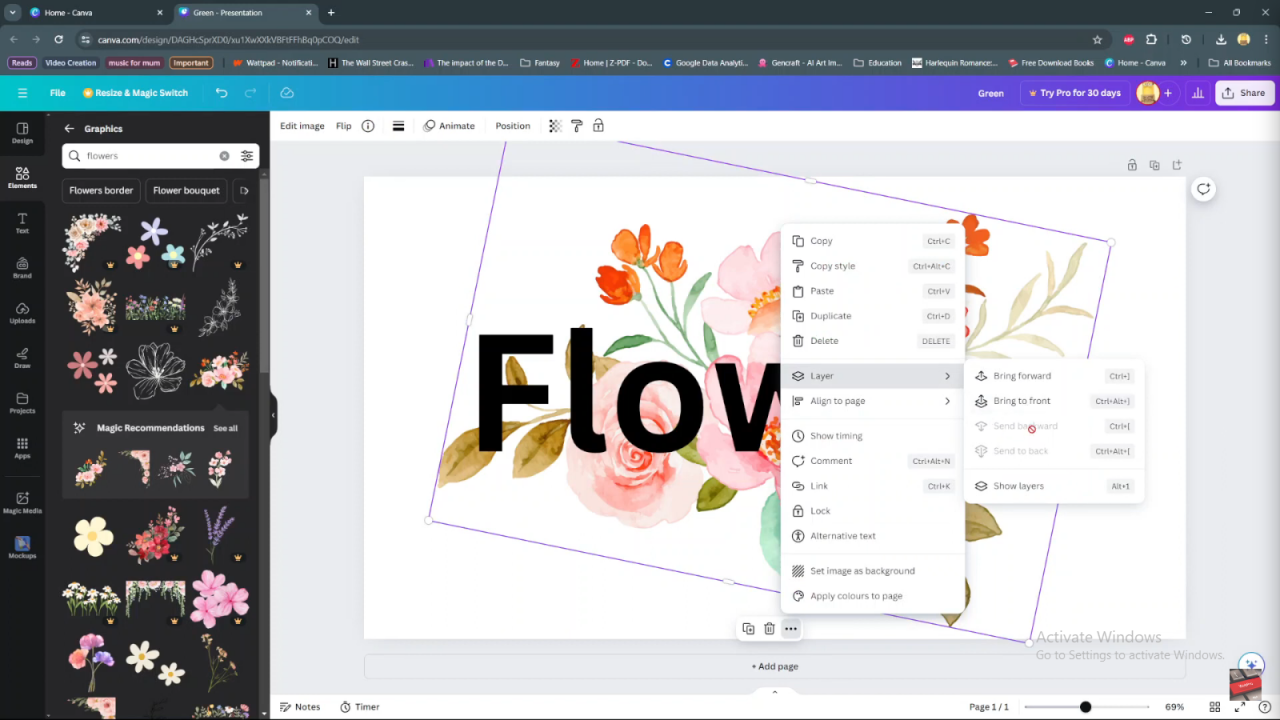
Step 4: Click on the image and duplicate it. Align each duplicate precisely with the original image to maintain consistency and continuity in your design.
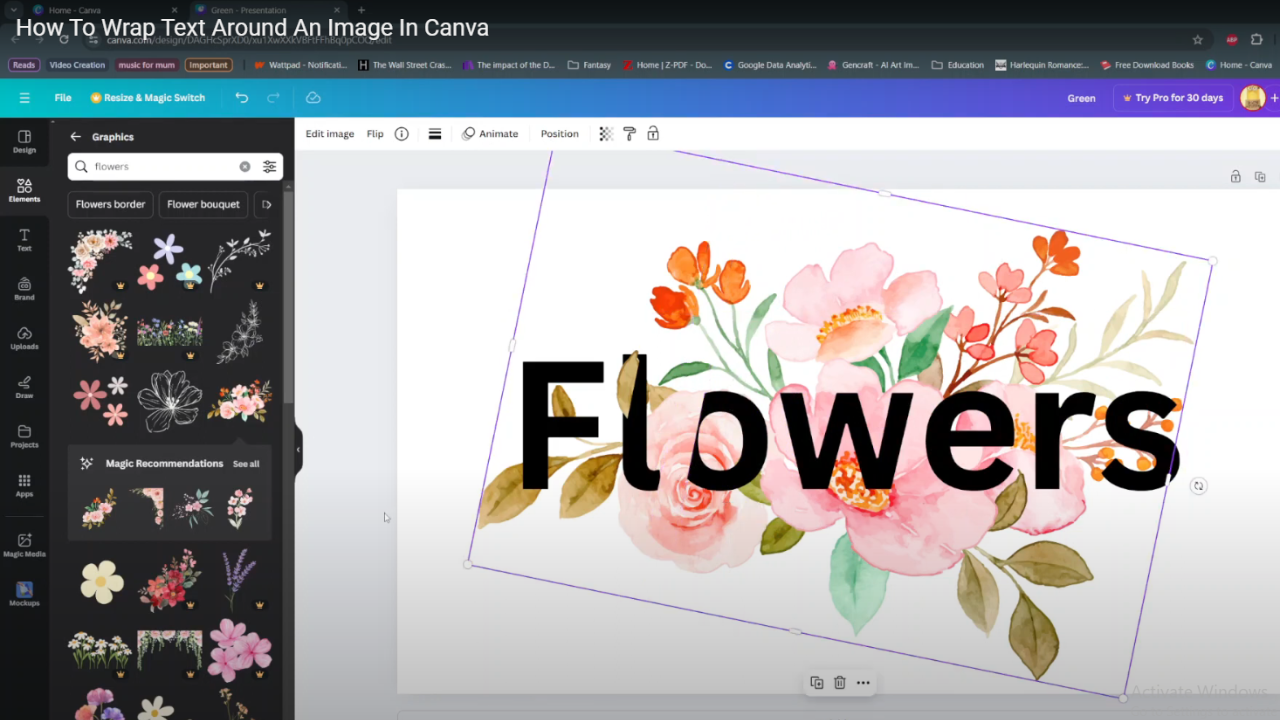
By following these sequential steps in Canva, you can effectively create visually compelling designs where text elegantly wraps around images, enhancing the aesthetic appeal and clarity of your visual content.
