Embracing the world of video editing means diving into a realm of creativity and visual storytelling. With every clip carefully curated and every transition meticulously designed, video editors strive to captivate their audience’s attention.
Among the plethora of techniques at their disposal, zooming with keyframes stands as a potent method to add depth, drama, and focus to their creations.
In this article. we’ll guide you through the process on how to zoom with keyframes in CapCut. Editors can effortlessly elevate their videos from mere recordings to compelling cinematic experiences.
Also Read: How To Make Slow-motion Video Smooth In CapCut
How To Zoom With Keyframes In CapCut
To get started, launch CapCut, start a new project. Select the specific clip on which you want to apply the zoom effect. Then, tap on the “Edit” option.
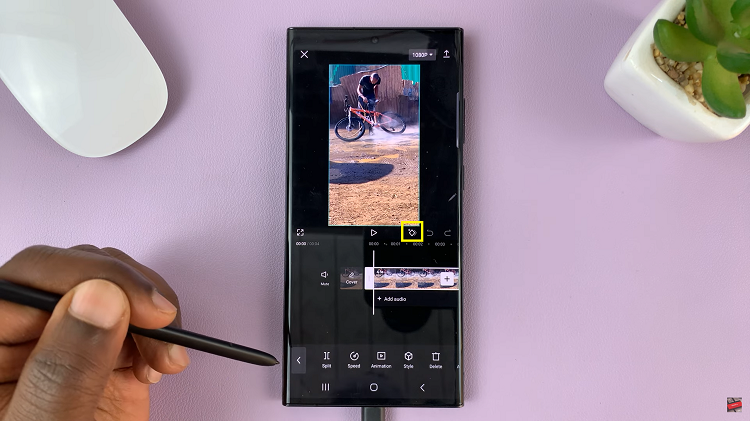
Look for the keyframe icon, which is unmistakably represented by two inverted squares overlapping each other. Initiate the zoom effect by setting the initial keyframe. A simple tap on the timeline will place the keyframe in the right spot.
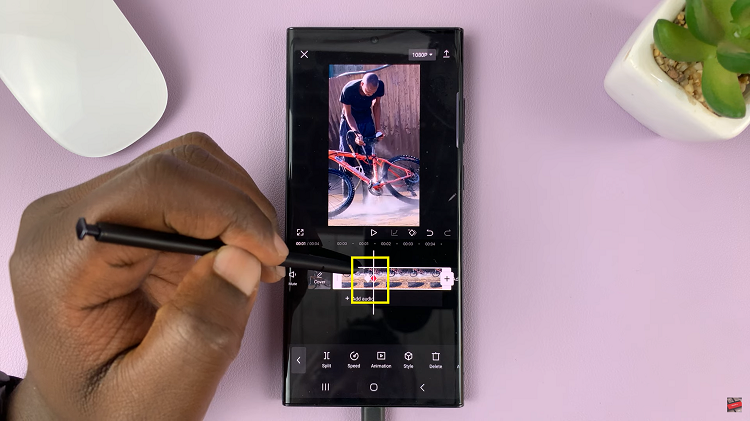
Advance the play-head to the specific point on the timeline where you wish to maximize the zoom effect’s impact. By tapping the timeline again, you’ll create another keyframe. It’s here that you’ll adjust the scale value to determine the clip’s final size.
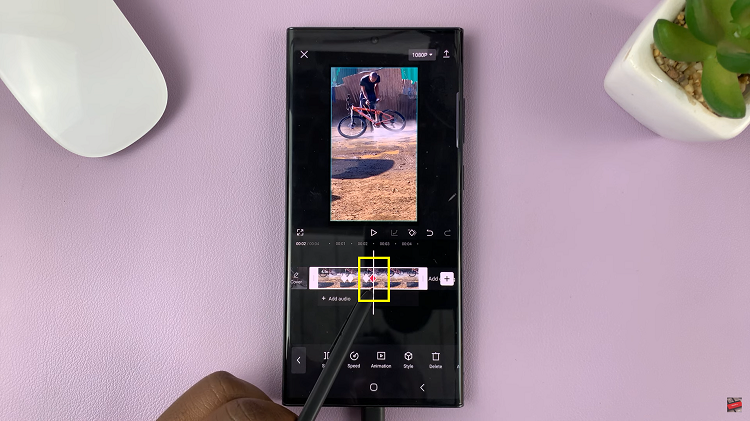
To ensure your zoom effect is fluid and organic, CapCut empowers you to fine-tune the keyframes. Experiment with altering the speed and timing of the zoom by dragging the keyframes across the timeline. Additionally, play around with easing curves to manipulate the acceleration and deceleration of the zoom, adding that elusive natural touch.
